Star Trails: Circumpolar Photos Step by Step
Learn to create spectacular star trails: the image stacking method, exact settings, circumpolar orientation and the complete step-by-step workflow.
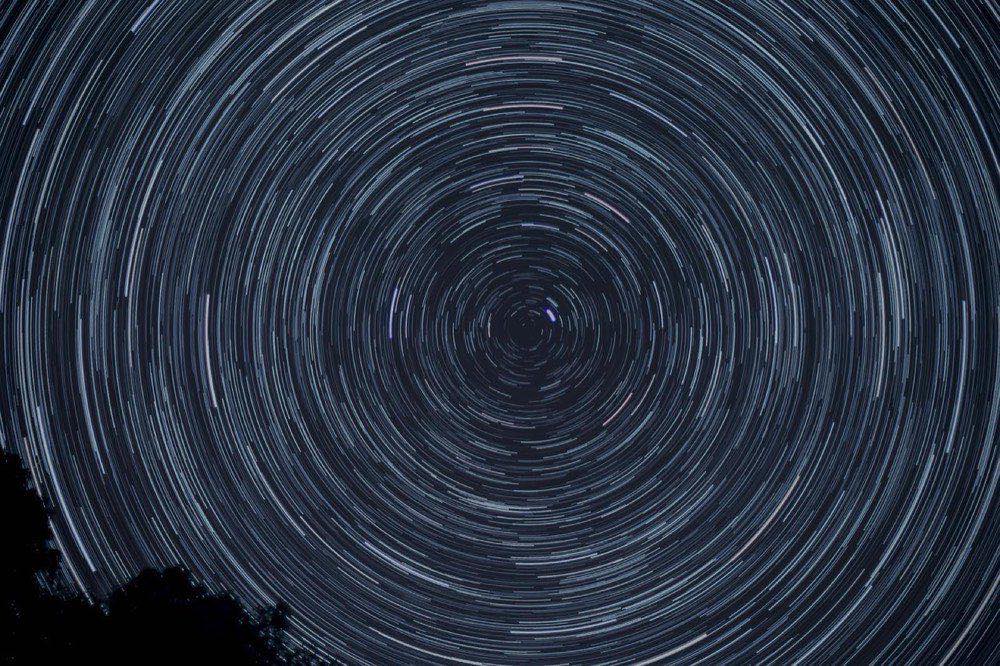
Circles of stars wheeling around a fixed point in the sky are among the most hypnotic images in night photography. Star trails, or circumpolar photos, turn the rotation of the Earth (the same phenomenon that ruins Milky Way photos) into the star of the image. And although they look like photos of impossible hours-long exposures, the modern technique is surprisingly accessible: many short photos stacked in software.
Unlike other night genres, star trails forgive almost everything: they work with a moon, tolerate some light pollution, do not demand fast lenses and do not even need pinpoint stars. What they do demand is patience (one to three hours of continuous shooting) and method.
Here is the complete process: orientation, settings, sequence and stacking. The general context of the genre is in the night photography and astrophotography guide, which complements this technique perfectly.
Where to point: the geometry of the spin
The shape of your trails depends entirely on the direction of the camera:
Toward the north (northern hemisphere): concentric circles around Polaris. The classic circumpolar. In the southern hemisphere, the center of rotation is the south celestial pole, which you can locate with the help of the Southern Cross.
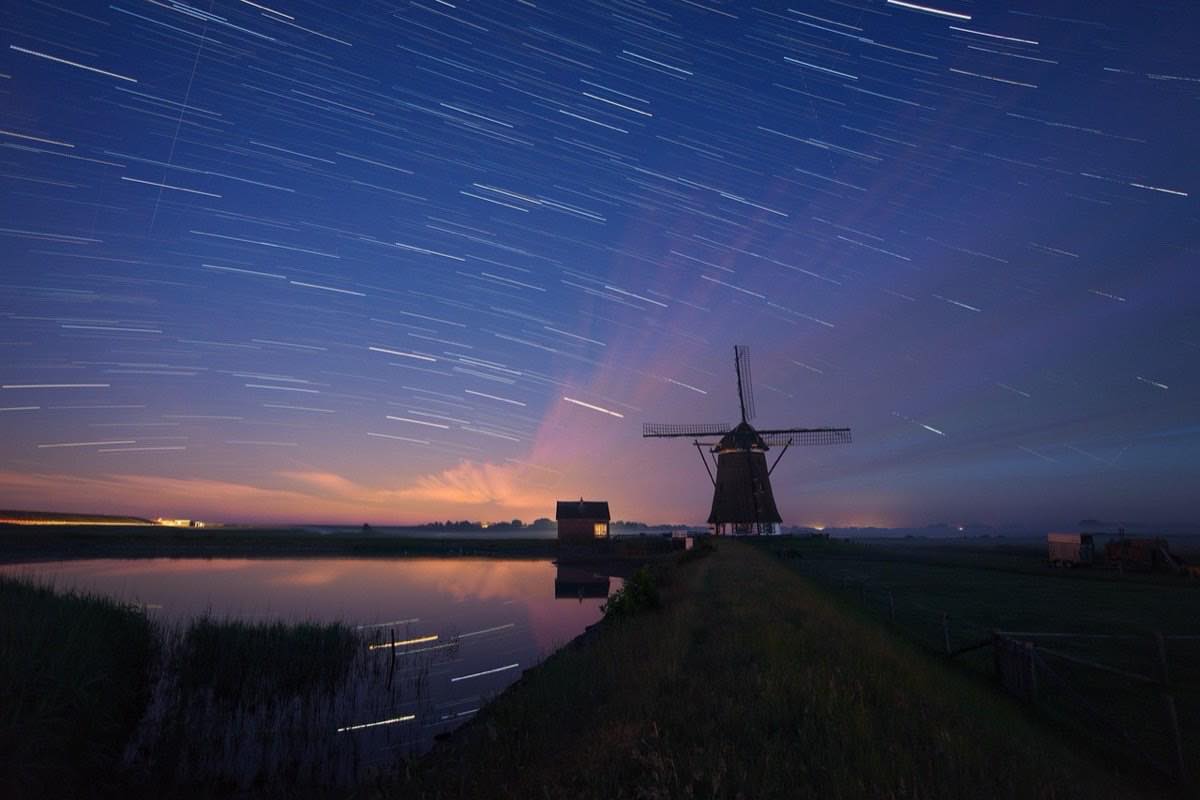
Toward the east or west: diagonal lines that rise or fall.
Toward the celestial equator (south in the northern hemisphere): soft, open arcs.
For the full whirlpool effect, frame Polaris in the upper third and place a strong ground element below: a lighthouse, a tree, a ruin, a mountain. The longer you accumulate, the longer the trails: 30 minutes gives timid arcs; 2 hours, dramatic circles (trails cover 15 degrees per hour).
Modern method: stacking short exposures
The single one-hour exposure died with film: in digital it generates thermal noise, the risk that any accident ruins everything, and hot pixels. The current standard is to stack hundreds of shots:
Compose and focus (magnified live view on a bright star).
Set to manual: the values in the table below.
Turn on the intervalometer (internal or external): continuous shots with 1 second or less of pause between frames. Long pauses create dotted trails.
Shoot between 60 and 400 frames depending on the desired duration.
Stack in software (StarStaX, Sequator or similar) in "lighten" mode.
Scenario: Dark rural sky; Aperture: f/2.8; Shutter speed: 30 s; ISO: 1600; Shots for 1 h: 120
Scenario: Moonlit sky; Aperture: f/4; Shutter speed: 30 s; ISO: 800; Shots for 1 h: 120
Scenario: Suburban sky; Aperture: f/4; Shutter speed: 20 s; ISO: 400; Shots for 1 h: 180
Scenario: With a kit lens; Aperture: f/3.5; Shutter speed: 30 s; ISO: 3200; Shots for 1 h: 120
Scenario: City (few bright trails); Aperture: f/5.6; Shutter speed: 15 s; ISO: 200; Shots for 1 h: 240
Key note: turn off the camera's long-exposure noise reduction. It would double the time between shots and break the continuity of the trails.
Interestingly, here you do not worry about stars moving during each shot: trailing is the goal. Even so, knowing your limit for pinpoint stars is useful for the foreground reference shot; you can calculate your maximum time with the 500 rule for your focal length and sensor in seconds.
What to prepare beforehand for a 2-hour session
Star trails punish improvisation because every session is long. Real checklist:
Battery at 100% and a spare: 2 hours of continuous shooting in the cold drains batteries. If your camera supports USB power, a power bank solves the whole night.
Card with space: 240 RAW files can be 10-15 GB.
Weighted tripod: hang your backpack from the center hook. A bump at frame 180 shifts the framing of every frame after it.
Anti-dew: humidity fogs the lens mid-session. A USB heater strap or hand warmers attached to the lens prevent it.
First reference shot: take one at high ISO to check composition and focus at 100% before launching the sequence.
Choosing the tripod well and protecting it from the wind is half the session won; in tripods: how to choose the right one you have the complete criteria.
Editing and stacking the shots
The standard workflow with RAW: edit one shot in your editor (white balance 3800-4500 K, contrast, moderate noise reduction), sync the adjustment to all of them, export to TIFF or high-quality JPEG and stack.
In the stacking software, "lighten" mode keeps the brightest pixel at each position: that way the trails accumulate over the dark background. Useful options: gap filling (for pauses between shots) and comet effect (trails that fade out). Also shoot 3-5 frames of the foreground at the start of the session (or during blue hour) at low ISO and expose for the ground: you will blend them in as a clean base.
To polish the final result (curves, color, cleaning up airplanes) apply the same criterion of naturalness as in any night photo; the article on photo editing from RAW to final look marks the way.
Airplanes and satellites will cross your shots: it is inevitable. They are removed by editing the affected frames before stacking or by cloning over the result.
Frequently asked questions
How much total time do I need for a good star trail?
A minimum of 45-60 minutes for visible arcs; 90-150 minutes for the dramatic circumpolar effect. Around Polaris the trails are shorter (apparent slower spin), so when pointing north it pays to accumulate more time.
Can I do star trails under a full moon?
Yes, and it has advantages: the moon lights the landscape like a dim daytime shot. You will lose the faint stars, but the bright ones leave clean trails over a well-exposed foreground. Use f/4, 30 s, ISO 800 as a starting point.
One single long exposure or stacking?
Stacking, almost always: less thermal noise, no risk of ruining everything with a bump or a cloud, and as a bonus you get material for a timelapse from the same shots.
What do I do about the interval between photos?
Leave it at the minimum possible: 1 second or less between the end of one exposure and the start of the next. Longer intervals produce discontinuous (dotted) trails that are very hard to fix.
Set up, launch and let the planet do the work
Star trails are the most meditative night discipline: you set up, launch the sequence and let the planet do the work for two hours. The technique is simple (many 30-second shots stacked), and the result is among the most spectacular in the genre.
Prepare your checklist, calculate your shots and go out to spin the sky. At Enfogram you will find the 44 photography cards with the exact settings for every situation: print them, carry them with you and shoot with confidence.