How to Focus in the Dark: 4 Proven Methods
Learn to focus at night with 4 proven methods: live view on stars, hyperfocal distance, auxiliary light and daytime pre-focusing.
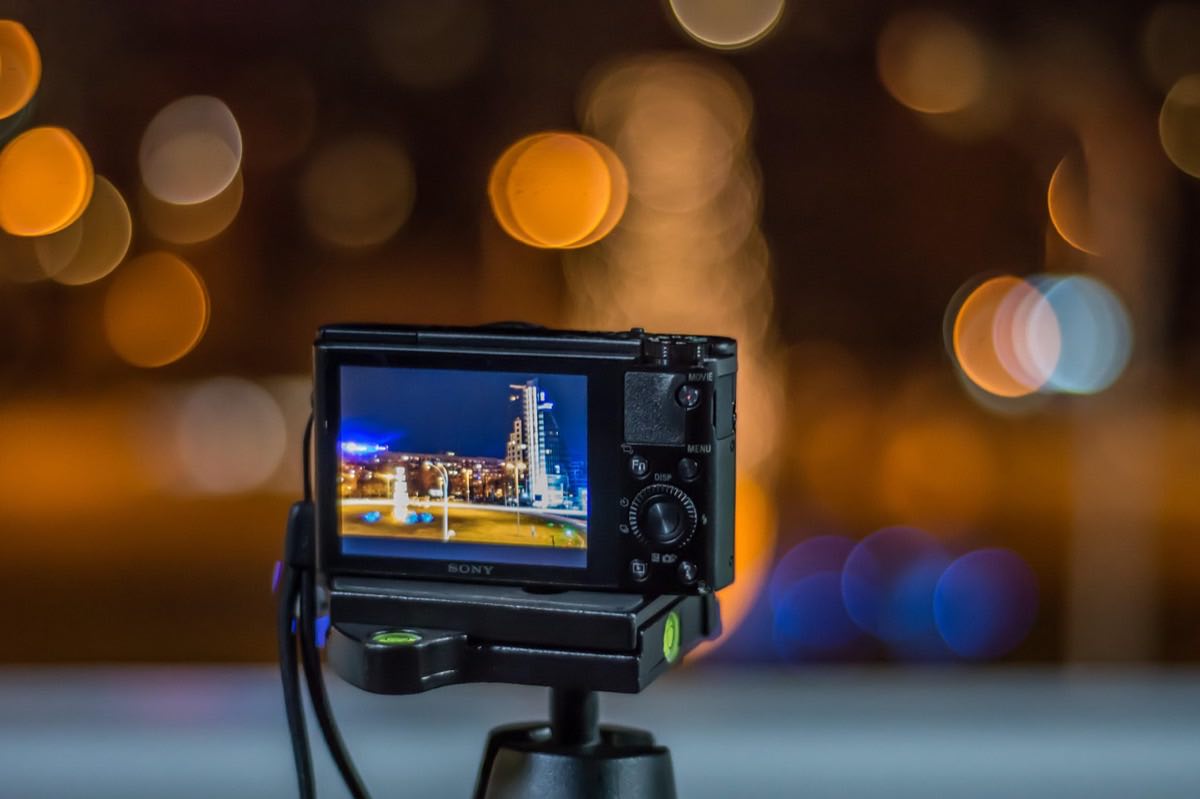
The most advanced autofocus on the market gives up in front of a starry sky. When there is no light or contrast, the camera hunts, hesitates and ends up shooting out of focus, and you don't find out until you get home. Focusing at night is the skill that separates a productive night outing from a folder full of soft photos that looked sharp on the 3-inch screen.
The good news is that it doesn't depend on gear: it depends on method. There are four proven techniques that work from an entry-level camera with a kit lens to a professional body, and it's worth mastering all of them because each shines in a different scenario.
Before getting into it: understanding how your camera decides where to focus will make you better with any method. The guide to focus systems explains the types of AF, the zones and when to switch to manual, and it's the perfect foundation for this article.
Method 1: magnified live view on a star
The gold standard of astrophotography. Step by step:
Switch the lens to manual focus (AF/MF switch).
Turn on live view and raise the simulated exposure to the maximum (temporarily high ISO, wide-open aperture) so the stars are visible on screen.
Find the brightest star or planet and magnify the view 10x on it.
Turn the focus ring slowly in both directions: the star will swell and shrink. Perfect focus is the point where it looks smallest and most defined.
Secure the ring with a piece of tape if you're going to move, and check every 30-40 minutes: temperature changes shift the focus.
Take a test shot at ISO 6400 and zoom to 100% on screen. The corners will tell you the truth.
Method 2: hyperfocal distance for night landscapes
When you want the foreground and stars reasonably sharp in the same shot, the hyperfocal distance is your ally. It's the focus distance that maximizes depth of field: focusing there, you get acceptable sharpness from half that distance to infinity.
With a 20mm at f/2.8 on full frame, the hyperfocal distance is around 4.8 m: focusing at that distance, everything between 2.4 m and infinity is acceptably sharp. With a 14mm at f/2.8 it drops to about 2.3 m. Wide angles are generous; a 35mm already demands much more precision.
How do you focus at 4.8 m in the dark? Light an object at roughly that distance with your flashlight, focus on it (with AF or manual) and lock. Depth of field forgives errors of half a meter with wide angles.
Focal length (full frame): 14mm; Aperture: f/2.8; Approx. hyperfocal: 2.3 m; Sharp from: 1.2 m
Focal length (full frame): 20mm; Aperture: f/2.8; Approx. hyperfocal: 4.8 m; Sharp from: 2.4 m
Focal length (full frame): 20mm; Aperture: f/4; Approx. hyperfocal: 3.3 m; Sharp from: 1.7 m
Focal length (full frame): 24mm; Aperture: f/2.8; Approx. hyperfocal: 6.9 m; Sharp from: 3.4 m
Focal length (full frame): 35mm; Aperture: f/2; Approx. hyperfocal: 20.4 m; Sharp from: 10.2 m
Method 3: auxiliary light on the subject
For night portraits, cars, buildings or any subject at medium distance, the most direct solution is to create the contrast AF needs:
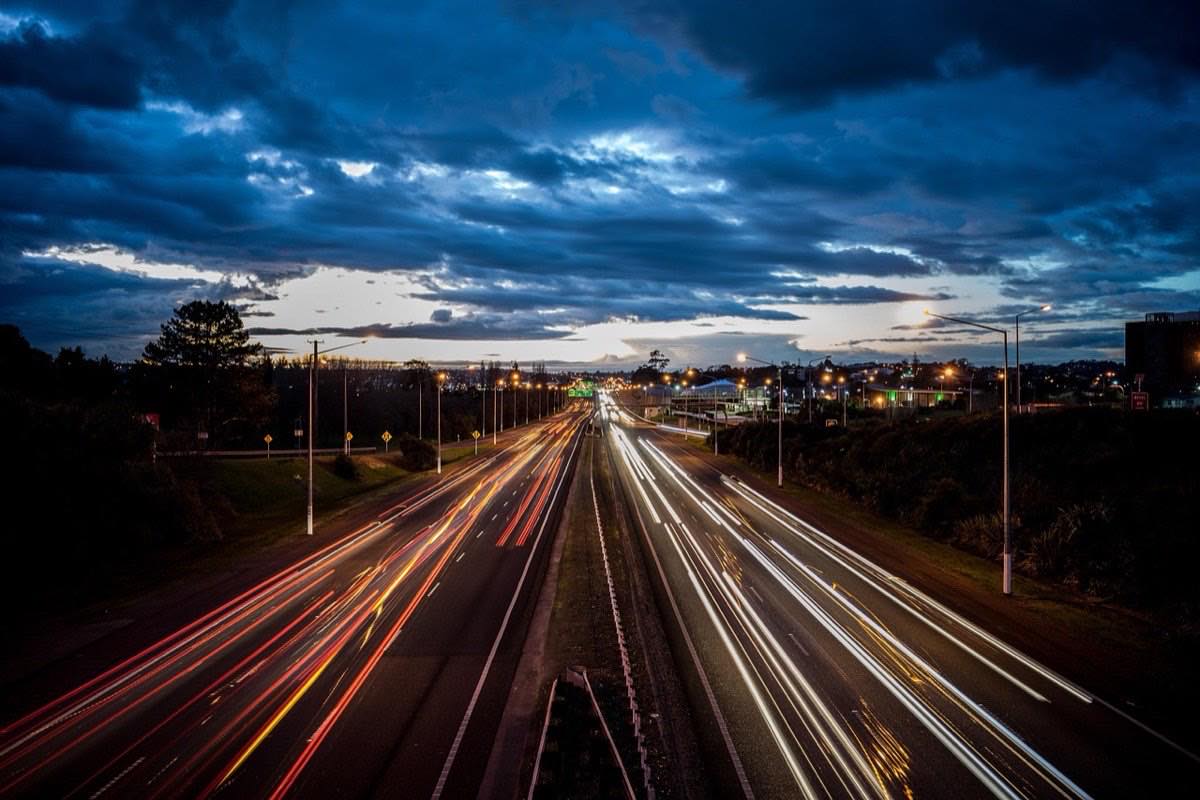
Powerful flashlight: light the subject, let the autofocus lock on (use the center point, the most sensitive), switch to MF to lock and turn off the flashlight before shooting.
The camera's AF assist light or flash: works well up to 3-5 m; turn it on in the menu if it's off.
A companion with a lit phone next to the subject's face works surprisingly well in portraits.
This method is the fastest when the subject is defined and accessible, and it pairs with the techniques for low-light photography without noise to finish the exposure.
Method 4: pre-focusing in daylight
The planners' method. If you know what you're going to photograph at night (a specific composition, a building, the spot where the Milky Way will appear):
Arrive with light or during blue hour.
Focus exactly where you need it, with all the help of daytime AF.
Switch to manual and fix the ring with low-tack tape.
Mark with a fine marker or memorize the ring position for your usual lenses: each lens's real infinity position changes very little.
Many night photographers carry their lenses "calibrated": they know their 20mm hits infinity with the mark two millimeters before the stop. That knowledge is built once and lasts forever.
How do you verify the result? The step nobody takes and everyone needs
Whatever the method, the unbreakable rule is to verify with magnification. The thumbnail on screen always looks sharp. Zoom to 100% on a star or a distant light in your first shot of the night and every time you move the gear. Thirty seconds of checking saves you from discovering at home that the whole session is soft, a classic also in night photography and astrophotography.
Frequently asked questions
Why can't I simply turn the ring to the infinity symbol?
Because almost all modern lenses focus "beyond infinity" to compensate for thermal expansion. The mechanical stop and the ∞ mark rarely coincide with real focus. Always verify visually.
Does focus peaking work for focusing on stars?
It helps but isn't enough: with such small points of light, peaking marks a wide range as "in focus." Use it to get close and finish with 10x magnification on a bright star.
What do I do if my camera doesn't have live view that's usable in the dark?
Use method 4 (daytime pre-focusing) or hyperfocal with a flashlight. You can also focus on a very distant artificial light (an antenna, a street lamp hundreds of meters away), which is practically equivalent to infinity.
Does cold affect focus during the night?
Yes. Temperature changes contract the lens elements and shift the focal plane slightly. In long astrophotography sessions, recheck focus every 30-40 minutes.
Focusing at night is a procedure
Focusing in the dark is not an act of faith: it's a procedure. Magnified live view for stars, hyperfocal for landscapes with a foreground, auxiliary light for nearby subjects and daytime pre-focusing for planned compositions. Master all four and the night stops being hostile territory.
And since in the dark there's no time to doubt your settings, it's best to bring them worked out in advance. At Enfogram you will find the 44 photography cards with the exact settings for every situation: print them, carry them with you and shoot with confidence.