Sharp Stars with a Kit Lens: Yes, You Can
Astrophotography with a kit lens: real settings for the 18-55 mm, exposure times with the NPF rule, stacking and tricks to offset the f/3.5 aperture.
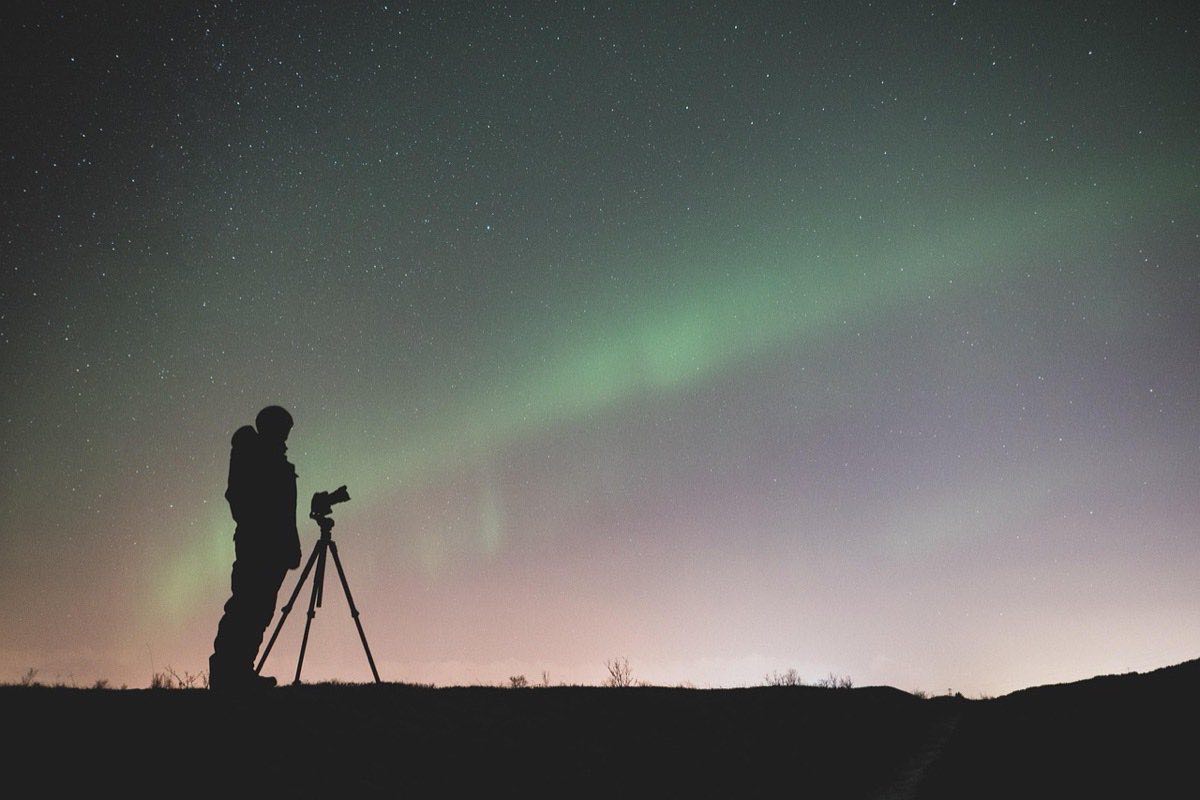
"You can't do astrophotography with that lens." It's the phrase that has kept more hobbyists at home looking at other people's photos of the Milky Way. And it's false. Astrophotography with a kit lens, the 18-55 mm f/3.5-5.6 that came with your camera, is not only possible: it's the best training there is, because it forces you to master the technique that fast lenses let you neglect.
Yes, the kit lens gathers less light than an f/1.8: roughly two stops less at f/3.5. That disadvantage is offset by three tools that cost nothing: longer, well-calculated exposure times, well-managed ISO and image stacking, which multiplies the signal by shooting in series. With a good sky, the result surprises anyone.
This article is the complete plan to get the most out of the lens you already have. The general context of the genre (planning, locations, processing) is in the night photography and astrophotography guide.
What should you know about your kit lens: where does it perform and where doesn't it?
The typical 18-55 mm is a variable-aperture zoom: f/3.5 at 18 mm, f/5.6 at 55 mm. For the night sky, that progression dictates the strategy:
Always use 18 mm and f/3.5: it's your brightest and widest combination. Every millimeter of zoom loses light and allowed exposure time.
Consider stopping down to f/4: many kit lenses noticeably improve corner sharpness and coma (stars with seagull wings at the edges) when stopped down a third or half a stop. Test your own copy: one shot at f/3.5 and another at f/4, and compare the corners at 100%.
Turn off the stabilizer on a tripod and switch to manual focus: in the dark, the kit lens's AF has nothing to work with, and focus is solved with magnified live view on the brightest star.
On APS-C, 18 mm equals 27 mm: enough to capture a good arc of sky with landscape.
What numbers really work? Time, ISO and the NPF rule
At f/3.5 there's no light to spare, so every second of exposure counts and it pays to calculate it well. The 500 rule would say 500 ÷ 27 ≈ 18 seconds; the NPF rule, more precise for modern 24 MP sensors, lowers the strict limit to about 10-12 seconds. You can calculate the exact time for your camera and focal length with the NPF calculator before heading out.
The practical decision with a kit lens: use the relaxed NPF value (multiply it by 1.5) if you're making a single shot for screen, and the strict one if you're going to stack.
Goal: Milky Way, single shot; Focal length: 18 mm; Aperture: f/3.5; Shutter speed: 15-18 s; ISO: 6400; Technique: Relaxed NPF
Goal: Milky Way, stacked; Focal length: 18 mm; Aperture: f/3.5; Shutter speed: 10-12 s; ISO: 6400; Technique: 12-20 shots + software
Goal: Starry sky with moon; Focal length: 18 mm; Aperture: f/4; Shutter speed: 10 s; ISO: 1600; Technique: Free-lit landscape
Goal: Star trails; Focal length: 18 mm; Aperture: f/4; Shutter speed: 30 s; ISO: 1600; Technique: Intervalometer, 60-120 shots
Goal: Foreground (blend); Focal length: 18 mm; Aperture: f/3.5; Shutter speed: 2-3 min; ISO: 800; Technique: One extra shot for the ground
ISO 6400 on a modern APS-C is less scary than you think if you expose well: a histogram pulled away from the left edge is the goal, and the next section handles the remaining noise.
Stacking: the equalizer that cancels the disadvantage
Here's the secret that levels the kit lens with lenses ten times more expensive: noise is random and signal is not. Stacking 16 identical shots cuts noise to a quarter: the practical equivalent of having shot two stops cleaner, exactly the two stops that separate you from an f/1.8.
The concrete workflow:
Compose, focus and set your settings: 18 mm, f/3.5, 10-12 s, ISO 6400.
Shoot 15-20 shots in a row without touching anything (intervalometer or a patient finger).
Shoot 2-3 shots of the foreground at ISO 800 for 2-3 minutes.
Stack the sky in free software (Sequator on Windows, Siril cross-platform) and blend in the clean foreground.
Processing is the finishing touch: white balance 3800-4200 K, selective contrast on the core and moderate noise reduction. The full detail of the anti-noise workflow is in low light without noise: focus, ISO and real minimum shutter speed.
What really limits you (and it's not the lens)
Weighed up, these factors matter more than the aperture of your glass:
Sky darkness: a kit lens under a rural Bortle 3 sky produces images an f/1.4 can't dream of under an urban sky. Investing an hour of driving is worth more than a thousand dollars of lens.
The moon: with more than 20% lunar illumination, no lens saves the sky's contrast. Plan around the new moon.
The tripod and discipline: checking focus at 100%, a 2 s timer, the histogram after every change. Procedural mistakes ruin more nights than lack of aperture.
Exposure technique: underexposing "to protect" is the classic mistake; the signal you don't capture doesn't exist. The complete foundation is in the exposure triangle explained with real examples.
When the kit lens truly falls short (you'll notice it in the coma in the corners and on the darkest moonless nights) the natural step up is an affordable fast wide-angle prime. But you'll get there knowing exactly why, with hundreds of skies already captured.
Frequently asked questions
What results can I realistically expect with an 18-55 mm?
Under a dark sky and with stacking: a Milky Way with a defined core, color and detail that is perfectly publishable and printable at medium sizes. In a single shot: a decent image with somewhat more grain. What you won't have is the extreme corner cleanliness of dedicated astro primes.
Should I raise ISO to 6400 or expose longer?
Time is limited by trailing (10-18 s depending on how demanding you are); once you're at the limit, ISO is your only lever. A well-exposed, stacked ISO 6400 always beats an underexposed ISO 1600.
Is a light pollution filter worth it for the kit lens?
Before that, invest in distance: a darker site does more than any filter. Anti-pollution filters help in suburban skies with sodium lighting, but they steal some light, which at f/3.5 is a scarce luxury.
What if my kit lens is a 15-45 mm or a 16-50 mm?
Same logic: wide end, maximum available aperture, NPF for your equivalent focal length and stacking. The numbers change a little; the method is identical.
The kit lens is the school, not the ceiling
The kit lens isn't the ceiling of your astrophotography: it's its school. Dark sky, new moon, 18 mm at f/3.5, times calculated with NPF, bold ISO and stacking: that chain produces real Milky Ways with the gear that's already in your bag.
Master the method before buying glass, and when you do buy, it will be for exact reasons. At Enfogram you'll find the 44 photography cards with the exact settings for every situation: print them, carry them with you and shoot with confidence.