Exposure Triangle: A Practical Guide
The exposure triangle with real examples: aperture, shutter speed and ISO, and how they offset each other without changing the exposure.
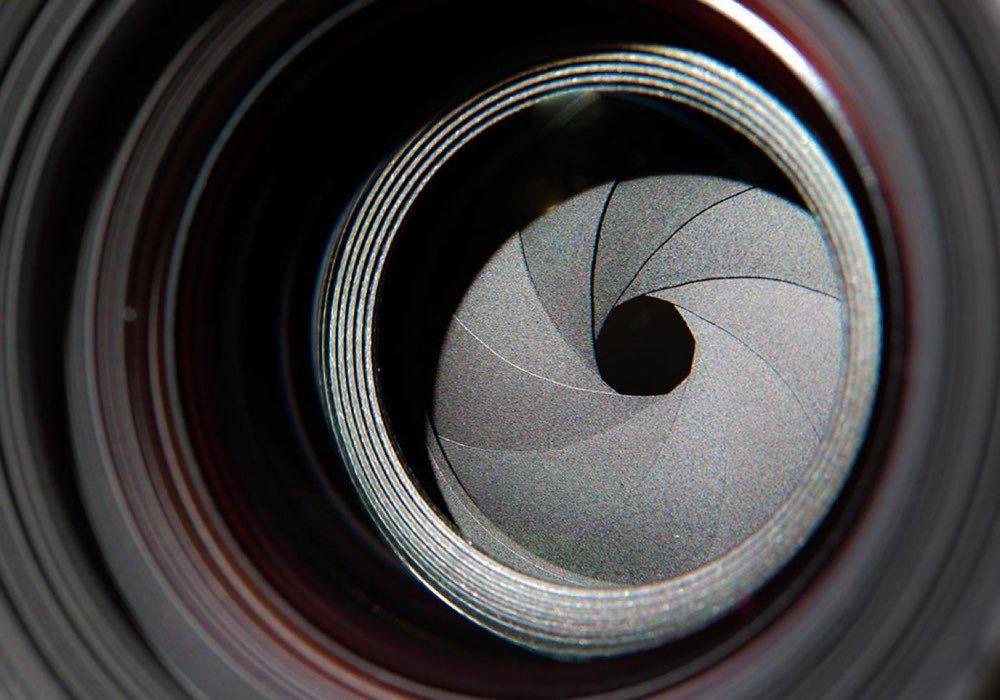
Aperture, shutter speed and ISO decide whether a photo has the amount of light it needs, and they offset each other: f/2.8 at 1/250s lets in the same light as f/4 at 1/125s and as f/5.6 at 1/60s. What changes between those three combinations is not brightness, but background blur and the sharpness of motion.
That is why correct exposure does not always mean a perfectly lit image; sometimes it is a portrait with a blurred background, a landscape sharp from corner to corner or a sports photo that freezes a fleeting instant. All of this is achieved by playing with the equivalences between the three parameters.
What does each of the three parameters control?
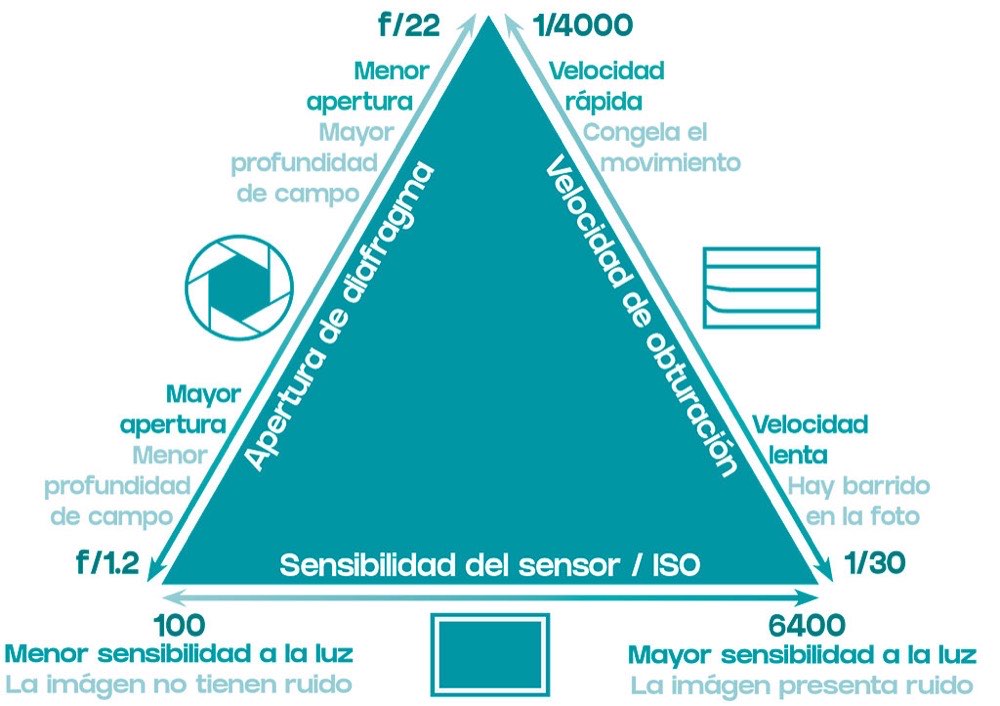
Aperture controls how much light enters the lens and directly affects depth of field. A value of f/1.8 creates an artistic blur in portraits, while in landscapes we usually work at f/8 or f/11 for greater sharpness.
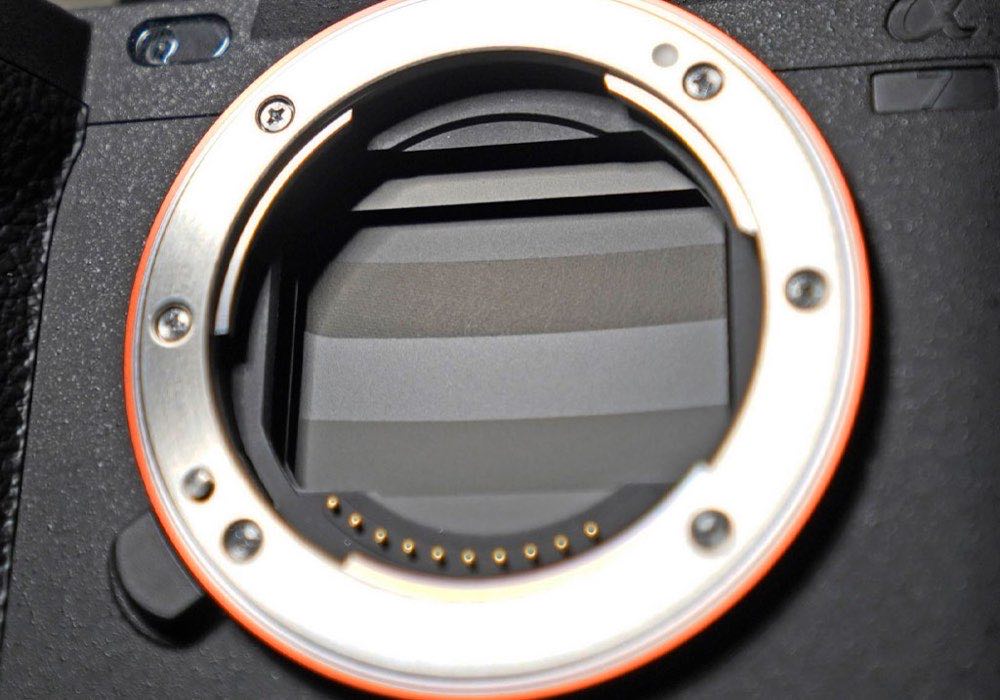
Shutter speed determines how long the sensor receives light. At 1/500s you can freeze a moving player, while at 1/30s you capture light trails or motion in water.
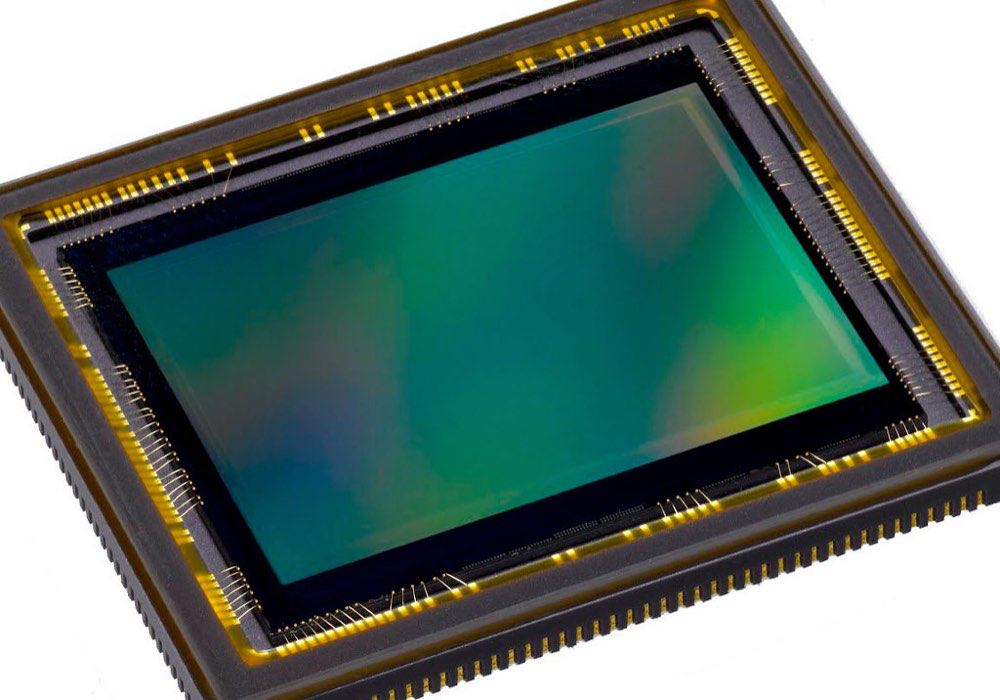
ISO amplifies the sensor's sensitivity. The ideal is to keep it low, such as ISO 100 or 200, to preserve quality and avoid noise. It should only be raised when aperture and shutter speed can no longer be adjusted without ruining the exposure or the desired creative effect.
These three parameters do not act in isolation: every adjustment to one affects the other two. Raising ISO lets you keep the shutter speed without changing the aperture. Stopping down forces you to compensate with a slower shutter speed or a higher ISO. That interdependence is the whole point: the same amount of light is achieved with a great many combinations, and each one gives a different photo.
Which parameter do I fix first in each scene?
Think first about the creative intention, fix the parameter that supports it and adjust the other two around it.
Scene: Portrait; Fix first: Aperture; Starting point: f/1.8-f/2.8; shutter speed and ISO according to the light
Scene: Sports or action; Fix first: Shutter speed; Starting point: 1/500s at minimum; aperture and ISO compensate
Scene: Landscape; Fix first: Aperture; Starting point: f/8-f/11 with ISO 100; shutter speed adjusts
The same exposure is achieved with different combinations: f/2.8 + 1/250s = f/4 + 1/125s = f/5.6 + 1/60s. The difference is not in the light, but in the aesthetic: blurred background, sharpness of motion or greater depth of field. You can watch those equivalences move live in the exposure triangle simulator, and the exposure triangle guide covers the rest of the cases.
To fine-tune the balance without changing the creative combination you chose, exposure compensation is a very useful tool: it lets you modify the overall exposure of the image in fractions of an EV without touching aperture, shutter speed or ISO manually.
What mistakes spoil exposure?
A frequent mistake is raising ISO unnecessarily. Many photographers raise it out of habit, when in reality it would be enough to open the aperture more or reduce the shutter speed a little. Another mistake is thinking that using f/22 gives more sharpness, when in reality it produces diffraction and a loss of quality.
It is also common to change all three parameters without criteria, which generates inconsistent results. The ideal is to fix one creative parameter (aperture for blur, shutter speed for freezing or low ISO for quality) and then adjust the other two accordingly. Not considering the artistic effect of each adjustment is losing the essence of the triangle: every combination is a style decision.
Another common mistake is confusing "correct exposure" with "the exposure the meter indicates." The meter measures an average reflectance of 18%, which can lead to underexposing very bright scenes or overexposing very dark ones. Learning to read the histogram and apply compensation when the meter is wrong is key to getting correct exposures consistently.
Which camera mode makes sense in each case?
Camera modes are shortcuts for managing the exposure triangle according to the priority of the moment:
Manual mode (M): full control over the three parameters. Ideal for learning and for situations with constant light.
Aperture priority (A/Av): you set the aperture, the camera adjusts the shutter speed. Perfect for portraits and landscapes where depth of field is the priority.
Shutter priority (S/Tv): you set the shutter speed, the camera adjusts the aperture. Ideal for sports and action.
Program mode (P): the camera selects the combination of aperture and shutter speed; the photographer can adjust the ISO and apply compensation.
Each mode has its place. An experienced photographer knows when to use manual (studio, constant light) and when to delegate to the camera (quick reportage, wildlife). They understand the triangle well enough to know what the mode you chose is asking of you.
The right order for touching the settings
ISO should always be your last resort, not your first. Adjust aperture and shutter speed before raising it. Aperture is the most creative parameter: play with it to get blur in portraits or total sharpness in landscapes. Shutter speed, on the other hand, is the guardian of sharpness: it defines whether you freeze or suggest motion.
A simple strategy is to set the aperture according to intention (for example, f/2.8 for portraits), and then move the shutter speed until you find a balanced exposure. If there is still not enough light, then and only then raise the ISO.
ISO sensitivity has its own detailed article where its nuances, its relationship with noise and the professional techniques for using it with intention are explored. Combining that knowledge with the complete exposure triangle is the path to total photographic control.
Frequently asked questions about the exposure triangle
How do I know if I'm using the right combination?
The histogram is your best ally. If highlights are clipped (pushed to the right) or shadows are crushed (pushed to the left), adjust one of the three parameters without losing sight of your creative intention.
Do I need to memorize all the equivalences?
No, understanding the logic is enough. Practicing with examples such as f/2.8 at 1/250s vs f/5.6 at 1/60s will help you internalize how they affect light and aesthetics without having to memorize tables.
Which exposure mode is best for practicing the triangle?
Manual mode is ideal for learning because it forces you to think about the three parameters. Once you understand the logic, the priority modes (aperture or shutter) are very efficient for everyday work.
How does the exposure triangle affect low-light photography?
In low light, the triangle becomes more demanding: you need a higher ISO, a wider aperture or slower shutter speeds, and every decision has consequences for noise, depth of field or sharpness. The priority is always to maintain the minimum safe shutter speed.
The three numbers you decide before shooting
Choose the parameter that supports the photo (aperture for portraits, shutter speed for action, f/8 to f/11 for landscapes), move the second until the exposure balances and leave ISO for last. That order solves most scenes without thinking about equivalences.
When the light runs out and you can no longer open up more or lower the shutter speed more, then raise the ISO. It is a resource, not a starting setting.
The 44 Enfogram cards come with these combinations printed by scene, so you can check them with the camera in your hand and without taking out your phone.