Christmas Bokeh: Tree Lights Step by Step
Learn to create Christmas light bokeh step by step: lens, aperture, distances and exact settings for perfect orbs of light.
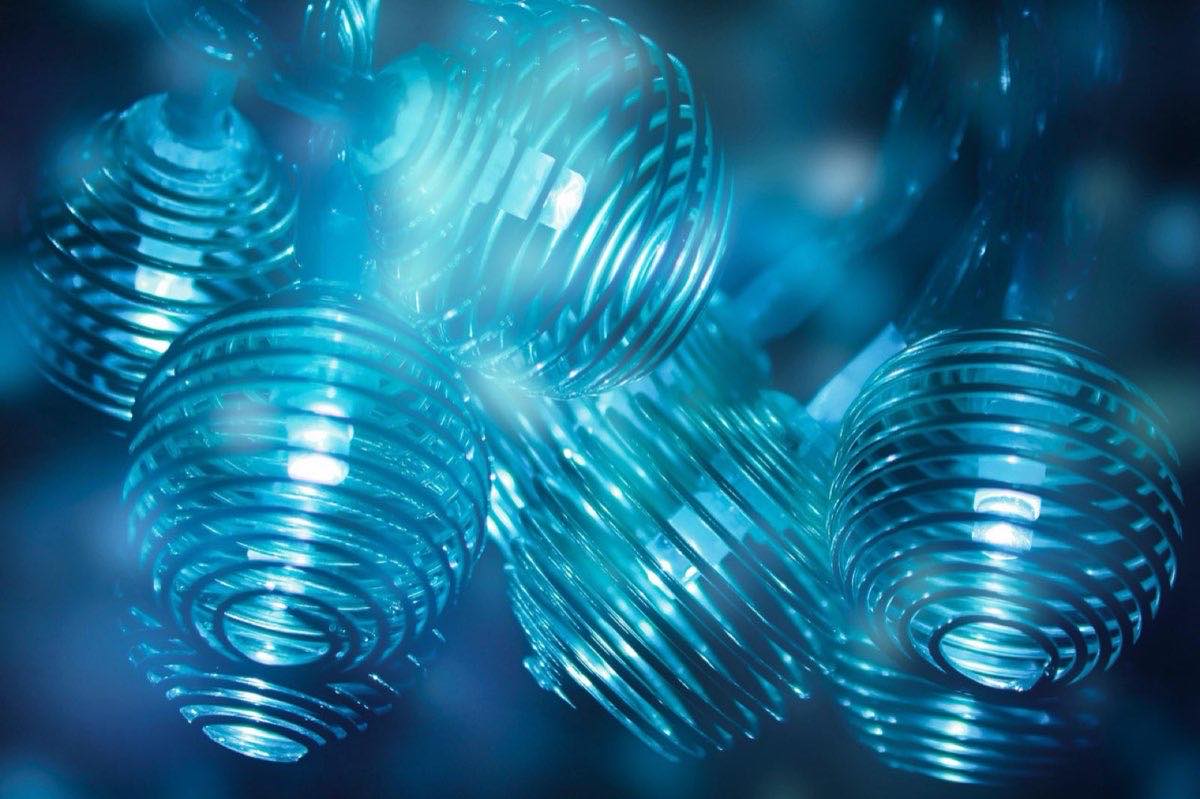
December fills homes with small point light sources, and that turns any room into an improvised studio. Christmas light bokeh (those soft, glowing orbs that appear when the tree lights fall out of focus) is one of the most rewarding effects to learn: once you understand three variables, you get results that look like they came from a catalog.
The good news is that you don't need an expensive lens. A 50mm f/1.8, usually the cheapest fast lens in any system, is the perfect tool. What you do need is to control depth of field on purpose, and that is exactly what this guide is about.
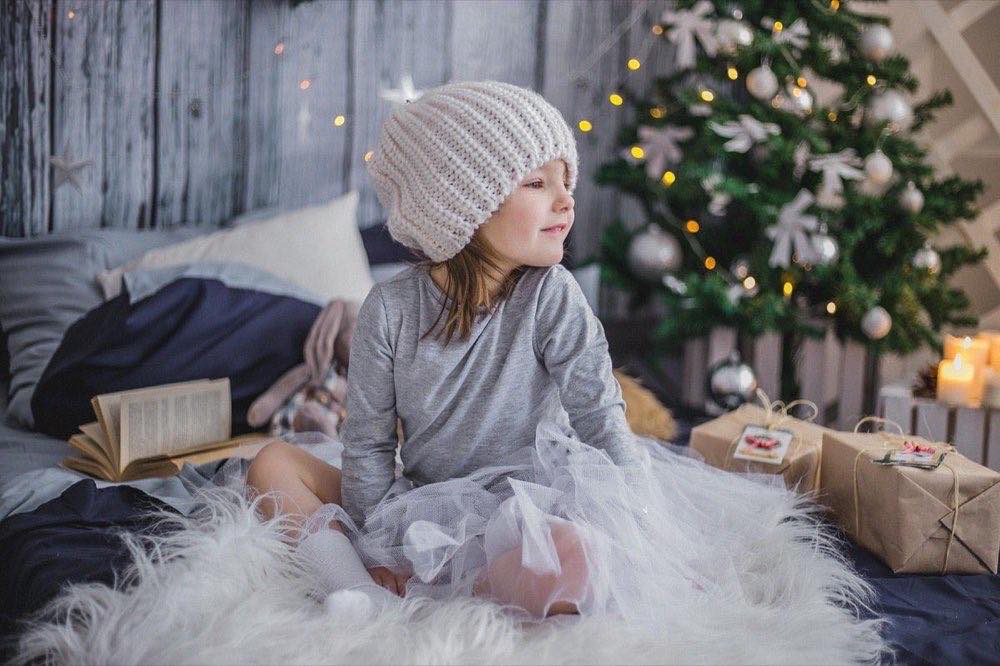
The short recipe, for anyone who already has the tree lit: 50mm at f/1.8, subject 1.2 meters from the camera and the tree 2.5 meters behind. The rest of the article is what to change when you want bigger orbs, smaller orbs or star-shaped ones.
Why bokeh orbs form
Each bulb on the tree is a nearly point-like light source. When it is within the plane of focus, it looks like a sharp dot; when it falls out of focus, it expands into a circle whose diameter depends on aperture, focal length and distances. The more out of focus the light and the wider the aperture, the bigger the orb.
That gives us the three practical rules of Christmas bokeh:
Aperture as wide as possible: f/1.8 produces much bigger orbs than f/4.
Subject close to the camera, lights far from the subject: the separation is what defocuses the lights.
A longer focal length helps: an 85mm creates bigger orbs than a 35mm at the same aperture.
If you want to understand in depth how these variables interact, the guide to depth of field explains the reason for each one with examples. And for your exact camera and lens combination, you can calculate the depth of field of your scene with this calculator before you shoot.
Step 1: set up the scene and the distances
Place your subject (a person, an ornament, a cup of hot chocolate) 1 to 1.5 meters from the camera, and make sure the tree sits at least 2 or 3 meters behind the subject. That subject-to-background separation is the ingredient most people forget: if the person is right up against the tree, the lights will never defocus enough.
Turn off the general ceiling light. Leave the tree lights on and, if you need to light the face, use a warm lamp from the side or window light if there is still daylight. The contrast between a lit subject and a background of points of light is what gives the classic Christmas look.
Step 2: recommended camera settings
Work in manual mode or aperture priority. Starting point for a nighttime interior with only tree lights and one auxiliary lamp:
Aperture: f/1.8 (or the maximum of your lens).
Shutter speed: 1/125 s if you are photographing people; 1/60 s if it is a static object and you have stabilization.
ISO: between 800 and 3200 depending on available light. Don't be afraid to raise it: a little noise can be fixed; a blurred photo can't.
White balance: 3200–3800 K to keep the warmth without everything turning orange.
Focus: single point on the subject's eye or the edge of the object.
Shoot in RAW so you can fine-tune the white balance afterward, because LED tree lights mix color temperatures unpredictably.
Which combination should I use for each type of shot?
Scenario: Portrait with big bokeh; Focal length: 85mm; Aperture: f/1.8; Distance to subject: 1.5 m; Subject-to-tree distance: 3 m; Result: Large, creamy orbs
Scenario: Half-body portrait; Focal length: 50mm; Aperture: f/1.8; Distance to subject: 1.2 m; Subject-to-tree distance: 2.5 m; Result: Medium orbs, readable background
Scenario: Ornament detail; Focal length: 50mm; Aperture: f/2; Distance to subject: 0.5 m; Subject-to-tree distance: 1.5 m; Result: Enveloping bokeh, sharp ornament
Scenario: Just defocused lights; Focal length: 50mm; Aperture: f/1.8; Distance to subject: Manual focus at minimum; Subject-to-tree distance: —; Result: Abstract of pure orbs
Scenario: Pet next to the tree; Focal length: 35mm; Aperture: f/2; Distance to subject: 1 m; Subject-to-tree distance: 2 m; Result: Visible context, moderate bokeh
Step 3: creative variations to get the most from the tree
Pure abstract bokeh: set the lens to manual focus, turn the ring to the minimum distance and frame only the lights. You will get a background of orbs with no subject, perfect as a texture or backdrop for compositions.
Custom shapes: cut a small star or heart (1–1.5 cm) out of black card, stick it centered in front of the lens and the orbs will take on that shape. It works best with f/1.8 or faster lenses.
Double plane: also place a string of lights between the camera and the subject, very close to the lens. Those foreground lights turn into soft blurs that frame the portrait.
If the session is in the dead of night and light is scarcer than expected, the techniques in low light without noise: focus, ISO and real minimum shutter speed will help you keep things sharp. And to master defocus at any time of year, see how to control blur and sharpness on purpose.
Why aren't my orbs coming out?
Three mistakes explain almost every failure. The first is closing the aperture too much "so everything comes out sharp": at f/8 the tree lights look like small, hard points, not orbs. The second is putting the subject against the tree, which as we saw eliminates the defocus. The third is trusting zone autofocus: with so little light, the camera tends to focus on the bright lights in the background instead of the face. Use single point and check by zooming in on the image.
Also watch your minimum shutter speed: with children or pets, 1/60 s almost always produces blurred photos. Raise the ISO before dropping below 1/125 s.
Frequently asked questions
Can I get Christmas bokeh with the 18-55mm kit lens?
Yes, though with smaller orbs. Use the 55mm end at f/5.6, get as close to the subject as you can and move the tree as far away as possible. The separation of distances partly makes up for the modest aperture.
Does my phone's portrait mode work for this effect?
Portrait mode simulates blur in software and usually turns the lights into blurry smudges without the characteristic round shape. If you only have a phone, it's better to get very close to the subject with the main camera and leave the lights far away: real optical blur, even if slight, looks more natural.
Why do my bokeh orbs come out with rough edges or an onion-ring look?
It is an optical characteristic of the lens, most visible in inexpensive lenses with aspherical elements. It is reduced by closing the aperture slightly (from f/1.8 to f/2.2) or by accepting it as part of the lens's character.
What white balance should I use if the tree has mixed colored lights?
Set 3500 K as a middle point and shoot in RAW. Multicolor lights don't have a single temperature, so adjust in development until skin tones look natural and let the lights keep their colors.
Before the lights get packed away
Pick the row of the table that resembles your scene, shoot in RAW and repeat the same photo changing just one thing: the distance between the subject and the tree. In five shots you will see with your own eyes what that separation does to the size of the orbs, and you won't forget it in January, when the lights go back in the box.
The 44 printed cards from Enfogram carry the settings for every situation, so you don't have to look them up on your phone in a dark room with your hot chocolate going cold.