Sharp Eyes: Face and Eye Detection Autofocus
Set up eye focus for portraits with face and eye detection: AF modes, settings by scenario and fixes for when Eye-AF fails.
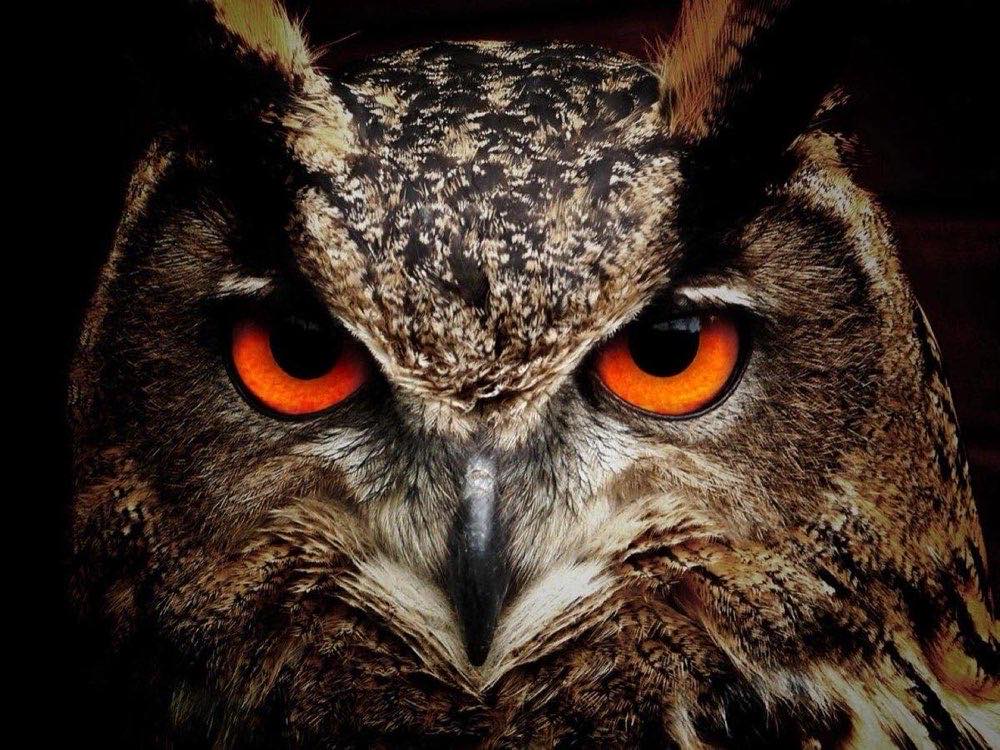
In a portrait there is only one non-negotiable technical rule: the eye must be sharp. You can forgive imperfect framing or improvable light, but an out-of-focus eye kills the connection with the image. That is why mastering eye focus for portraits, your camera's automatic face and eye detection, is the most profitable investment of time you can make in your technique.
Today's Eye-AF systems (Sony Real-time Eye AF, Canon Dual Pixel with subject detection, Nikon Eye-Detection AF, Fujifilm Face/Eye Detection) are extraordinarily reliable, but they are not magic: you have to set them up well, know when they trust too much and have a plan B when they fail.
Here you will see the recommended setup step by step, the settings by scenario and the mistakes that make your eyes come out soft even with Eye-AF on.
Set the right AF mode
Eye detection works best built on these foundations:
Area mode: use a wide or tracking area (Wide/Tracking on Sony, whole-area AF with subject detection on Canon, Auto-Area AF on Nikon). The camera finds the face across the whole frame and jumps to the eye automatically.
AF-C (continuous) always for portraits: even if the subject is "still," both of you breathe: you and the person. At f/1.8 and 1.5 meters, a 2 cm sway takes the eye out of the focus plane. AF-C constantly readjusts; AF-S only focuses once.
Closest-eye priority: almost all brands do this by default; verify that it is active.
Back button or shutter: for portraits, half-pressing the shutter with AF-C + Eye-AF is the simplest and most effective. Back-button AF is useful if you alternate with compositions without faces.
These modes are part of a broader system worth understanding from the ground up; the guide to focus systems explains the differences between phase detection and contrast detection, and when to use each AF area.
What settings do I use in each portrait scenario?
Eye detection needs light, contrast and a reasonably large eye in the frame. These are proven starting points:
Scenario: Static portrait, good light; Aperture: f/1.8 – f/2.8; Shutter speed: 1/250 s; ISO: 100–400; AF mode: AF-C + Eye-AF, wide area
Scenario: Subject walking toward the camera; Aperture: f/2.8; Shutter speed: 1/500 s; ISO: Auto (cap 3200); AF mode: AF-C + tracking
Scenario: Low-light interior; Aperture: f/1.8; Shutter speed: 1/160 s; ISO: 1600–6400; AF mode: AF-C, zone area
Scenario: Children playing; Aperture: f/2.8 – f/4; Shutter speed: 1/800 s; ISO: Auto (cap 6400); AF mode: AF-C + Eye-AF + 8 fps burst
Scenario: Profile (only one eye visible); Aperture: f/2.8; Shutter speed: 1/250 s; ISO: According to light; AF mode: AF-C, flexible spot on the eye
Safety rule: the wider the aperture and the closer the subject, the more razor-thin the sharp zone. At f/1.4 in a close-up, consider stopping down to f/2 – f/2.8 if you want the eyelashes and both eyes acceptable.
When Eye-AF fails and what to do
Eye detection loses reliability in specific situations:
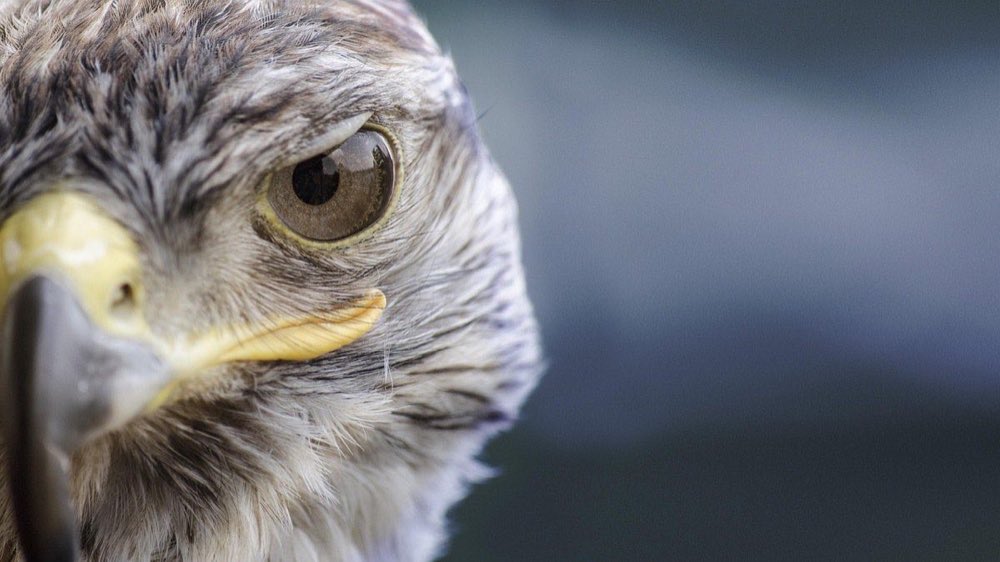
Strong backlight or very little light: the system cannot distinguish the face. Solution: raise the ISO for the preview, or light the subject with a modeling light or even your phone's flashlight to focus.
Tight profiles and heavily turned faces: some systems lose the eye. Switch to a small single point placed manually over the visible eye.
Glasses with reflections: the camera focuses on the reflection in the lens, not the iris. Ask for a slight head turn to kill the reflection, or focus on the frame, which is practically in the same plane.
Hats, bangs, veils: if the eye is partially covered, use a single point.
Several people: select the priority face with the joystick or the face registration function; do not let the camera decide for you.
The universal plan B is always the same: small single point + AF-C, placed on the closest eye. It is slower, but very reliable.
Shutter speed: the false defocus
Many "focus failures" are actually camera shake or subject movement. If the eye has detail but is soft overall, the problem is the speed, not the AF.
Recommended minimums for portraits: 1/200 s with a still subject and short focal lengths, 1/320 s with an unstabilized 85mm, 1/500 s if there is directed movement and 1/800 s or more with active children. In low light, raise the ISO without fear: grain is easier to fix than blur, a principle I develop in the article on low-light photography without noise.
Check your results by zooming to 100% on the eye in the first shots of each session: catching a calibration or speed problem in minute five saves the whole session. More verification techniques in the secrets of advanced focusing.
Frequently asked questions
Eye-AF or single point: which is more accurate?
In normal conditions, modern Eye-AF is as accurate as or more accurate than a single point placed by hand, and much faster. The single point wins only in edge cases: reflections in glasses, occlusions and severe backlight.
Does Eye-AF work on DSLR cameras?
On a DSLR, eye detection only works in Live View (with the mirror up) and tends to be slow. Through the optical viewfinder, use the center AF point or one near the eye and reframe carefully, or better, stop down the aperture one stop.
Why are my photos at f/1.4 never sharp on the eye?
At f/1.4 and short distances the depth of field can be less than 2 cm. Any sway after focusing ruins it. Use AF-C, shoot a short burst and avoid reframing after focusing.
Does eye detection work with animals?
On most recent cameras, yes: there are specific modes for dogs, cats and birds. Turn it on in the subject detection menu; the "human" mode does not detect animal eyes.
A sharp eye is not a matter of luck
A sharp eye is not a matter of luck: it is AF-C with well-configured eye detection, a sufficient shutter speed and a single-point plan B for difficult cases. Set it up once, save it to a custom mode and forget about the dials during the session.
Dedicate one practice session just to testing the limits of your Eye-AF: you will know exactly when to trust it. At Enfogram you will find the 44 photography cards with the exact settings for every situation: print them, carry them with you and shoot with confidence.