Daytime Long Exposure: Complete Step-by-Step
Daytime long exposure without mistakes: ND filter calculation, full settings, field workflow and fixes for a clean result.
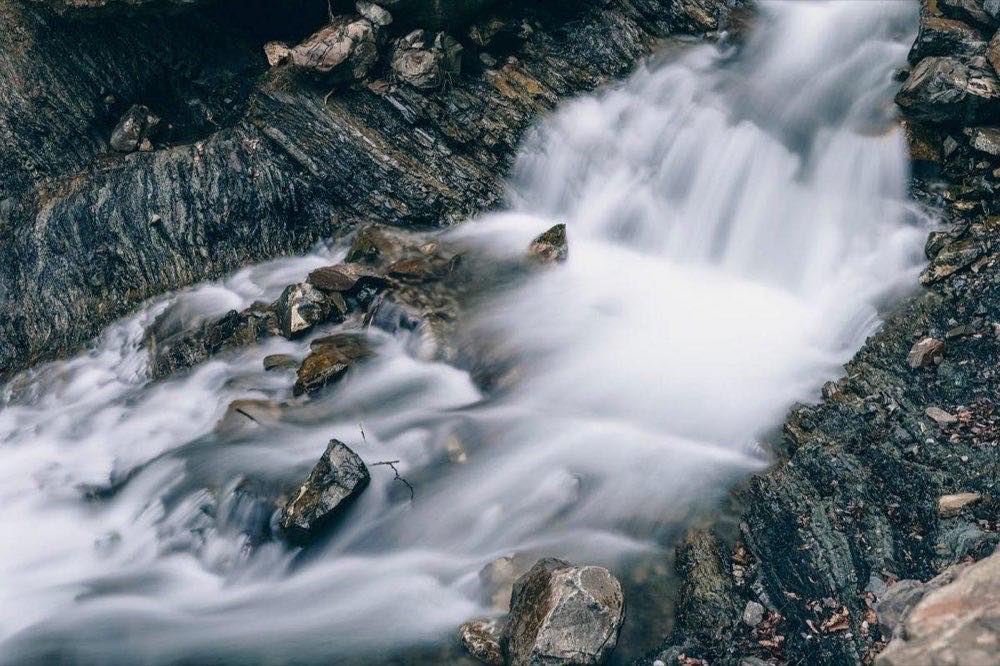
Turning a sunny midday into a two-minute exposure that flattens the sea, drags the clouds into streaks and erases anyone in motion is one of the most satisfying tricks in landscape photography. Daytime long exposure demands more discipline than its night version, because you have to subtract ten stops of light or more with filters, see nothing through the viewfinder once they are mounted, and have no margin for error in the calculation.
This article is the complete step-by-step: from composing without a filter to checking the final exposure, leaving no step to improvisation.
If instead you are after the same effect but at night, with stars or city lights instead of moving clouds, the exposure approach is different and is covered in night long exposure with blue hour.
Why the process must always follow the same order
The most common mistake in daytime long exposure is trying to adjust everything with the filter already mounted. With a 10-stop ND on, the viewfinder looks practically black, autofocus finds nothing to grab onto and any recomposing is blind. The solution is to reverse the order: solve composition, focus and base exposure first, and mount the filter last, only to shoot.
Step 1: composition and framing without a filter
Mount the camera on a tripod, calmly compose the final framing (level horizon, foreground if there is one) and confirm you are satisfied before continuing. Any framing adjustment after mounting the filter will be much harder.
Step 2: locked manual focus
Focus on the desired point with autofocus (or manually with the screen magnifier), and as soon as it is sharp, switch to manual. With the filter mounted, AF won't work or will hunt indefinitely; focus must be fixed before that moment.
Step 3: meter the base exposure without the filter
In manual mode or aperture priority, meter the scene as it is, without ND. For example: f/11, ISO 100 → the camera indicates 1/250 s. This value is your starting point for the calculation.
Step 4: calculate the exposure with the filter
This is where most mistakes happen by hand. Each filter stop doubles the exposure time: a 10-stop ND multiplies the base time by 1024 (approx. 1000). Converting 1/250 s into approximately 4 seconds in your head is error-prone, especially if you combine two filters (for example, CPL + ND1000 add up stops). You can calculate the exact exposure with your ND filter and enter your base shutter speed and the filter you will use directly, to get the final time without margin for error.
Step 5: switch to full manual and mount the filter
Manually set f/11, ISO 100 and the calculated time (for example 4 seconds, or Bulb if it exceeds 30 seconds). Only then screw on or slide the ND filter in front of the lens, taking care not to move the framing or the focus ring in the process.
Step 6: shoot without vibration and review
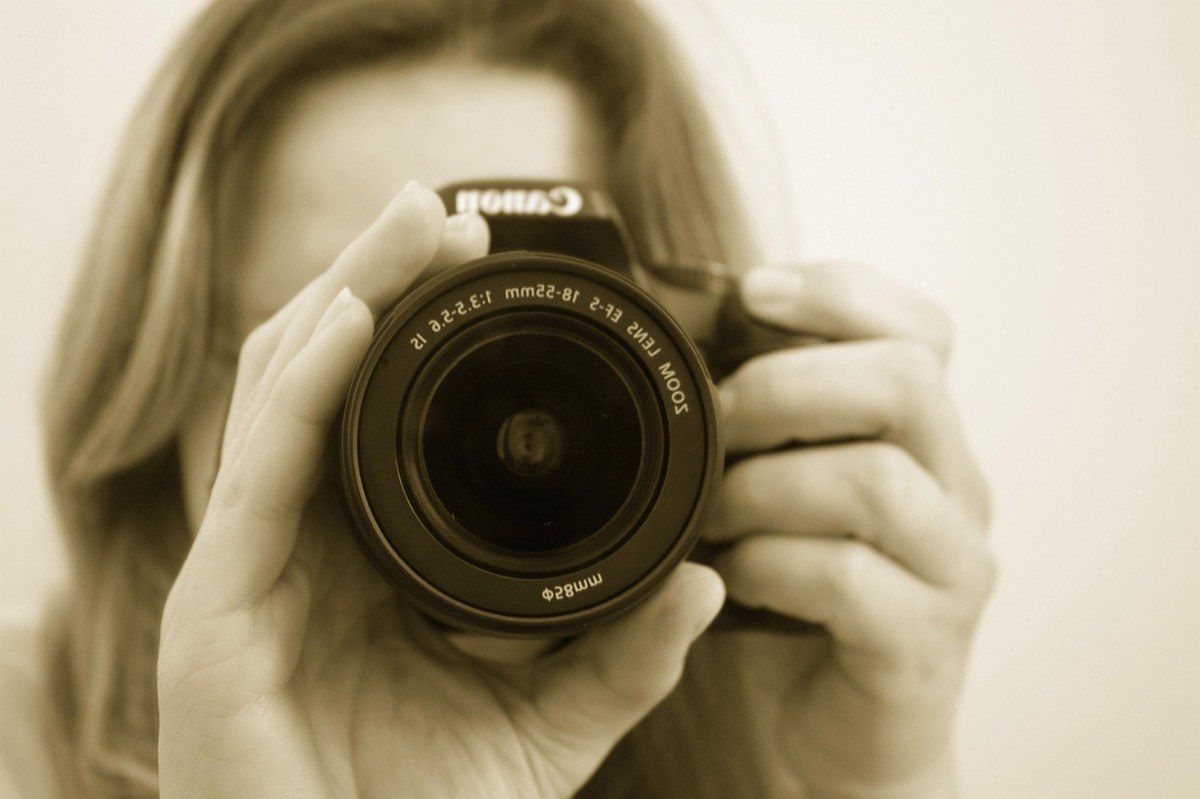
Use a 2-second timer or remote release to avoid any vibration when pressing the button. After the first shot, check the histogram (not just the on-screen preview, which is deceptive in daylight): if it is off by more than half a stop, adjust the time and repeat.
Reference table: base exposure to final exposure
Metering without filter: 1/1000 s; ND8 (3 stops): 1/125 s; ND64 (6 stops): 1/16 s; ND1000 (10 stops): 1 s
Metering without filter: 1/500 s; ND8 (3 stops): 1/60 s; ND64 (6 stops): 1/8 s; ND1000 (10 stops): 2 s
Metering without filter: 1/250 s; ND8 (3 stops): 1/30 s; ND64 (6 stops): 1/4 s; ND1000 (10 stops): 4 s
Metering without filter: 1/125 s; ND8 (3 stops): 1/15 s; ND64 (6 stops): 1/2 s; ND1000 (10 stops): 8 s
Metering without filter: 1/60 s; ND8 (3 stops): 1/8 s; ND64 (6 stops): 1 s; ND1000 (10 stops): 16 s
Metering without filter: 1/30 s; ND8 (3 stops): 1/4 s; ND64 (6 stops): 2 s; ND1000 (10 stops): 32 s (Bulb)
Settings by desired effect in full daylight
Clouds with soft streaks: 1-4 seconds, f/11, ISO 100 with ND1000. Enough to give movement without losing all the structure of the clouds.
Clouds fully dragged into lines: 30 seconds to 2 minutes stacking filters (for example ND1000 + ND64) or in low light, in Bulb mode with a remote release or interval timer.
Silky sea: 30 seconds to 2 minutes, f/11, ISO 100, ND1000 stacked with another filter or in low light. The surf becomes a uniform sheet of mist.
Erasing people from a busy place: 1-4 minutes make anyone in constant motion disappear; those who stop will leave a faint ghost shadow.
Waterfall with total silk at midday: ½-2 seconds with ND64 (ND1000 is usually excessive for water, which loses all texture), the same logic developed in waterfalls: the exact shutter speed for each effect.
To understand the full relationship between shutter speed and the effect on different kinds of motion (water, clouds, people), the shutter speeds guide is the theoretical basis for all these calculations.
Technical precautions specific to daytime
Cover the viewfinder: on DSLR cameras, intense daylight entering through the eyepiece during exposures longer than 5-10 seconds contaminates the shot with veils and stains. Use the built-in cover or tape it over.
Extreme stability: with exposures of 30 seconds to 2 minutes, any vibration accumulates visibly. Hang weight from the tripod's center hook, avoid soft or wave-washed surfaces under the legs, and remove the camera strap so it doesn't flap in the wind.
Vignetting when stacking filters: combining CPL and ND on a wide angle below 20mm usually produces dark corners. Use slim filters or crop slightly in editing.
Condensation on the filter: near water (waterfalls, coast), the filter itself can fog up from ambient humidity during a long exposure. Carry dry cloths and check the filter right before each shot.
Battery: long, repeated exposures drain more battery than usual, especially in Bulb mode with the sensor active the whole time. Bring a spare.
Frequently asked questions
Can I do daytime long exposure without an ND filter?
Only in very low light conditions (very dark overcast, deep shade) and by stopping the aperture down as far as it goes with minimum ISO, you might reach 1-2 seconds. For effects of thirty seconds or more in full daylight, you need at least an ND1000, and often stacked filters.
Why does my photo come out completely black?
The most common mistake is calculating from the wrong metering (for example, metering in shade and then the sun comes out) or adding up the stops of a combined filter wrong. Always check the histogram after the first shot and correct before repeating the entire session.
Do I need Bulb mode for all long exposures?
Only when the time exceeds your camera's limit in manual mode (usually 30 seconds). Below that, standard manual mode with a selectable shutter speed is enough and simpler.
How do I avoid noise in multi-minute exposures?
Keep ISO at its base value (100) whenever possible, and turn on long-exposure noise reduction in the camera menu if your sensor produces visible hot pixels; keep in mind that this doubles the total time per shot (a dark frame of equal duration is automatically subtracted).
The exact order of the steps
Daytime long exposure is, above all, a process: compose and focus without the filter, meter the base, calculate the conversion, lock everything in manual and only then mount the ND to shoot. Skipping this order is the cause of most lost shots.
Practice first with an ND64 at a waterfall or a sky with visibly moving clouds before making the leap to ND1000 and its longer exposures. At Enfogram you will find the 44 photography cards with the exact settings for every situation: print them, carry them with you and shoot with confidence.