Landscape Editing: A Complete Lightroom Workflow
Edit landscapes in Lightroom step by step: the order of global adjustments, local corrections and export settings for natural color.
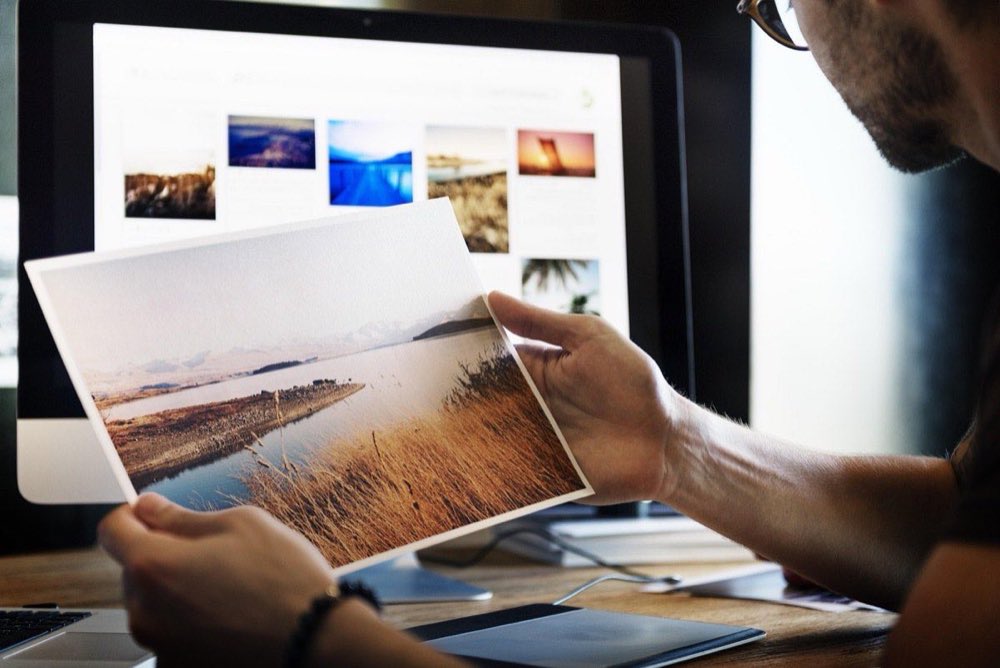
A freshly imported landscape RAW file always looks flat, dull and without the energy you remember from the real scene. That is normal: RAW stores the maximum possible information without any interpretation, and editing landscapes in Lightroom is precisely the process of translating that information into the image you saw with your own eyes, or even the one you imagined while shooting.
The usual mistake is moving sliders at random until it "looks good," which produces inconsistent results between photos and an overprocessed look. An orderly workflow, from global to local, always in the same order, gives repeatable and natural results.
This guide is that workflow, step by step, with the adjustment ranges that avoid the artificial look.
Step 1: technical corrections before aesthetic ones
Before touching color or contrast, solve the file's technical problems:
Camera profile: in the profile panel, choose an "Adobe Color" profile or the one specific to your camera as a neutral starting point, instead of the default flat profile.
Lens correction: turn on "Remove Distortion" and "Remove Chromatic Aberration" in the lens panel. In wide-angle landscapes, this corrects vignetting and curved lines at the edges.
Straighten the horizon: use the crop tool with the level guide, or the automatic leveling adjustment if the horizon is slightly crooked (a very visible mistake in landscapes).
Remove sensor dust: check areas of smooth sky at 100% zoom; dust spots are much more visible there than in textured areas.
Step 2: exposure and global contrast
With the technical base solved, adjust the overall light of the image in this order:
Exposure: the master adjustment, so the overall histogram is well distributed without serious clipping.
Contrast: small adjustments (+5 to +15) to give body without flattening or exaggerating.
Highlights: lower (-20 to -60) to recover detail in skies and bright areas.
Shadows: raise (+20 to +50) to open up detail in dark areas without washing out the blacks.
Whites and blacks: adjust while holding the Alt/Option key as you move the slider, to see exactly where clipping begins and stop just before it.
This order (exposure, contrast, highlights, shadows, whites/blacks) avoids the mistake of adjusting shadows before solving the overall exposure, which forces you to repeat the whole process twice. The fundamentals of why the histogram behaves this way are in the guide to post-processing and creative digital development.
Step 3: color in moderation
Color is where landscapes are most abused. Adjust with this sequence:
Temperature and tint: first correct any unwanted color cast (for example, an excess of blue in snow shadow), then adjust the overall warmth according to your intent (warmer for golden hour, more neutral to document faithfully).
Vibrance before saturation: vibrance saturates the less intense colors without oversaturating those that are already intense (it keeps reds or oranges from "exploding"). Recommended range: +10 to +25.
HSL by channel: instead of raising overall saturation, adjust individual channels. For example, in autumn photography, raise the saturation of orange and lower that of yellow slightly if they compete for attention.
Subtle color curve: a slight S-curve on the combined RGB channel adds depth without touching color; avoid aggressive curves on individual channels unless you are after a specific look.
Reference rule: if when you finish the image does not look like what you remember seeing, back off 20-30% on each color slider. Oversaturation is the clearest mark of amateur editing.
Step 4: local corrections
This is where the landscape gains real depth, directing the viewer's attention:
Graduated filter over the sky: lower exposure (-0.5 to -1 EV) and add some contrast to give body to clouds that were left flat after the global adjustment, the same type of sky you aim to capture in the sky in landscape: how much to include.
Adjustment brush over the foreground or main subject: slightly raise clarity and exposure (+0.2 to +0.4 EV) to draw the eye toward that area.
Inverted radial mask in the corners: a subtle vignette (-10 to -20) darkens the edges and concentrates attention on the center of interest, without being noticeable as an effect.
Spot removal: remove minor distracting elements (stray branches, litter, a dirty sensor) with the removal tool, always checking at 100% zoom.
Summary table of the workflow by scene type
Scene type: Sunrise/sunset; Exposure/contrast: Highlights -40, shadows +30; Color: Vibrance +20, warm; Key local corrections: Graduated filter on the sky, subtle vignette
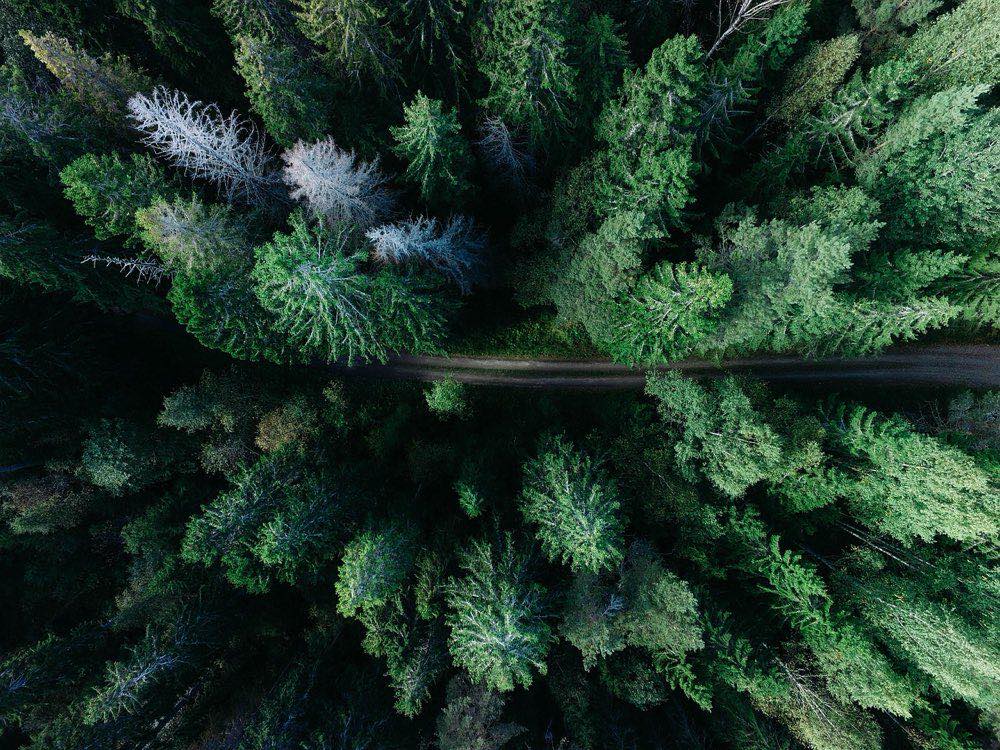
Scene type: Overcast forest; Exposure/contrast: Contrast +10, shadows +20; Color: Adjusted green HSL; Key local corrections: Brush on the isolated subject
Scene type: Snow/high mountain; Exposure/contrast: Whites +20, watch for clipping; Color: Neutral to cool temperature; Key local corrections: Gradient to separate sky/snow
Scene type: Waterfall/moving water; Exposure/contrast: Contrast +15; Color: Vibrance +15; Key local corrections: Brush to brighten foam
Scene type: Lake reflection; Exposure/contrast: Balanced exposure; Color: Color symmetry top/bottom; Key local corrections: Mask along the waterline
Scene type: Milky Way/astro; Exposure/contrast: Shadows +50, noise -30; Color: Cool temperature, slight magenta tint; Key local corrections: Luminance noise reduction
Export: preparing the file for its final destination
Editing does not end on the screen; the output file changes depending on use:
Web/social media: export in sRGB, 2048 px on the long side, JPEG quality 80-90%, with a slight sharpening increase for screen (amount 60-80, radius 1.0).
Print: export in Adobe RGB or ProPhoto RGB if your lab supports it, at the file's native resolution (300 ppi), with sharpening adjusted to the paper type (matte needs more sharpening than glossy).
Portfolio or client: uncompressed 16-bit TIFF if further editing by third parties is required; maximum-quality JPEG if it is the final delivery.
Always save a preset of your base technical corrections workflow (profile, lens, leveling) to apply automatically on every import and save time on the repetitive steps.
Frequently asked questions
Should I edit each photo from scratch or use a preset?
A base preset for technical corrections (lens, profile) saves time and is recommended. But exposure, color and local corrections must be adjusted photo by photo: no landscape scene is identical to another in light.
Why does my sky look gray and lifeless after lowering the highlights?
You lowered too much without compensating with local contrast. Add a graduated filter over the sky with a little contrast and clarity, instead of just lowering the global exposure of that area.
How long should it take to edit a landscape photo?
With an orderly workflow like this one, between 3 and 8 minutes for a standard photo; those that require HDR merging or focus stacking take longer because of the mask work and edge review.
Is it necessary to shoot RAW to follow this workflow?
Yes, it is essential: the highlight, shadow and color adjustments described here depend on the dynamic range and bit depth that only RAW preserves. A JPEG already has those decisions "baked in" and with much less margin.
Editing is not fixing
Editing a landscape is not "fixing" it: it is translating the technical information in the RAW into the visual experience you wanted to capture. An orderly workflow (technical, global exposure, moderate color, local adjustments) gives consistent results and avoids the overprocessed look that gives away the beginner.
Save your own base preset, practice the same order on every photo and always compare the final result with your memory of the real scene. At Enfogram you will find the 44 photography cards with the exact settings for every situation: print them, carry them with you and shoot with confidence.