Light Metering: Beyond the Auto Meter
Master light metering: metering modes, exposure compensation and how an external light meter improves your accuracy.
The modern camera is full of automations that make decisions easier, but there is a point where pure technique and creativity cross: light metering. Understanding how to meter and what to do with that information marks the difference between a correct exposure and a photograph with intention.
The camera's built-in meter is useful, but it's best to see it as a "dumb" assistant: it gives you a reference point, not an absolute truth. The real control is in your hands. Knowing how to choose the right metering mode, interpret the histogram and apply compensation when appropriate is what turns a photographer into a visual storyteller.
Why the automatic meter doesn't always work
The camera's built-in meter works by measuring the reflected light from the subject and scene. Its goal is to calculate the exposure that would produce a value of 18% gray (the midtone it considers neutral). This approach works well in most situations, but fails systematically in cases where the scene departs from neutral gray:
Snow or white sand: the meter interprets them as "too bright" and underexposes the image, leaving the snow gray.
Low-key scenes: a person in dark clothing against a dark background leads the meter to overexpose to reach neutral gray.
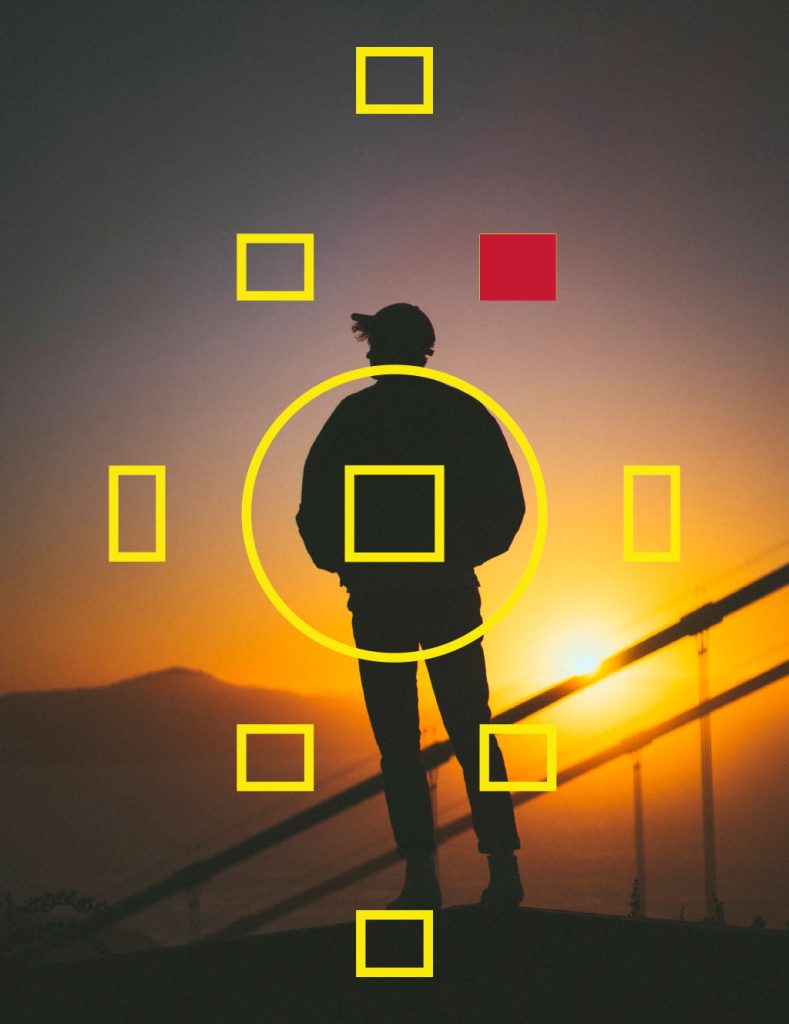
Backlighting: the evaluative meter gets confused by the brightness of the background and underexposes the main subject.
High-contrast scenes: no average represents well a scene with exposure differences greater than 3–4 stops.
Knowing these limits lets you anticipate when you need to intervene and how to do it.
Light metering modes and their logic
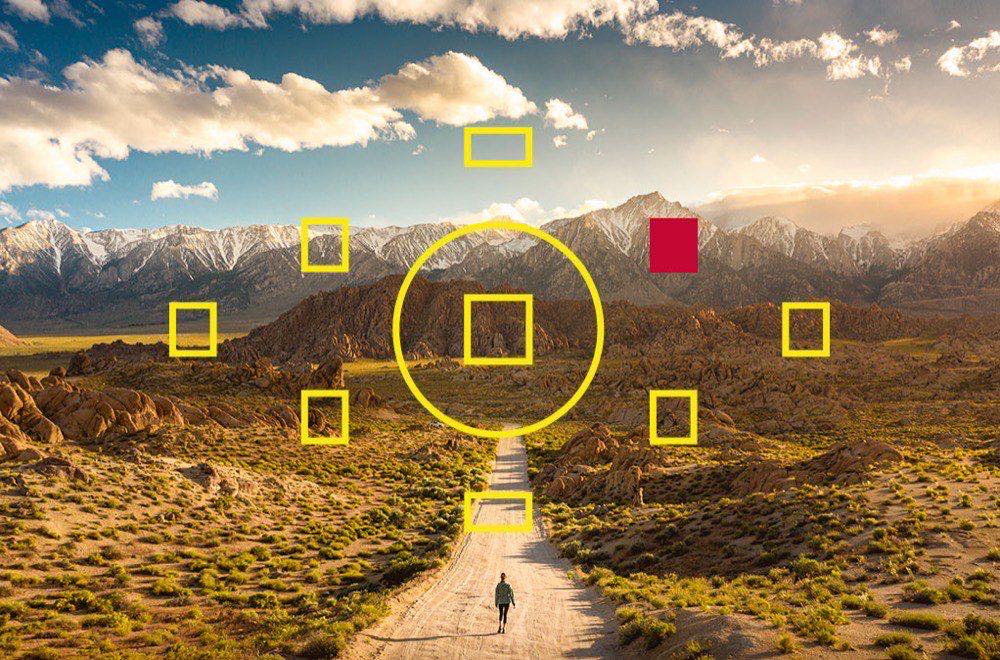
Most cameras offer several metering modes, each with a different character. Evaluative (or matrix) metering analyzes the whole scene and looks for an average, which is a good starting point in balanced situations such as landscapes.
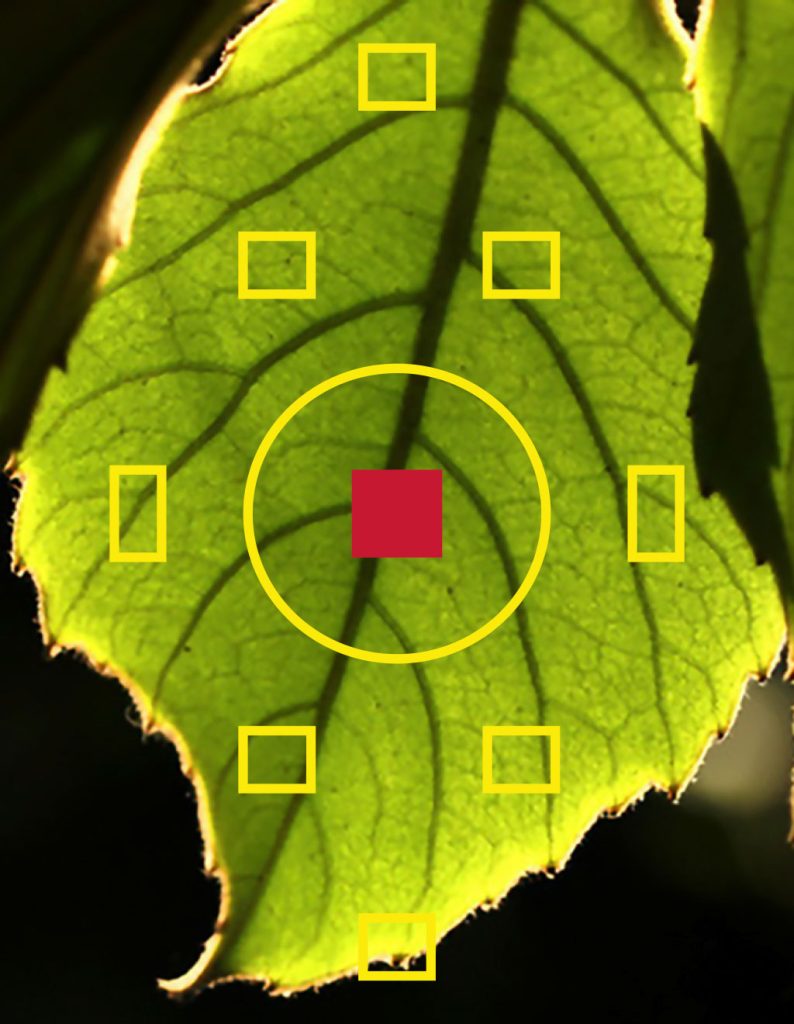
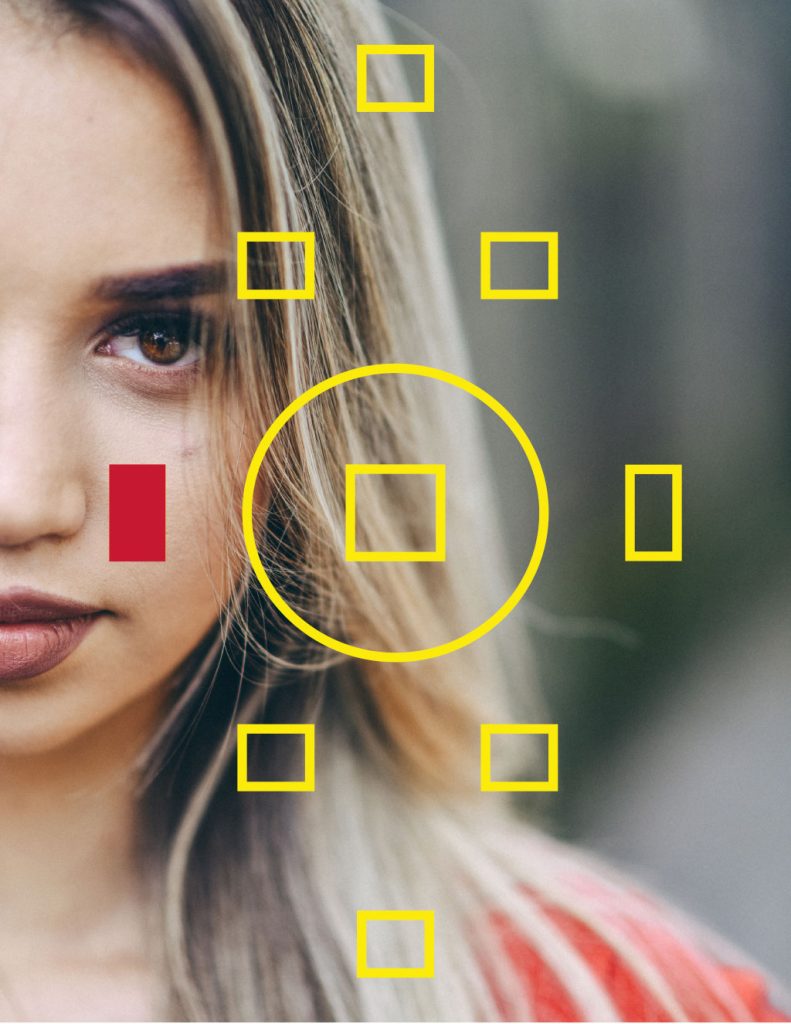
Spot metering concentrates on a small area (generally 1–5% of the frame) and allows surgical control. It is the key tool for portraits in high-contrast conditions, where what matters is that the face is correctly exposed even if the background ends up brighter or darker.
Center-weighted metering is useful when the main subject is centered and the background is uniform. Although it is used less today, it still offers consistency in classic portraits or controlled situations.
Finally, manual metering with an external light meter comes into play in environments such as the studio, where the light doesn't change and measuring the incident light (the light that reaches the subject, not the light it reflects) lets you set exact values that hold throughout the whole session.
Applications of light metering in different scenarios
Imagine an outdoor portrait in harsh light: spot metering on the face ensures the skin is well exposed, even if the sky blows out a little. In a complex landscape with highlights and deep shadows, evaluative metering combined with confirmation on the histogram lets you decide whether to compensate up or down.
In extreme backlighting, spot metering on the subject and then adding fill light with a flash or reflector balances the exposure without losing drama. And in the studio, where the environment is predictable, manual metering with an external light meter remains the most reliable way to achieve consistency across a whole set.
Specific cases and which mode to use:
Portrait with a window (indoors): spot metering on the face. The bright window background confuses evaluative.
Snow landscape: evaluative metering + compensation of +1 to +2 EV. Without compensation, the snow will come out gray.
Night event with stage lights: evaluative or center-weighted metering. Spot on a lit area can underexpose the background.
Product photography in the studio: handheld meter in incident mode. It guarantees repeatability between shots.
To see how light metering shows up in the histogram and how to read that graph to confirm your exposure, see our guide on the creative histogram: read light like a pro.
Exposure compensation: the most underrated adjustment
Exposure compensation is one of the most useful controls on the camera and one of the least used by developing photographers. It lets you shift the exposure decided by the automatic up (+EV) or down (–EV) immediately, without changing the parameters manually.
When and how much to compensate:
White or very bright scenes (snow, sand, white clothing): apply +1 to +2 EV. The automatic will tend to underexpose.
Dark or low-key scenes: apply –0.7 to –1.7 EV. The automatic will tend to overexpose.
Backlit portraits without flash: apply +1 to +2 EV so the face is exposed. The background will blow out, but the subject will be fine.
Dramatic sunset skies: apply –0.7 to –1.3 EV to preserve the richness of color in the sky.
Compensation is especially valuable in aperture priority (Av) or shutter priority (Tv/S) mode, where the camera controls one of the parameters. In manual mode it doesn't apply because you control all the values.
To dig deeper into how exposure compensation works in practice with visual examples, read our article on exposure compensation: a practical guide with real examples.
What mistakes should you avoid?
One of the most common mistakes is always trusting evaluative metering. It works in most situations, but it gets confused easily by high-contrast scenes. Another habitual failure is metering in extreme areas, such as a very bright or very dark spot, and letting that reading dictate the exposure of the whole image.
It is also frequent not to understand which part of the scene each mode measures: some photographers assume the camera "knows" what is important, when in reality the meter only calculates averages. Finally, many forget that exposure compensation exists, that small adjustment that quickly corrects when automatic metering doesn't match your creative intention.
Additional underlying mistakes:
Not using exposure lock (AE-L): if you meter at one point and then recompose without locking, the reading changes. The AE-L button fixes the reading so you can recompose without losing it.
Ignoring the histogram after the first shot: checking the histogram of the first shot in a series tells you whether your metering and compensation are producing the desired result.
Assuming manual mode is always better: manual is optimal in stable conditions (studio, tripod). In dynamic situations (reportage, events, wildlife), semi-automatic modes with active compensation are more practical.
Metering strategies and pro tips
A reliable technique is to use spot metering on a representative area of the subject and lock the exposure (AE-L) before recomposing. This way you make sure the reading stays where it really matters.
For long series where you need consistency, as in product or fashion photography, manual metering is unbeatable: you reduce the variables and concentrate on directing and creating. In complex scenes, where no reading seems entirely right, a very useful practice is to take several readings and build a "mental average" that balances highlights and shadows according to your narrative judgment.
Three-step metering routine for difficult scenes:
Identify the priority zone: which area of the image is most important to have well exposed? (usually the face in portraits, the highlights in landscapes).
Meter that zone with spot or partial and note the exposure value the camera proposes.
Decide whether to compensate: is the priority zone brighter or darker than neutral gray? Adjust the compensation accordingly and confirm with the histogram.
With practice, this process takes less than five seconds and guarantees consistent exposures in varying conditions.
Frequently asked questions
What is the best metering mode to start with? Evaluative is versatile and works as a base. But it is worth practicing with spot to learn to make more conscious decisions about which area of the image defines the exposure.
Should I always correct with exposure compensation? Not always. If your reading matches your intention, there's no need. But in scenes with snow, sand or backlighting, it is almost mandatory to avoid systematic errors from the meter.
Why use an external light meter if the camera already measures light? The external meter measures incident light (the light reaching the subject), while the internal one measures reflected light (the light the subject returns to the camera). Reflected light varies with the color and reflectivity of the subject. Incident light doesn't depend on the subject, which makes it more precise and reliable, especially in the studio.
When is center-weighted metering most useful? It is useful in situations where the subject is centered and the background is uniform, such as portraits with a plain background or studio photography with controlled backgrounds. Also in situations where you don't have time to use spot and evaluative tends to get confused.
On what to meter in each scene
Strategic light metering is one of the most powerful tools for real creative control. The built-in meter offers data, but you are the one who decides whether you want a perfect face, a dramatic sky or an intentional balance between the two.
By understanding each mode, avoiding common mistakes and applying techniques such as exposure lock or manual metering, you stop shooting on auto and start building images with narrative intent. Light is no longer an obstacle, but a malleable resource.
At Enfogram we believe that mastering light metering is key to moving from reactive photography to creative photography. That is why we developed educational cards and practical guides that help you train this process and use exposure as a visual language.
Do you want to learn to read light with judgment and not just with the meter? Explore the resources from Enfogram and transform the way you expose your photos.