Milky Way Photography: Planning, Settings and the 500 Rule
Learn to photograph the Milky Way step by step: when to go out, how to plan the shot and which settings to use with the 500 rule for sharp stars.
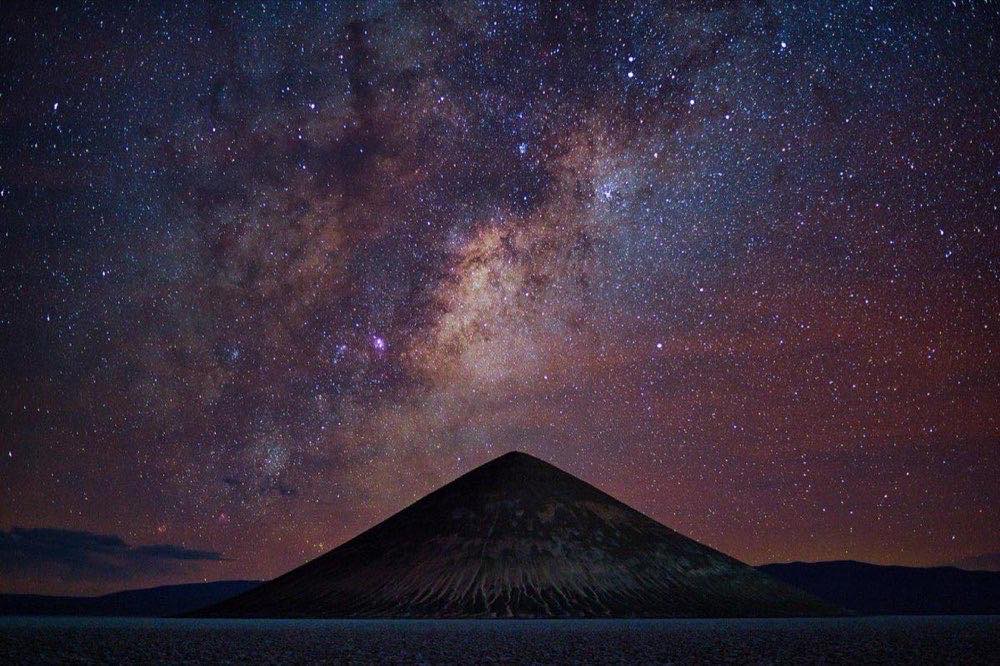
Few images generate as much awe as the galactic core crossing the sky. And although it may seem reserved for experts with very expensive gear, photographing the Milky Way is within reach of any camera with manual mode, a stable tripod and good planning. The difference between a mediocre photo and a spectacular one is almost never the gear: it's knowing when, where and with what settings to shoot.
The good news: the Milky Way is predictable. It rises and sets at known times, its core is visible in specific seasons and there is a formula, the 500 rule, that gives you the maximum exposure time before stars turn into trails. If you want to go deeper into the whole genre, the night and astrophotography guide covers everything from gear to editing.
When can you see the Milky Way?
In the northern hemisphere, the galactic core (the brightest and most photogenic area) is visible from March to October. In March it appears before dawn; in June and July it dominates much of the night; in September and October it's visible right after dusk. In the southern hemisphere the season is similar but with the core much higher in the sky.
The moon is your second filter: you need a new moon or a window in which the moon is below the horizon. With more than 20 % lunar illumination, the sky loses contrast and the core washes out. Plan your outings in the 4 or 5 days around the new moon.
The third factor is the darkness of the site. Look for places at least 40 or 50 km from large cities, ideally with the core pointing toward the darkest part of the horizon (generally south in the northern hemisphere).
What gear do I need and how do I set it up?
You don't need an astronomical lens. With this you'll get by:
A camera with manual mode and good behavior at ISO 3200.
The fastest and widest lens possible: a 14 mm f/2.8, a 20 mm f/1.8 or even the kit 18-55 mm at 18 mm f/3.5.
A stable tripod and a remote release or a 2-second timer.
Before leaving home, set up: RAW, white balance at 3800-4200 K (you adjust it later in editing), stabilizer off, long exposure noise reduction off (so you don't double the times) and manual focus. Focusing at night deserves a chapter of its own: aim at the brightest star, activate live view with 10x zoom and turn the ring until the point is as small as possible.
How many seconds can I expose without the stars moving?
The stars move (actually, the Earth rotates). If you expose for too long, they stop being points and become small trails. The 500 rule calculates the limit: divide 500 by your full-frame equivalent focal length.
With an APS-C sensor (1.5x factor), an 18 mm is equivalent to 27 mm: 500 ÷ 27 ≈ 18 seconds. You can get your exact value in seconds with the 500 rule calculator, which automatically adjusts for your camera's crop factor.
Scenario: Fast wide-angle; Focal length (FF equiv.): 14 mm; Aperture: f/2.8; Shutter speed: 25 s; ISO: 3200
Scenario: Standard wide-angle; Focal length (FF equiv.): 20 mm; Aperture: f/1.8; Shutter speed: 20 s; ISO: 1600-2500
Scenario: APS-C kit lens; Focal length (FF equiv.): 18 mm (27 mm); Aperture: f/3.5; Shutter speed: 15-18 s; ISO: 6400
Scenario: Core in detail; Focal length (FF equiv.): 35 mm; Aperture: f/2; Shutter speed: 13 s; ISO: 3200
Scenario: Vertical panorama; Focal length (FF equiv.): 24 mm; Aperture: f/2.8; Shutter speed: 20 s; ISO: 3200
These values are starting points: shoot, check the histogram (the mountain should be separated from the left edge) and adjust ISO before shutter speed.
Night composition: the sky needs a ground
A photo of only stars impresses less than a complete night landscape. Include a foreground with character: a lone tree, a rock formation, a cabin, a human silhouette. Arrive at the site in daylight to explore framings, or use blue hour to memorize the scene.
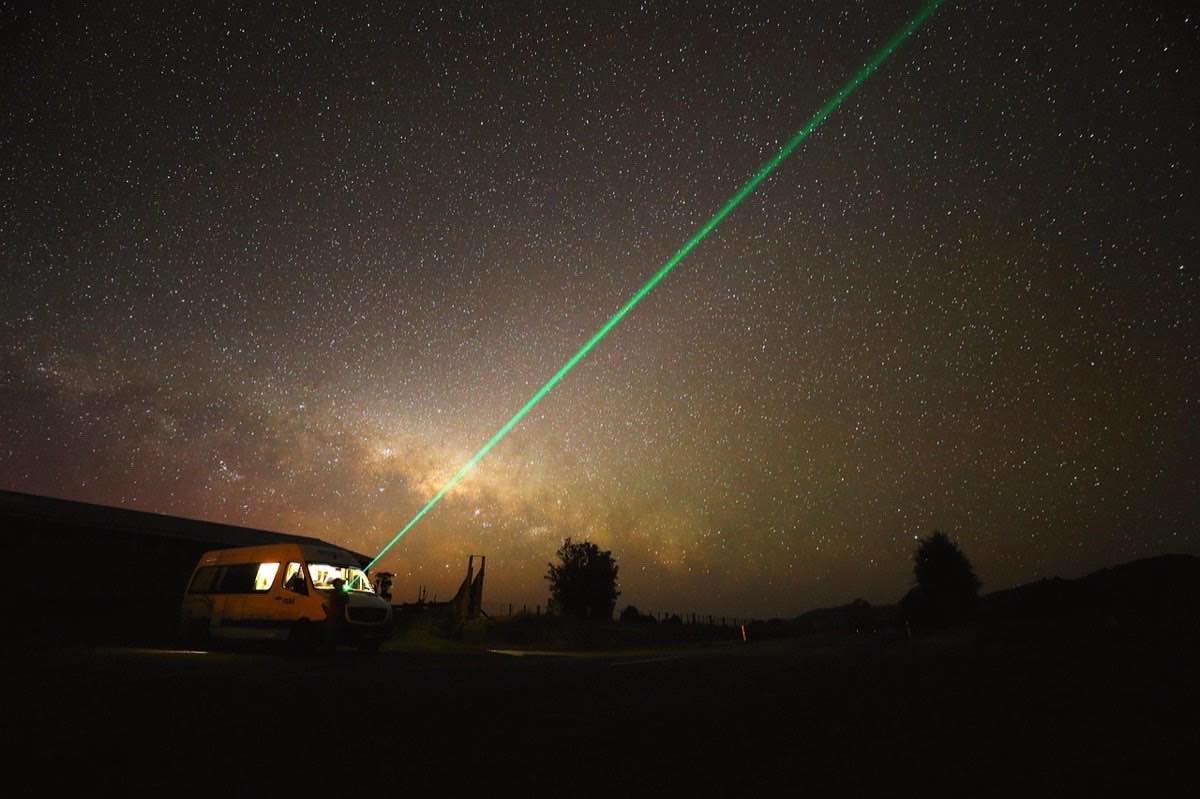
Two useful techniques: shoot an additional frame for the foreground with 2 or 3 minutes of exposure at ISO 800 (and blend it later in editing), or subtly light the subject with a warm flashlight for 1 or 2 seconds. Be subtle: the artificial light should look like ambient light, not a flash burst.
On the later workflow, editing does half the work: noise reduction, white balance and selective contrast on the core. I also recommend reading low light without noise: focus, ISO and real minimum shutter speed to understand how high you can push the ISO with your camera, and the practical guide to night photography with clean skies as a general complement.
The five mistakes that ruin the shot
Focusing at mechanical infinity: the ∞ mark on the lens almost never matches the real focus. Always verify with zoom in live view.
ISO too low out of fear of noise: a photo underexposed at ISO 1600 has more noise when lifted than a well-exposed one at ISO 6400.
Forgetting to turn off the stabilizer on a tripod: it can introduce micro-vibrations.
Not checking the histogram: the screen deceives in total darkness; what looks bright is actually underexposed.
Touching the camera when shooting: always use the 2 s timer or a remote release.
Frequently asked questions
Can I photograph the Milky Way with a phone?
Recent phones with night mode or astrophotography mode achieve surprising results on a tripod, stacking multiple exposures. They don't match a dedicated camera in detail and dynamic range, but they work perfectly for learning planning and composition.
What ISO is too high for astrophotography?
It depends on the sensor. Most modern cameras work well between ISO 3200 and 6400. Do a test at home: shoot at 3200, 6400 and 12800 in a dark room and compare the noise at 100 %. That's your personal limit.
Do I need a special filter for the Milky Way?
It's not mandatory. Light pollution filters help near cities by blocking the orange of street lighting, but a dark sky will always be a better investment than any filter.
How many photos should I take of the same scene?
At least 8 or 10 identical shots. You'll be able to stack them in software to reduce noise drastically and get a much cleaner sky than with a single exposure.
Your plan for the next new moon
Photographing the Milky Way is 70 % planning and 30 % technique: choose a new moon, a dark site, apply the 500 rule and expose boldly. The rest is practice and nights under the stars.
Save your reference settings and take them with you to the field, where there's no signal to look anything up. At Enfogram you'll find the 44 photography cards with the exact settings for every situation: print them, carry them with you and shoot with confidence.