Portrait Session Workflow: From Idea to Delivery
A portrait photo session step by step: planning, gear checklist, workflow on location, selection and organized delivery to the client.
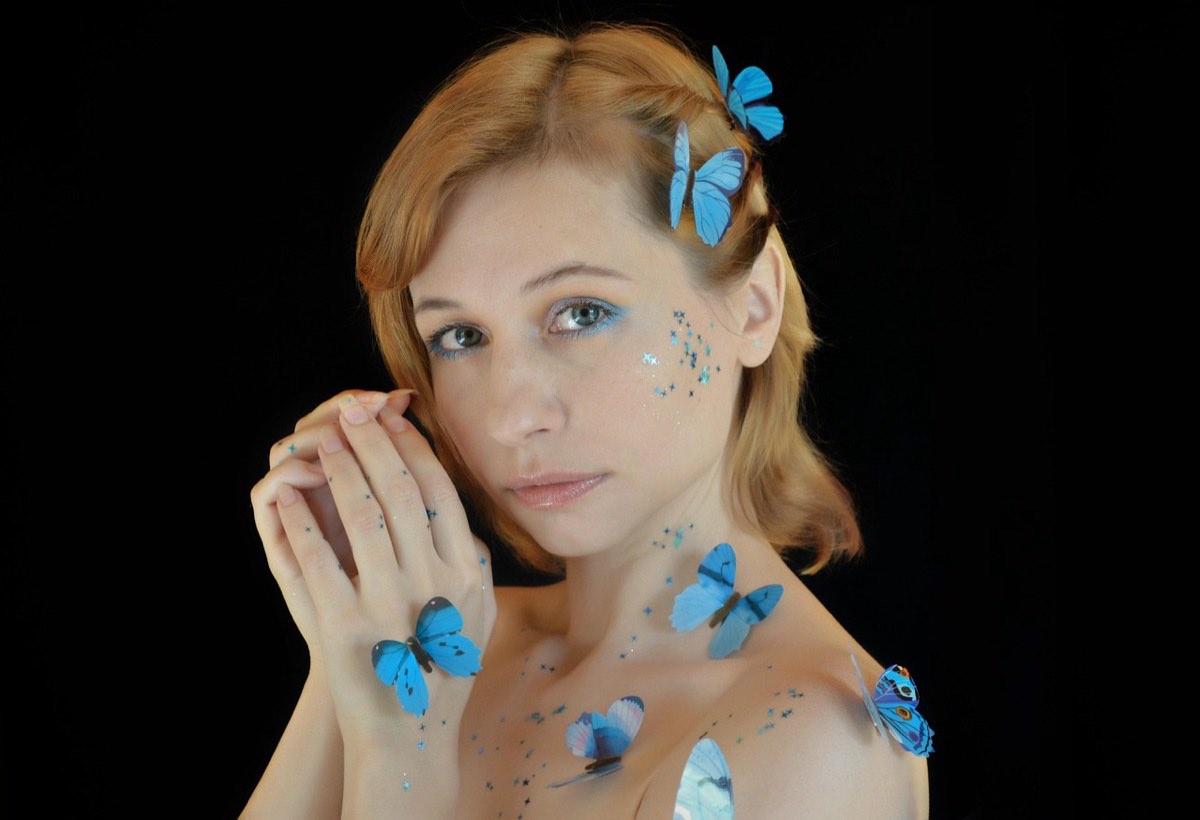
Between the initial idea and the moment the client receives their photos there is a complete process that is rarely taught as a whole: every tutorial covers lighting, posing or editing separately, but few show how everything fits together in a real portrait photo session, with schedules, checklist and delivery. That process, not just the technique of each photo, is what determines whether a client comes back.
A well-managed session starts days before the shutter and ends weeks later, with the files organized and backed up. Skipping any link in that chain produces the same result: good photos lost in the chaos, clients waiting with no news, or a workflow that doesn't scale when more clients arrive.
This article walks through the five complete phases: advance planning, gear checklist, execution on location, selection and editing, and final delivery.
Phase 1: Advance planning (days before)
The session is won or lost before you reach the location. Minimum steps:
Call or questionnaire beforehand: ask the purpose of the photos (professional profile, family, couple), wardrobe preferences, visual references they like and any insecurity they want handled with care.
Choose location and time according to light: if outdoors, check the sun's position for your time slot; golden hour or open shade at midday are safe options, as explained in natural light and its changes throughout the day.
Define 4-6 target setups: don't improvise the whole structure on the spot. Example for a family portrait: arrival/full group, couples within the group, individual shots of the kids, emotional detail (hug, laughter).
Send a simple contract or agreement: scope, delivery date, number of photos and terms of use. It protects both parties and relates directly to the aspects covered by the guide to the business and marketing of photography.
Phase 2: Gear checklist
Nothing ruins a client's confidence faster than a photographer rummaging through the bag looking for a battery. Minimum checklist before heading out:
Category: Body and lenses; Items: Camera + backup, 2 lenses (e.g. 35 mm and 85 mm), cleaning cloths
Category: Power; Items: 2-3 charged batteries, charger
Category: Storage; Items: 2 formatted memory cards, spare card
Category: Supporting lighting; Items: Hot-shoe flash, 5-in-1 reflector, diffuser
Category: Extras; Items: Tripod if there is a large group or a self-portrait of the photographer, tape or clips for clothing
Category: Logistics; Items: Time/place confirmation sent, location permit if applicable
Review this checklist the night before, not the morning of the session: it gives you room to fix an oversight without stress.
Phase 3: Execution on location
On arrival, spend the first five minutes walking the space looking for light and available backgrounds, following the evaluation logic I describe in portrait backgrounds: choosing and blurring. Don't start shooting seriously until you're clear on where the best light of the hour is.
Suggested structure for a one-hour session:
0-10 min: conversation, disposable warm-up photos, adjusting clothing/hair.
10-30 min: main setups according to the plan (group, couples, individuals), rotating between 2-3 spots within the same space.
30-45 min: creative and spontaneous variations (movement, genuine laughter, details), taking advantage of the trust already built.
45-55 min: closing setup, usually the most relaxed and the one that tends to produce the best photo of the whole session.
55-60 min: quick review of 2-3 photos with the client, thanks and wrap-up.
Direct with concrete actions, not just static postures, as detailed in how to pose people who aren't models, and shoot in short bursts to capture the real expression between poses.
Phase 4: Selection and editing
When you get home, back up immediately in two locations (external drive and cloud, or two separate drives) before touching any file. Backup organization and folder workflow are covered in the guide to file management and workflow, which is worth keeping as a fixed reference.
Recommended selection process:
First quick pass: flag only the technically correct photos (focus, exposure, eyes open), without judging composition yet. Discard the rest without remorse.
Second pass: from the technically correct ones, choose the best for variety of expression and framing, avoiding repeating the same pose three times.
Editing with a consistent recipe: apply a base adjustment to all photos from the same setup (white balance, exposure, contrast) before individual retouching, so the series feels coherent and not like loose photos.
Aim for a reasonable number of deliverables, communicated in advance (for example, 25-40 photos from a one-hour session): delivering too many dilutes the impact and overloads the client with decisions.
Phase 5: Delivery
Delivery is the last impression the client takes away from the whole service, and it's worth taking as much care over it as over the session itself:
Organized online gallery or shared folder with clear file names, not "IMG_4821.jpg".
Communicate the deadline in advance and meet it; a delay without prior notice damages the relationship more than any technical imperfection in the photos.
Include a short thank-you note and, if applicable, download or printing instructions.
Ask for feedback once delivered: it feeds both your portfolio and your future sessions with that client.
This professional close is as much a part of your brand as the technical quality of the photos, a topic I develop in authentic personal brand and lasting reputation.
Frequently asked questions
How much time should I reserve between the session and delivery?
Communicate a realistic deadline according to your workload, typically between 1 and 3 weeks for standard portrait sessions. It's better to promise 2 weeks and deliver in 10 days than to promise one week and fall behind.
How many photos should I deliver from a one-hour session?
Between 25 and 40 final images is usually a range that satisfies without overloading. Communicate the approximate number before the session to align expectations.
Should I show the client all the unedited photos so they can choose?
It isn't recommended: it makes the selection slower and exposes technically weak shots. Pre-select first yourself with technical criteria, and if the client wants to choose among variants, offer only the best of each setup.
What do I do if the client asks for changes after delivery?
Define in the prior contract how many rounds of minor adjustments are included (for example, spot retouching of skin or color). Major changes to the selection or a complete re-edit are quoted separately.
What happens before and after the shot
A complete portrait session is much more than the moment of the shot: it is advance planning that avoids surprises, a checklist that protects against technical failures, a structured yet flexible execution, an honest selection and a punctual, careful delivery. Every weak phase subtracts professionalism, even if the photos themselves are excellent.
Document your own workflow in a reusable checklist this week: it will save you mistakes in every future session. At Enfogram you will find the 44 photography cards with the exact settings for every situation: print them, carry them with you and shoot with confidence.