Polarizer vs ND Filter: When to Use Each
Learn when to use a polarizer or an ND filter in landscape photography: differences, concrete settings and a practical table to pick the right filter.
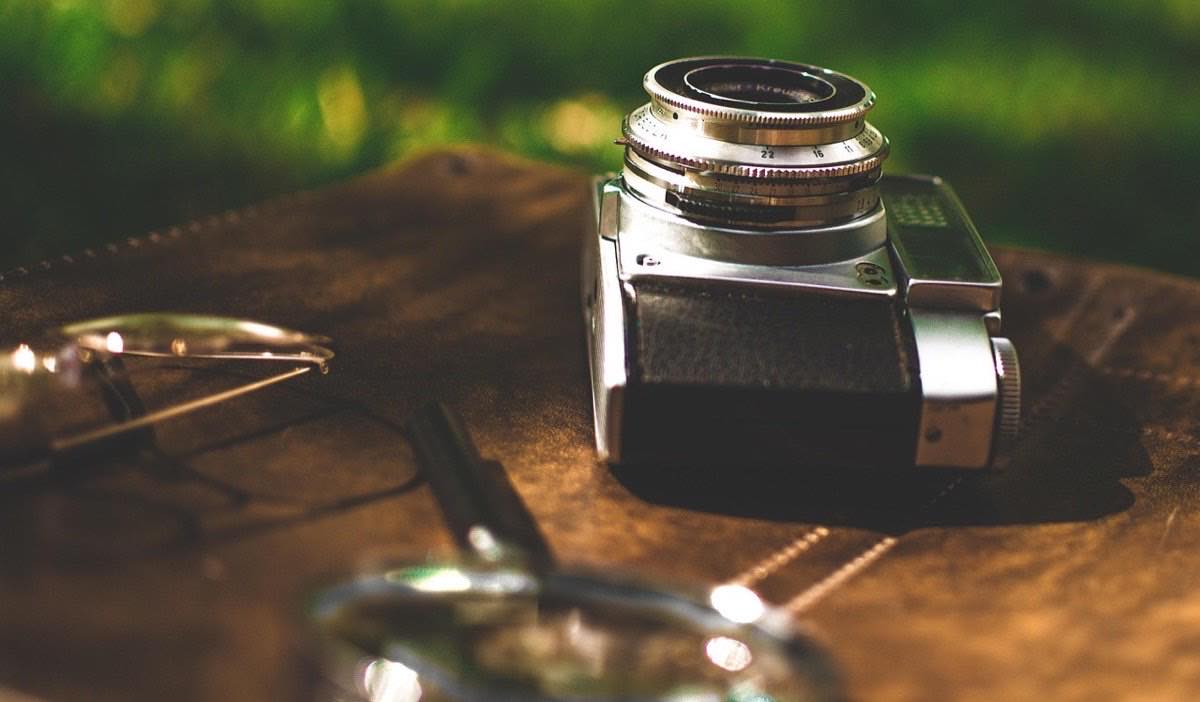
If you're only going to carry two filters in your bag, make it these. Choosing between a polarizer or an ND filter is one of the most frequent decisions in landscape photography, and also one of the ones that causes the most confusion: both screw on in front of the lens, both darken the image and both promise to "improve" your photos. But they do completely different jobs.
The polarizer filters light according to its orientation: it removes reflections on water and leaves, darkens skies and saturates colors. The ND (neutral density) filter simply reduces the amount of light coming in, without altering color or reflections, to let you use slower shutter speeds or wider apertures in full light.
Quick pocket rule: if the problem is a reflection or a washed-out sky, polarizer; if the problem is too much light, ND.
What does a polarizer do (and what doesn't it)?
A circular polarizer (CPL) blocks light reflected off non-metallic surfaces. As you rotate it, you'll see the reflections on the water disappear, the foliage lose that whitish sheen and the blue of the sky intensify.
Concrete effects:
Deeper skies: the effect is strongest at 90° from the sun. With the sun in front of or behind you, you'll hardly notice any change.
Clear water: it removes the surface reflection on rivers and lakes, revealing stones and the bottom.
Saturated foliage: wet or shiny leaves reflect white light; the CPL removes it and recovers the real green.
Reduces 1.5 to 2 stops of light: it's a built-in "mini ND".
What it doesn't do: it isn't useful for significantly lengthening exposures nor does it work well on extreme wide-angle (below 24 mm the sky can end up with uneven bands of blue).
Typical setting: in a landscape with a river at mid-morning, f/8, ISO 100, and the shutter speed the metering gives you (for example 1/125 s without a filter goes to 1/30 s with the CPL turned to maximum effect).
What does an ND filter do and when do you need one?
The neutral density filter is sunglasses for your lens: it reduces light uniformly without changing colors or reflections. Its only purpose is to give you exposure freedom when there is too much light. If you want to go deeper into handling high-contrast scenes, the guide to exposure in complex landscapes covers this dynamic range control in depth.
Classic uses with settings:
Silky water: waterfall at midday, f/11, ISO 100. Without a filter: 1/250 s. With ND64 (6 stops): 1/4 s, enough for the silky effect.
Moving clouds: with ND1000 (10 stops), that same scene goes from 1/250 s to 4 seconds; with overcast skies and wind, the clouds turn into streaks.
Erasing people: exposures of 30 to 60 seconds at tourist spots make passersby disappear.
Portrait at f/1.8 in the sun: with an ND8 (3 stops) you open the aperture without exceeding your shutter's maximum speed.
Calculating the new shutter speed with a 6- or 10-stop ND requires doubling the time once per stop, and it's easy to make a mistake in the field. You can calculate the exact exposure with your ND filter in seconds and get to the result without failed tests.
Which filter do I put on for each scene?
Scene: Pale sky, bright foliage; Filter: Polarizer; Starting settings: f/8, ISO 100, turn CPL to 90° from the sun
Scene: River with reflections, you want to see the bottom; Filter: Polarizer; Starting settings: f/8–f/11, ISO 100, CPL at maximum
Scene: Waterfall with silky effect by day; Filter: ND64; Starting settings: f/11, ISO 100, 1/4–1 s
Scene: Silky sea or streaking clouds; Filter: ND1000; Starting settings: f/11, ISO 100, 4–30 s depending on the light
Scene: Portrait in full light at f/1.8; Filter: ND8; Starting settings: f/1.8, ISO 100, ~1/2000 s → 1/250 s
Scene: Shop window or water with annoying reflection; Filter: Polarizer; Starting settings: As metered, CPL rotated
Scene: Wet forest with dull colors; Filter: Polarizer; Starting settings: f/8, ISO 200–400, tripod if it drops below 1/60 s
Can you combine the two filters?
Yes, and in some scenes it's the winning combination: a waterfall surrounded by wet rocks benefits from the CPL (removes glare) and the ND (lengthens the exposure). Stack the polarizer first and the ND on top, adjust the CPL before mounting the ND (afterward you won't see anything through the viewfinder) and add up the light loss of both: CPL (2 stops) + ND64 (6 stops) = 8 stops in total.
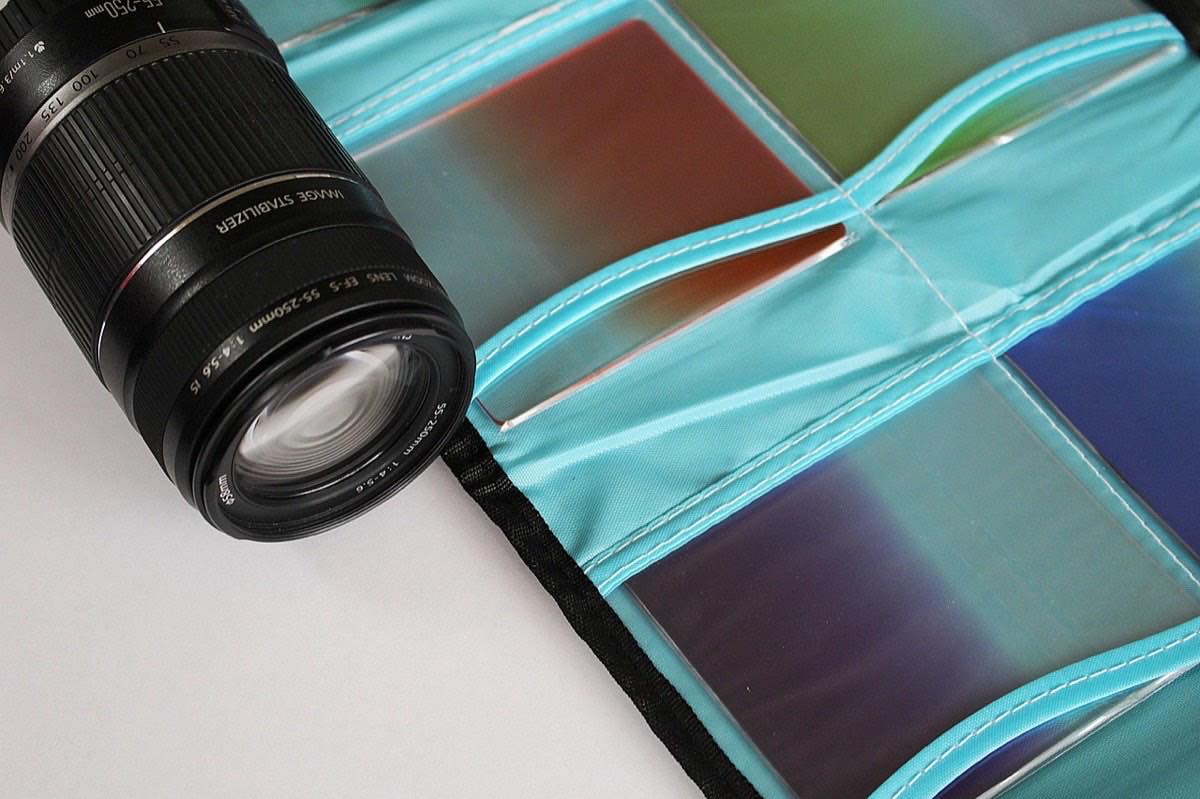
Precautions when stacking:
At focal lengths below 20 mm, vignetting will appear; use slim filters or crop a little in editing.
Each additional piece of glass reduces contrast; clean both filters before shooting.
Focus and compose before mounting the ND; then switch to manual focus so the camera doesn't "hunt" in the dark.
What mistakes ruin a shot with a filter?
Always turning the polarizer to maximum. The full effect isn't always the desired one: a navy-blue, almost black sky looks artificial. Turn it to the midpoint if the sky darkens too much.
Using a CPL for panoramas. When you rotate the camera, the angle to the sun changes and each shot will have a different sky: stitching will be impossible.
Forgetting to cover the viewfinder on long exposures. On a DSLR, light entering through the viewfinder contaminates exposures longer than 5 seconds. Cover it with the cap or with tape.
Buying cheap variable NDs. Inexpensive variable NDs produce a dark "X" on wide-angle at high densities. For landscape, two fixed NDs (ND64 and ND1000) give more consistent results.
If you're interested in water movement specifically, the article on shutter speed and motion control complements this guide very well, and to master the contrast of these scenes see dynamic range control in complex landscapes.
Frequently asked questions
Can I simulate the polarizer effect in editing?
No. ND can be partially "imitated" by stacking photos, but the polarizer's removal of reflections happens in the physics of light before it reaches the sensor: no software recovers the bottom of a river hidden by a reflection.
Which ND filter do I buy first?
An ND64 (6 stops) is the most versatile: it turns 1/250 s into 1/4 s, enough for silky water. The ND1000 is second, for sea and clouds in exposures of several seconds or more.
Does the polarizer work on overcast days?
Yes, although the effect on the sky is nil, it still removes glare on leaves, wet rocks and water, and under overcast skies is when the extra foliage saturation is most noticeable.
Do I lose image quality when using filters?
With medium-to-high quality filters the loss is minimal and imperceptible in normal use. The real problem is very cheap filters (color casts, loss of sharpness) and dirt on the glass.
The two filters to start with
The polarizer and the ND filter don't compete: they split the work. One controls reflections and saturation; the other controls time. When you know what your scene is asking for ("get rid of this glare" or "give me more seconds") the choice will be automatic.
Start with a CPL and an ND64, learn their two or three basic settings and add the ND1000 when the sea and clouds ask for more. At Enfogram you'll find the 44 photography cards with the exact settings for every situation: print them, carry them with you and shoot with confidence.