Landscape Exposure: Controlling Dynamic Range
Dynamic range in landscapes: strategic metering, GND filters and bracketing to keep detail in highlights and shadows at the same time.
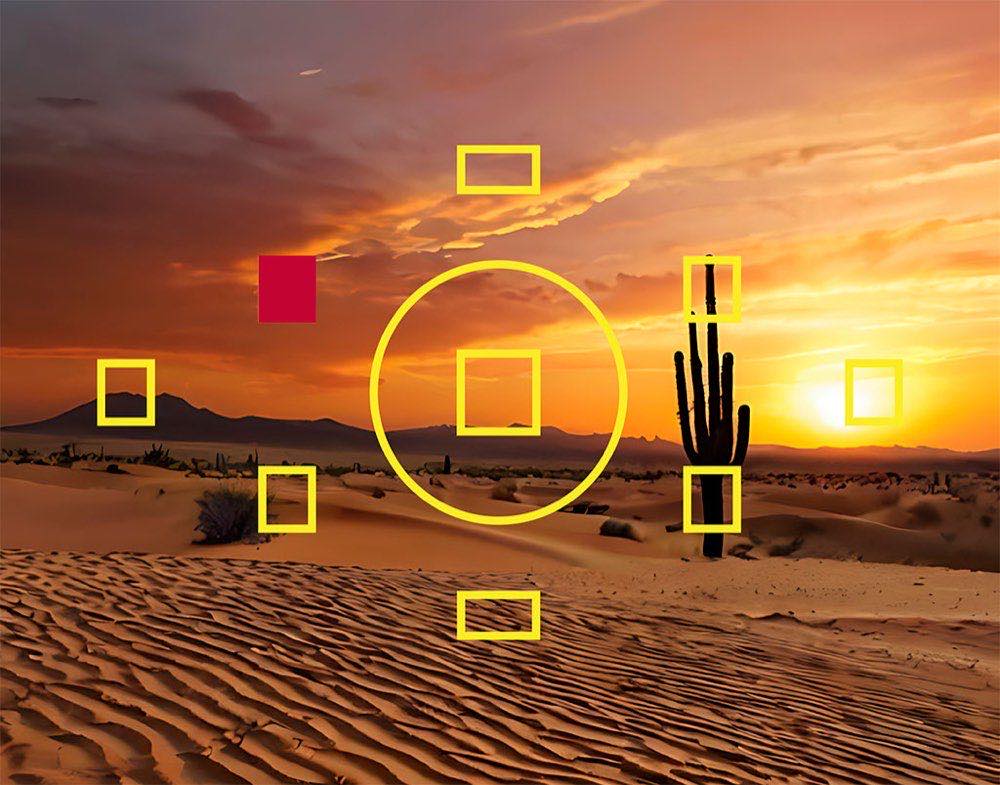
Photographing landscapes often seems simple: all it takes is a great scene and good light. Reality, however, is more challenging. Nature offers scenes with high contrast between intense highlights and deep shadows, which tests the camera's ability to record detail across the whole tonal range. This limit is known as dynamic range, and understanding how to control it is key to getting striking images.
Dynamic range is the difference between the darkest and lightest areas of a scene. While our eyes can naturally perceive both a bright sky and a forest in shadow, the camera has to "choose" which part to keep in detail.
This is where the photographer's creative decision comes in: preserve the clouds and accept that the ground goes dark, or expose for the shadows and let the sky burn out?
Mastering exposure in complex landscapes is not just a technical matter but one of artistic intention. Every meter reading and every adjustment tells a different story: a sunset can become a minimalist silhouette, a forest a space full of mystery, or snow a pure, luminous expanse.
In which scenes is dynamic range put to the test?
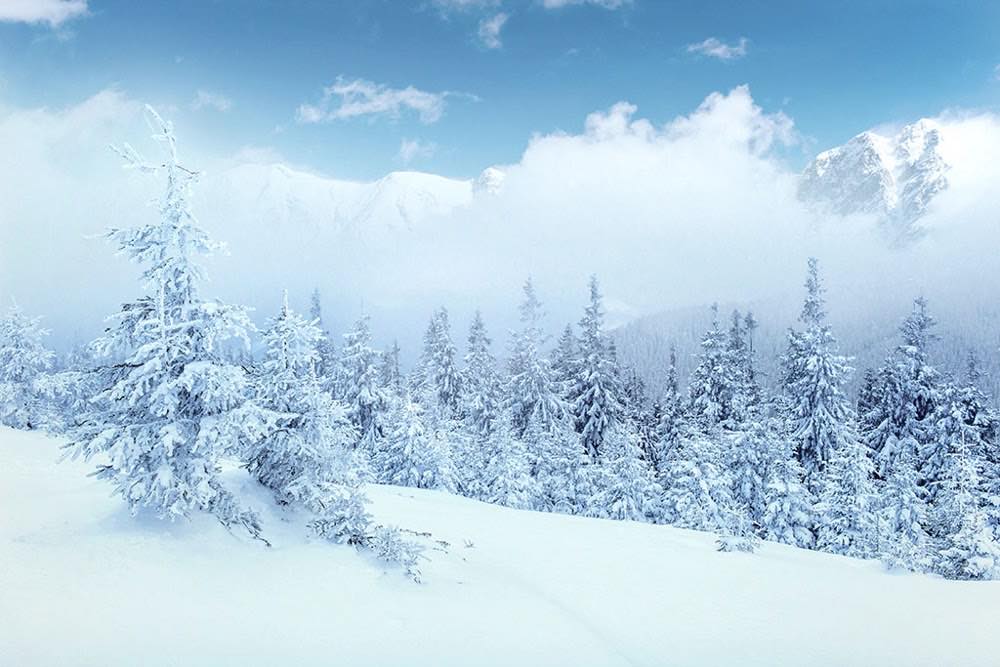
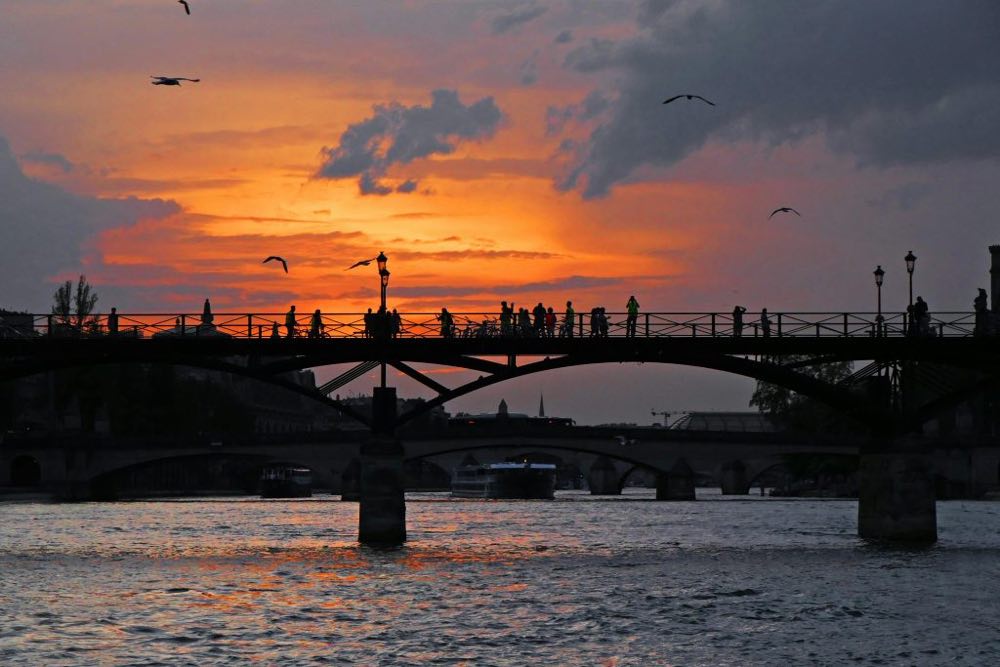
In high-key scenes, such as snowy landscapes or overcast skies, the camera tends to darken the image. To keep the purity and brightness, it is usually necessary to compensate by +1 to +2 EV. In extreme backlighting, such as a setting sun behind a subject, metering the sky and letting the foreground go dark is the key to expressive silhouettes.
In a forest with clearings, the temptation is to meter the intense light coming through the branches, but this leaves the rest of the scene in darkness. A better strategy is to meter in open shade, preserving a more natural balance. Finally, in a sunset on the horizon, metering between the sun and the darker sky keeps enough detail at both extremes, avoiding both blown highlights and severe underexposure.
Recommended controls and settings
The secret to good exposure in landscapes lies in strategic metering. Spot metering on a representative area, neither too bright nor too dark, gives more controlled results than letting the camera decide by averaging. Working in manual mode is highly recommended, since it guarantees consistency between shots, especially if the light changes slowly.
To preserve the camera's maximum dynamic range, it is best to keep a low ISO (100-400), which preserves detail in both shadows and highlights. The ideal aperture in these cases is usually between f/8 and f/11, since it offers optimal sharpness with little risk of diffraction. Shutter speed is adjusted according to the histogram and the movement in the scene, always prioritizing stability with a tripod in low light.
A very useful resource in this process is learning to read the histogram like a professional to validate exposure in the field before the light changes. Complement this knowledge with handling exposure compensation to fine-tune results without changing the base settings.
Common mistakes when exposing complex landscapes
One of the most common failures is metering directly on the sun, which leaves everything else extremely underexposed. Another mistake is trying to rescue detail in absolutely every shadow, which ends up producing flat images with no contrast or depth.
It is also common to forget that silhouettes can be a creative resource and not necessarily a defect. Finally, some photographers resort to fill flash in landscapes, which usually looks artificial and breaks the natural atmosphere of the scene.
Another frequent failure is not previewing the scene before shooting: walking into the frame without having decided which area deserves the most detail results in reactive exposures that rarely get it right the first time.
Advanced techniques for mastering dynamic range
A classic principle is "expose for the highlights and develop for the shadows." The idea is to protect what would be irretrievably lost (blown highlights), knowing that in digital processing it is possible to recover detail in the dark areas.
Using graduated neutral density filters (GND) is another effective technique: they darken the sky without affecting the ground, balancing exposure in high-contrast scenes. There are physical versions (glass or resin) and virtual ones applied in post-production to RAW files.
Exposure bracketing is another powerful tool: it consists of taking several shots at different exposure values (+2, 0, -2 EV) and then combining them in editing. This technique is especially useful in static scenes where the photographer has enough time to work from a tripod.
Of course, shooting in RAW is essential, since it offers the greatest flexibility to recover information in editing and make use of the entire available dynamic range. A JPEG discards a significant part of that information at the moment of shooting.
How to read the histogram to validate exposure
The histogram is the most objective tool for evaluating exposure in the field. A peak stacked against the right edge indicates blown highlights; one against the left, shadows with no recoverable information. The goal is not always a centered curve, but a distribution that reflects the creative intent: a silhouette will have a histogram strongly skewed toward the darks, and that is fine if it is the photographer's decision.
Some camera models show flashing warnings (blinkies) on overexposed areas during playback. Turning this feature on in the viewfinder or rear screen lets you immediately identify which areas of the image have lost detail.
Frequently asked questions
Should I always try to balance highlights and shadows? No. Photography is also about making creative decisions. Sometimes a dark silhouette against a bright sky communicates more than a forced balance. Extreme contrast can be exactly the narrative the scene needs.
What if my camera has little dynamic range? You can rely on physical GND filters, shoot several bracketed frames and combine them in post-production, or accept the limitation as part of your visual style. Cameras with larger sensors (such as full frame) usually offer more room for recovery.
Is it better to use the camera's automatic HDR? It can be useful in certain situations, but in-camera HDR often produces unnatural-looking images. It is preferable to control the exposure and then work the RAW file in post-production with greater precision and creative control.
When is it better to use a physical GND filter instead of editing in RAW? When the scene has such extreme contrast that not even the best RAW can recover both extremes simultaneously. In those cases, the physical filter balances the light before it reaches the sensor, something that can't be replicated in post-production without visible artifacts.
What to decide when faced with an impossible range
Exposure in complex landscapes is a challenge that demands both technique and creativity. Learning to read the light and decide what to keep is what turns a simple capture into an artistic interpretation of nature.
Remembering that dynamic range doesn't always allow you to record everything is not a limitation but an opportunity to decide which story you want to tell: a dramatic sky, a bold silhouette or a balanced scene. The key is to meter strategically and accept that each choice defines the final atmosphere.
If you want to go deeper into these techniques and put them into practice with clear examples, Enfogram offers educational resources and guided exercises that turn concepts like "dynamic range" into memorable images. Take the next step and learn to expose your landscapes like a true professional.