Rule of Thirds: When to Use It and When to Break It
The rule of thirds explained practically: how to apply it with the grid, when it works and when a centered composition is better.
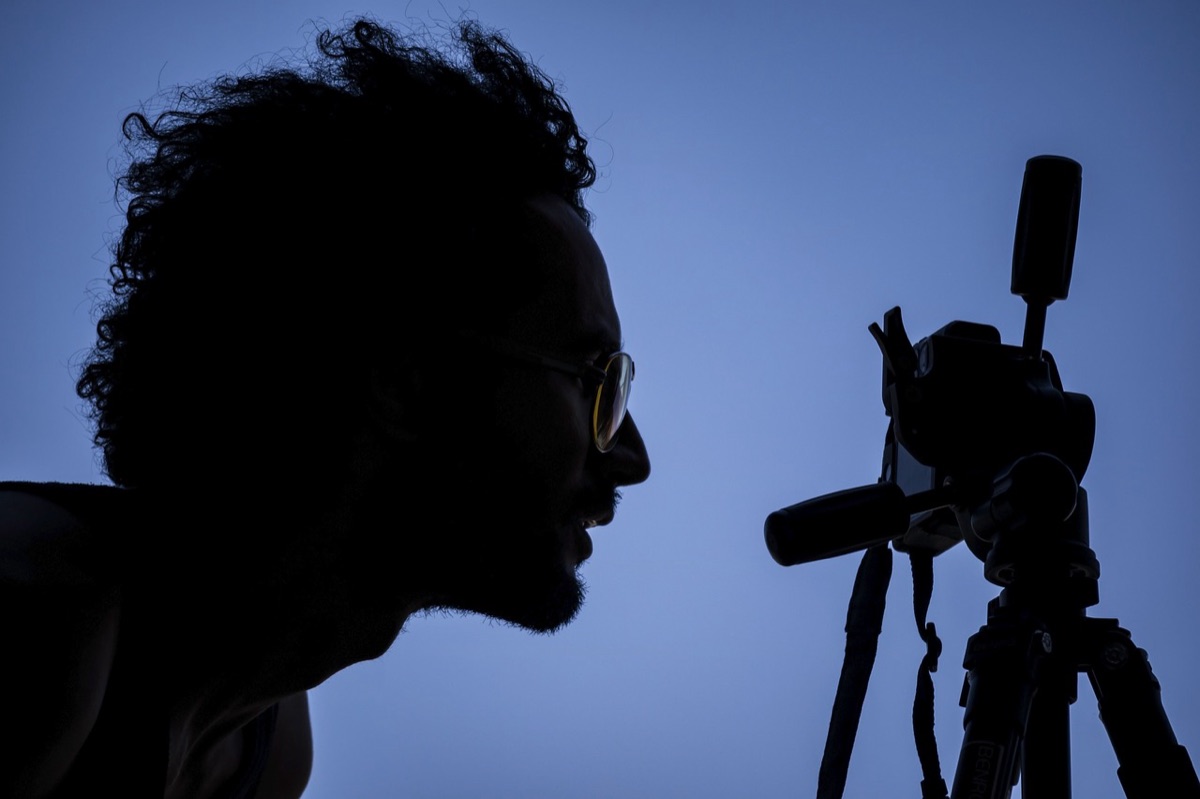
The rule of thirds is probably the first composition concept any photographer learns, and also the most misunderstood: it is taught as a fixed rule when it is really a starting point. It divides the frame into a three-by-three grid and places the important elements on those lines or intersections instead of centering them.
It works because the human eye tends to travel through an image more naturally when the point of interest isn't exactly in the center: it creates visual tension and room to "breathe" around the subject. But treating it as an absolute law makes you miss centered compositions that, in certain cases, are objectively stronger.
This guide shows you how to apply it well and, more importantly, when it makes sense to ignore it on purpose.
How to turn on and use the grid on your camera
Almost all cameras and phones have a rule-of-thirds grid option in the screen or viewfinder menu. Turn it on: you'll see two vertical and two horizontal lines dividing the frame into nine equal sections, with four intersection points.
The basic rule: place the horizon on the upper or lower horizontal line (never splitting the image in half, unless you intend symmetry), and place subjects or, in portraits, eyes on one of the intersections. To understand why framing and visual hierarchy matter as much as exact position, see dynamic visual composition.
Practical application across genres
In landscape: horizon on the lower third if the sky is the star (dramatic clouds, sunset), or on the upper third if the foreground is what's interesting (flowers, rocks, sand texture).
In portraits: the subject's eyes on the upper intersection, leaving looking room toward where the person looks or walks, never against the edge of the frame, a criterion that applies equally in the environmental portrait described in environmental portrait: telling stories with context.
In street photography: the main subject on a side third, letting the rest of the frame breathe with urban context, as explained in landscape composition: strong foregrounds applied to any scene with a relevant foreground.
When to break the rule: centered composition
Centered symmetry works better than thirds when the subject is perfectly symmetrical (frontal architecture, reflections in calm water, frontal portraits with direct eye contact with the camera) or when you want to convey formality, stillness or power. A centered portrait with a fixed gaze creates a different connection than one with thirds: more direct, less narrative.
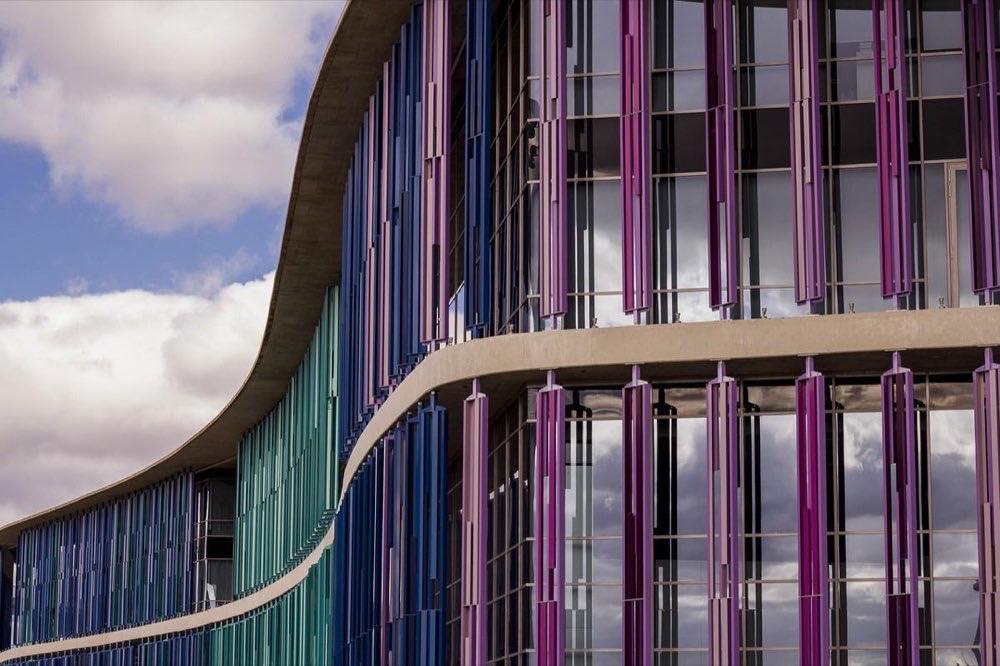
It's also worth breaking it in minimalist compositions where a single small subject against an empty, homogeneous background can sit in the exact center without feeling static, precisely because the emptiness around it is the point.
The golden spiral and other alternatives
Thirds are the entry point, but other guides exist: the golden spiral (Fibonacci proportion) creates a more organic flow for scenes with natural curved movement, and diagonal lines lead the eye from one corner to another more dynamically than the simple grid. Neither is absolutely superior: they are different tools for different effects.
Quick table: when thirds vs when center
Situation: Portrait with a sideways gaze; Recommended composition: Thirds (eyes on an intersection); Why: Looking room, dynamism
Situation: Frontal portrait, direct gaze; Recommended composition: Centered; Why: Direct connection, formality
Situation: Landscape with dramatic sky; Recommended composition: Thirds (low horizon); Why: The sky takes the lead
Situation: Symmetrical architecture; Recommended composition: Centered; Why: Reinforces the subject's real symmetry
Situation: Reflection in calm water; Recommended composition: Centered (axis of symmetry); Why: The symmetry is the point of the photo
Situation: Minimalist scene, one subject; Recommended composition: Centered with empty space; Why: The emptiness is compositional, not accidental
Frequently asked questions
Does the rule of thirds work the same in vertical format?
Yes, the grid applies the same in vertical as in horizontal; only which elements you prioritize changes depending on the aspect of the frame.
Should I crop in editing to apply thirds after shooting?
It's better to compose in camera whenever you can, because cropping reduces resolution and sometimes image quality. But a fine adjustment in editing is valid if the original composition almost gets there.
Do thirds also apply in video?
Exactly the same, and it's actually even more relevant in video because the subject usually moves within the frame and you need room toward where it is heading.
What if my camera doesn't have a rule-of-thirds grid?
You can train your eye mentally by dividing the viewfinder into imaginary thirds, or check on the playback screen after the first shot to adjust the framing.
When the rule gets in the way
The rule of thirds is a powerful tool precisely because it is simple and quick to apply at the moment of shooting, but its true value appears when you understand why it works and can consciously decide to break it. With practice, you'll stop thinking about the grid and start seeing it naturally in every scene.
Next time you turn on your camera's grid, try the same scene with thirds and with centered composition, and compare which better conveys what you want to tell. At Enfogram you'll find the 44 photography cards with the exact settings for every situation: print them, carry them with you and shoot with confidence.