Creative Self-Portraits: Ideas and Technique
Self-portrait photography: how to focus without an assistant, shoot remotely, and try creative ideas with mirrors, shadows and motion.
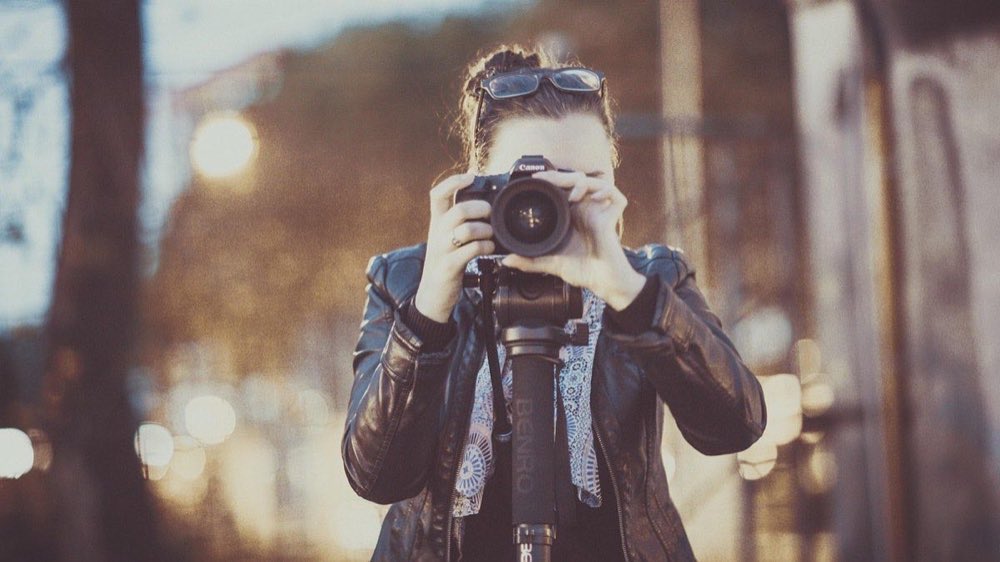
The self-portrait is the photographer's most honest laboratory: a model available 24 hours a day, infinite patience with your experiments and zero client pressure. It is no coincidence that Vivian Maier, Cindy Sherman and Francesca Woodman built entire bodies of work around self-portrait photography: it is the genre where technique and personal expression are trained at the same time.
But the self-portrait has an obvious technical problem: the photographer is not behind the camera. Focusing where you are not yet standing, framing yourself without seeing yourself and shooting from a distance all call for solutions of their own.
How do I focus if I am not in front of the camera?
Focusing on an absent subject is the big challenge. From simplest to most sophisticated:
Stand-in object: place a chair, lamp or coat rack exactly where your face will be, focus on it with AF, switch to MF to lock the focus and take its place. Foolproof and free.
Face detection + app shooting: almost all current cameras can be controlled from your phone with live view. You see the framing, the AF detects your eye and you fire from your hand. It is the most convenient method today.
Self-timer with burst: a 10 s delay with 3–5 consecutive shots and continuous AF with face priority. It gives you expression variations in every round.
Safety depth of field: stop down to f/5.6 – f/8 and mark your position on the floor with tape. With 20–30 cm of sharp zone, a little swaying will not take you out of focus.
Rule of thumb: for self-portraits at f/1.8, always use the app with eye detection; from f/4 onward, the stand-in object or the tape on the floor is enough.
What gear do I need and with what settings?
You do not need much gear: a camera with a self-timer or wifi, a tripod (or a stable stack of books) and some masking tape.
Self-portrait type: Classic with window light; Aperture: f/2.8; Shutter speed: 1/160 s; ISO: 400–800; Shooting: App with Eye-AF
Self-portrait type: Environmental with context; Aperture: f/5.6; Shutter speed: 1/125 s; ISO: 400; Shooting: Self-timer + burst
Self-portrait type: Intentional motion blur; Aperture: f/8; Shutter speed: 1/8 – 1/2 s; ISO: 100; Shooting: Self-timer, tripod
Self-portrait type: Mirror / reflection; Aperture: f/4; Shutter speed: 1/125 s; ISO: 800; Shooting: Manual, focus on the reflection
Self-portrait type: Backlit silhouette; Aperture: f/8; Shutter speed: 1/500 s; ISO: 100; Shooting: Self-timer
Framing tip: leave more room than you think you need and crop afterward. Composing blind with a margin is far more productive than redoing it twenty times over a cut-off elbow.
Mark positions with tape on the floor and work in rounds: shoot 5, review, adjust, repeat. The histogram and the focus magnifier are your stand-in director of photography.
What can I photograph if I do not want to show my face?
A self-portrait does not require showing your face. Ideas to unlock sessions:
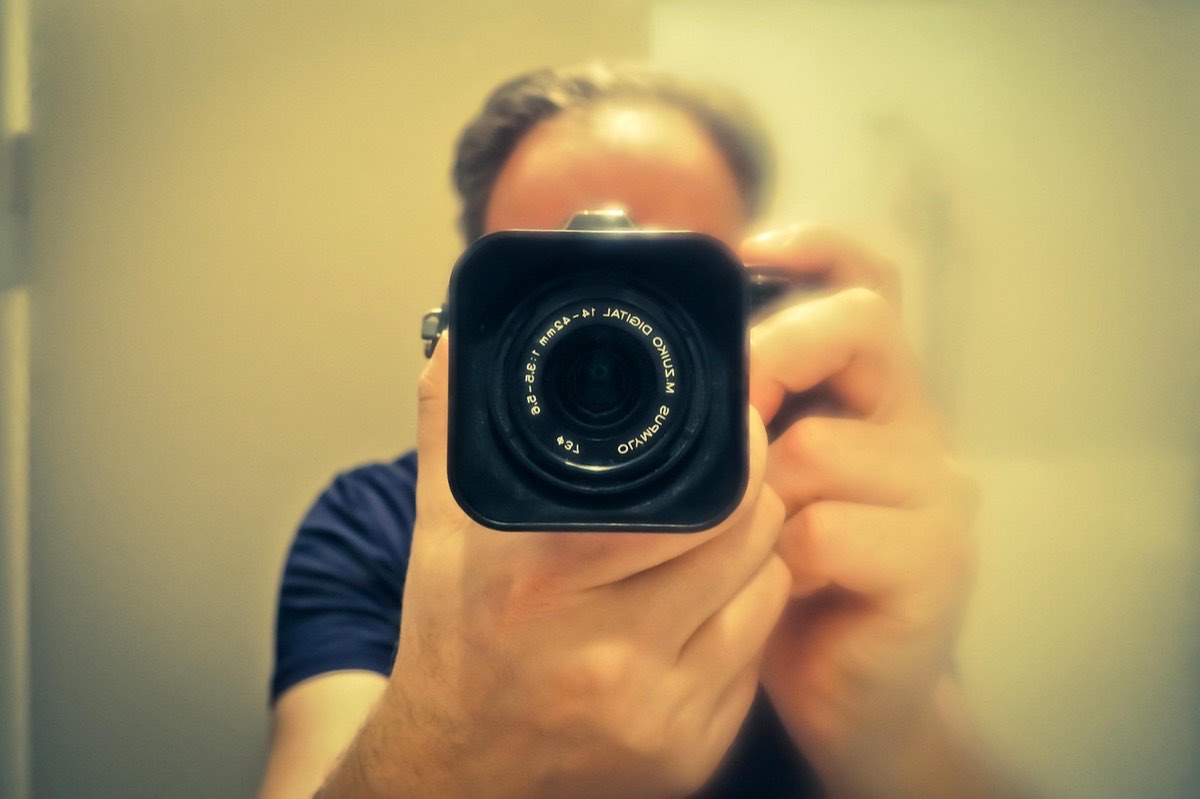
Shadows and silhouettes: your elongated shadow at sunset across textures; your silhouette against a window or curtain.
Mirrors and reflections: broken mirrors, puddles, shop windows, the chrome teapot. Focus on the reflection, not the mirror.
Fragments: hands, the back of your neck, feet at the edge of the frame. Suggested identity intrigues more than shown identity.
Motion with long exposure: stand still for 2 seconds and move at the end (partial ghost), or walk during the whole exposure (trail). 1/4 s to 2 s with a tripod.
Double exposure: your profile merged with textures or landscapes, in camera if yours allows it or in editing.
The surroundings as a mirror: your desk, your worn shoes, your half-finished cup. A self-portrait without a body.
Many of these techniques draw on experimental photography; the guide to experimental techniques and creative photography expands on each with detailed procedures, and the article on breaking rules with intention provides the framework for experimenting without falling into gimmickry.
From exercise to series: give it continuity
A single self-portrait entertains; a series transforms. Three structures that work:
Time series: one self-portrait a week for a year, same framing or same time of day. The project documents what individual photos cannot see: change.
Conceptual series: a theme (trades, emotions, the spaces of your home) explored in 10–15 images consistent in light and treatment.
Technical series: each week a new technique (low key, backlight, long exposure) with you as the constant subject. It is a self-taught lighting course.
Working in series also trains editing and self-criticism: choosing 10 final photos out of 300 is half the learning, as explored in photographic style and the professional portfolio.
Frequently asked questions
Can I make serious self-portraits without a tripod?
Yes: rest the camera on furniture, shelves or the floor with something to adjust the angle (a folded book). A tripod gives you speed, not possibility. For mirrors you do not even need it.
How do I focus on myself at f/1.8?
With remote control from your phone and eye detection on: you see the framing on the screen and confirm focus before shooting. Without an app, stop down to f/4 and use the stand-in object method.
What focal length is best for self-portraits?
35mm for environmental self-portraits with context; 50–85mm for a face shot without distortion. Avoid very wide focal lengths close to the face unless you are after expressive distortion.
Are self-portraits useful for my portfolio?
As a demonstration of mastery of light and concept, absolutely. Well-executed self-portrait series show clients exactly what you can do without depending on models.
The first round of five
The self-portrait turns every free moment into a practice session: you solve focusing without an assistant with the stand-in object or the phone app, and from there the genre is a playground of shadows, mirrors, fragments and series. Nobody improves faster than someone with a model available every day.
Start this week: a window, tape on the floor and the first round of five. At Enfogram you will find the 44 photography cards with the exact settings for every situation: print them, keep them next to the tripod and shoot with confidence.