Exposure Compensation for Snow and Sand
Why snow and sand come out gray and how to fix it with exposure compensation: exact EV values for beach, snow, fog and backlit scenes.
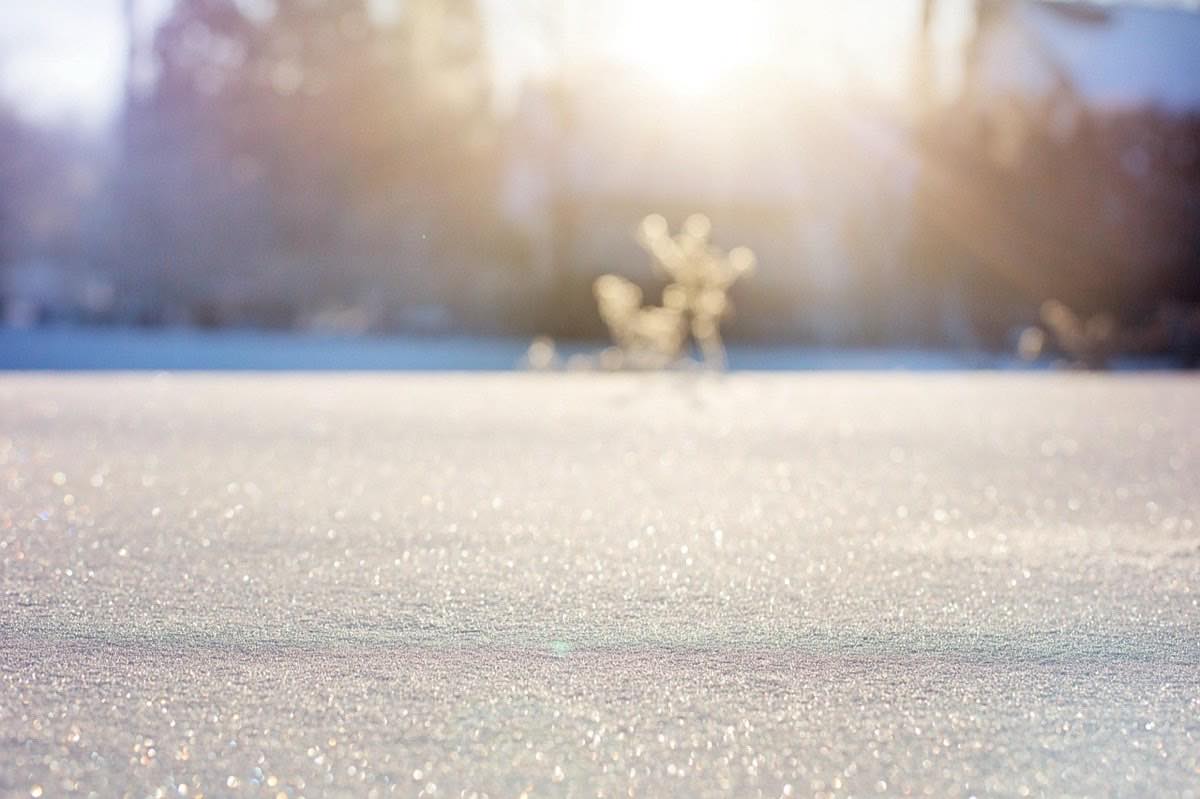
There are two scenes that defeat the light meter of any camera, however expensive: snow and sand. You come back from the mountain with dirty gray snow, or from the beach with dull sand and dark faces, and the fault is neither yours nor the camera's: it's a mathematical assumption you carry in your pocket. Exposure compensation exists precisely to correct it in two seconds.
The +/- dial on your camera is probably the most underused and most rewarding control of all: it doesn't require manual mode, it doesn't require understanding the full exposure triangle, and it solves the entire family of "difficult" scenes in one go.
Why does the light meter fail with snow?
Your light meter doesn't know what you're photographing. It only measures reflected light and applies a rule: "every scene, on average, reflects like a middle gray (18 %)". For normal scenes, with vegetation, skin, asphalt and sky mixed together, the rule works surprisingly well.
But snow reflects far more than a middle gray. The meter sees so much light and concludes: "overlit scene, I'll reduce exposure"... and turns your white snow gray. The same happens with light sand to a lesser degree. And with a dark scene (a black cat on a black blanket), the opposite error: it brightens it up to gray.
The mnemonic that sums it up: the meter wants everything to be gray; you decide what is white and what is black. Hence the classic maxim: add light for white, subtract light for black.
This mechanism, its exceptions and the use of the dial in each shooting mode are covered in the full guide to exposure compensation.
How much do I compensate on snow?
Snow is the extreme case. Starting values:
Snow in full sun: +1.7 to +2 EV. The scene is almost entirely bright white and the meter is at its most wrong.
Snow on an overcast day: +1 to +1.3 EV. Less reflection, less error.
Portrait with a snowy background: +1 EV if you use matrix metering; if you can, spot meter on the face and forget the background.
Snowy forest (a mix of snow and dark trunks): +0.7 EV; the mix brings the scene closer to the average.
Check: on the histogram, the snow should form a mountain in the right quarter, near the edge but not touching it. Snow in the middle of the histogram = gray snow. Turn on the highlight warning: an occasional blink on specular reflections is acceptable; massive blinking is not.
How much do I compensate on sand?
White sand (Caribbean, light dunes) in the sun: +1 to +1.3 EV.
Ordinary golden sand: +0.7 EV.
Wet or dark sand: 0 to +0.3 EV; it's already close to middle gray.
Backlit portrait on the beach: +1 to +1.7 EV metering the whole scene, or fill flash with compensation only for the background.
The beach adds an extra factor: reflections off the water introduce bright specks that can frighten the matrix meter in some compositions. If results are inconsistent from shot to shot, lock the exposure with AE-L on a representative patch of sand.
Compensation table by scene
Scene: Snow in full sun; Compensation: +2 EV; Typical resulting setting: f/8, 1/1000 s, ISO 100
Scene: Overcast snow; Compensation: +1 EV; Typical resulting setting: f/8, 1/250 s, ISO 200
Scene: White sand in the sun; Compensation: +1.3 EV; Typical resulting setting: f/8, 1/1000 s, ISO 100
Scene: Golden sand; Compensation: +0.7 EV; Typical resulting setting: f/8, 1/800 s, ISO 100
Scene: Dense fog; Compensation: +1 EV; Typical resulting setting: f/5.6, 1/250 s, ISO 400
Scene: Dark/night scene; Compensation: -1 to -2 EV; Typical resulting setting: Depends on available light
Scene: Backlight (subject is the priority); Compensation: +1 to +2 EV; Typical resulting setting: Or spot metering on the subject
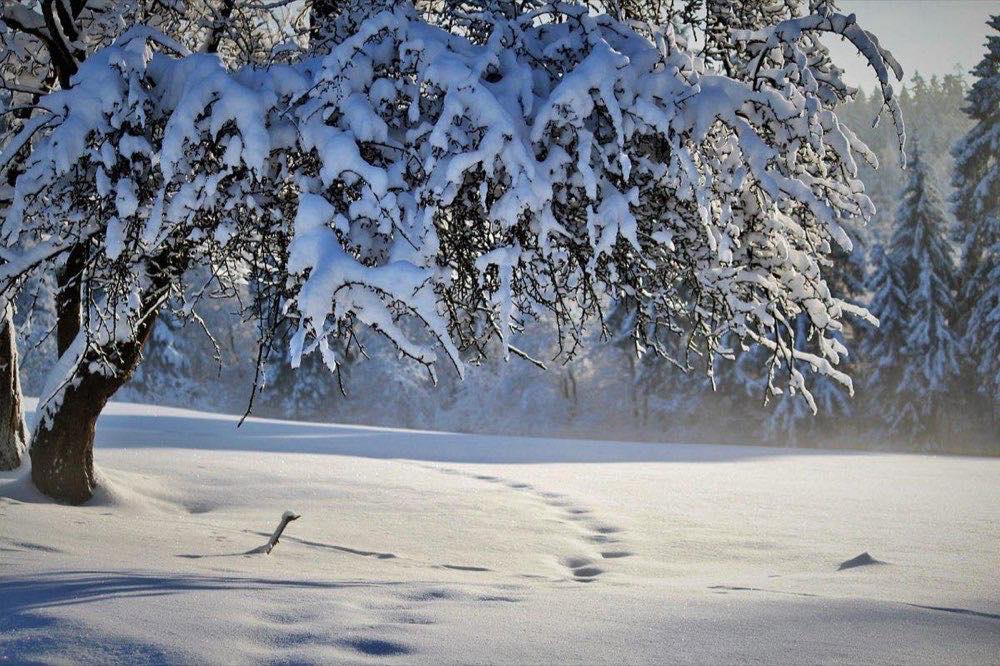
Note: fog shares the logic of snow (a bright scene that the meter darkens), and night scenes the reverse (the meter brightens them and robs them of atmosphere).
How is it applied in each shooting mode?
Aperture or shutter priority: the +/- dial acts directly. This is the ideal workflow: you decide the aesthetic, the meter follows the light, and your compensation corrects its bias.
Manual mode with fixed ISO: the dial does nothing; you "compensate" by changing the shutter speed or aperture yourself relative to what the indicator shows (point the indicator at +1 instead of 0).
Manual + Auto ISO: the dial works again, shifting the ISO. Very useful in action with changing light.
RAW doesn't save you from everything: extreme overexposure clips unrecoverable highlights, and 2 stops of underexposure costs noise when you lift it. Compensating at capture is still the highest-quality route.
To see the dial applied to more cases with images, the article on exposure compensation with real examples is the direct complement, and if the beach is your next destination, the guide to beach photography: settings and protection combines compensation and gear care.
Frequently asked questions
Why does snow come out gray if my camera is new and expensive?
Because the problem isn't technological but conceptual: every reflected-light meter assumes middle gray. Modern cameras with scene recognition sometimes mitigate it, but you can't depend on that: +1.7 EV on sunlit snow almost always works.
Do I compensate the same if I shoot RAW?
RAW gives you room to correct (especially toward the shadows), but exposing correctly at capture still produces the cleanest file. Also, compensating in camera lets you judge the real photo on the screen and the histogram.
Which is better: compensating or using spot metering?
They're two paths to the same place. Compensation corrects the overall average (fast, ideal for landscape); spot metering measures exactly what matters to you (precise, ideal for portraits in extreme scenes). Master both and choose for convenience.
Does compensation affect the flash?
On most cameras they are separate controls: exposure compensation (ambient light) and flash compensation. For backlit beach portraits, a typical combination is +1 EV ambient and -0.7 EV flash for a natural fill.
What to leave dialed in before heading out
Sand and snow are the light meter's final exam, and it always fails for the same reason: it assumes the world is gray. Your job is to tell it that it isn't, and the compensation dial is the shortcut: +1 to +2 EV for white, -1 to -2 EV for black, with the histogram as judge.
Memorize the values in the table and test them on your next getaway: the difference between gray snow and radiant snow is two clicks of the dial. At Enfogram you'll find the 44 photography cards with the exact settings for every situation, compensations included: print them, carry them with you and shoot with confidence.