Experimental Photography: Breaking the Rules on Purpose
Experimental photography techniques: light painting, ICM, multiple exposure and projections. Break the rules with controlled creativity.
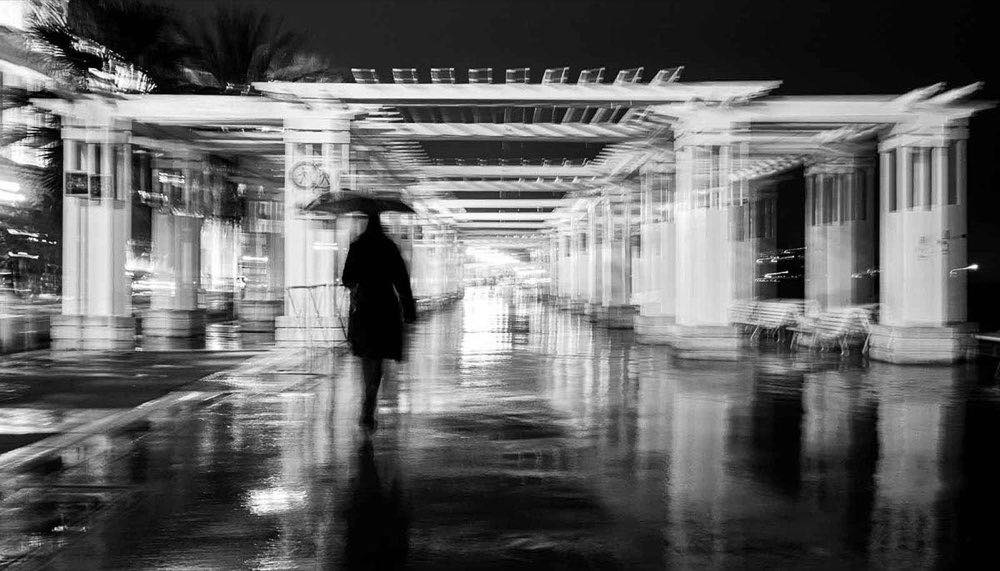
Photography is an art full of rules: correct exposure, precise focus, balanced composition. But it is also a language that grows when those rules are questioned. In that space of creative rebellion, experimental techniques are born, seeking to go beyond the literal to generate atmospheres, abstractions and optical effects with intention.
Experimenting does not mean shooting aimlessly. Start from classic technique and use it as a foothold to create something unexpected. The mistake stops being an accident and becomes a narrative resource. And although some of these images may look casual, behind them there is conscious control of light, time and movement.
This approach opens fertile ground for innovation: from a photo that blends several exposures to unreal environments created with projections. Experimental photography invites you to break the rules, but with a clear goal: to build images that surprise and tell a different story.
Which technique should I try first and with what settings?
Six families of techniques and what each one asks for. The guide to experimental techniques and creative photography develops the complete map of the genre.
Technique: Multiple exposure; Starting point: Dark background and lit subject: the first shot gives the silhouette, the second the texture; What you need: In-camera mode or layers in Photoshop (Screen, Multiply)
Technique: Light painting; Starting point: 30 s to several minutes, f/8-f/11, ISO 100; What you need: Tripod and a flashlight, LED or controlled fire
Technique: ICM; Starting point: 1/8 s to 1/2 s moving the camera during the exposure; What you need: Nothing more than the camera
Technique: Prism and refraction; Starting point: The effect goes straight to the sensor, no post-processing; What you need: A prism, cut crystal or frosted glass
Technique: Light projection; Starting point: Pattern or image projected onto the subject or background; What you need: Projector, color gels, translucent fabrics
Technique: Analog (redscale, photogram, solarization); Starting point: Textures that do not replicate digitally; What you need: Film roll, light-sensitive paper, lab
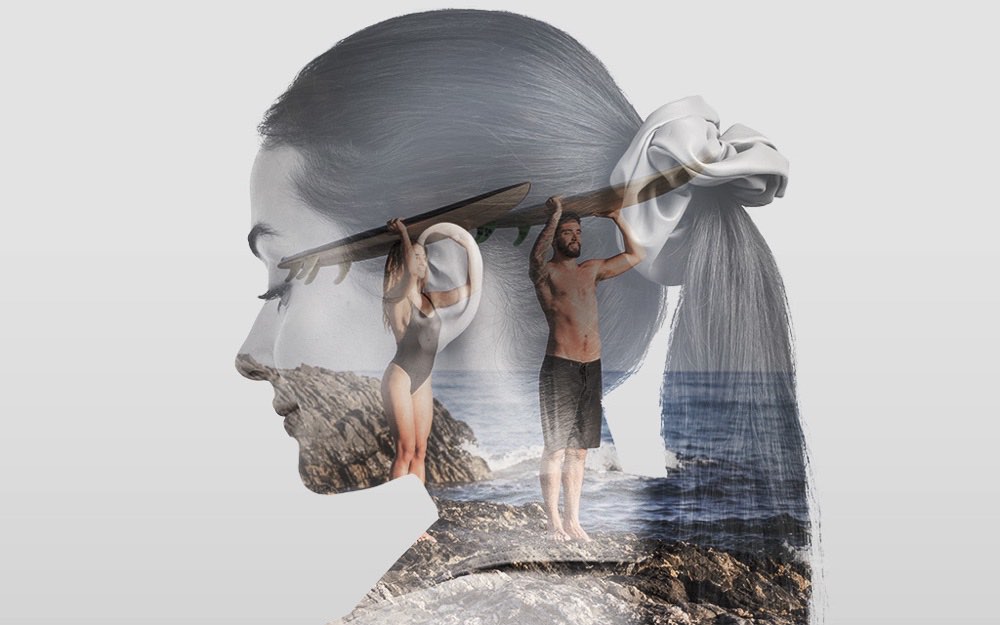
Multiple exposures: a layered image
The multiple exposure technique consists of overlaying several shots into a single image. Some cameras include a specific mode for this; otherwise, it can be done in post-production using layers in Photoshop with blend modes such as "Screen" or "Multiply."
This resource lets you combine disparate elements to create visual narratives: a portrait fused with nature textures, a building with geometric patterns, or landscapes that seem straight out of a dream. The effect catches the eye; what holds the image together is the story those layers build.
To control the result, it helps to start with dark backgrounds and lit subjects: the first exposure establishes the silhouette and the second adds the texture or context. Documenting each combination of images used lets you repeat or refine results in later sessions.
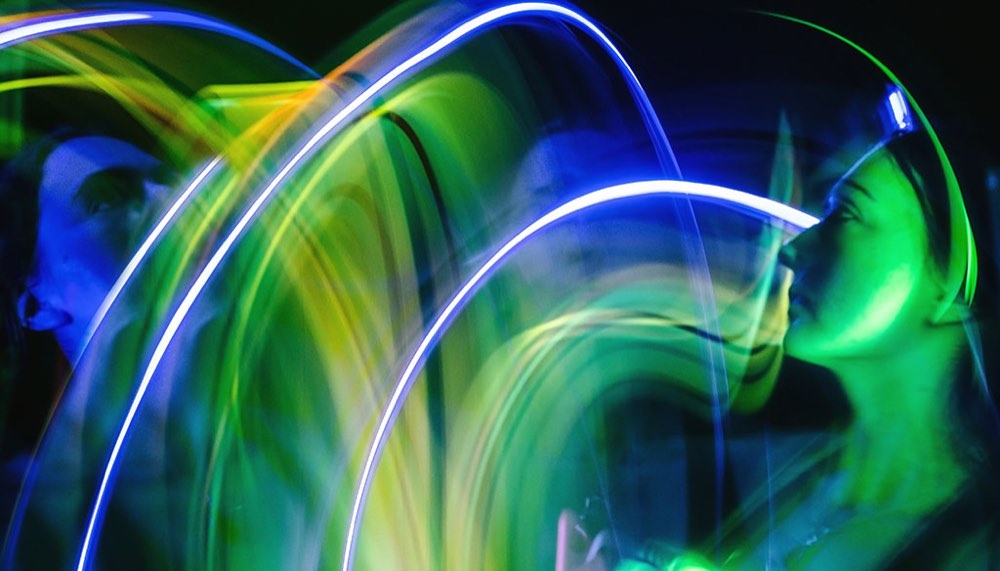
Light painting: drawing with light
Light painting turns light into a brush. With long exposures (between 30 seconds and several minutes), closed apertures (f/8-f/11) and low ISO (100), you can "paint" on the darkness with flashlights, LEDs or even fire (always with safety and control of the environment).
Beyond the visual spectacle, this technique lets creativity take center stage. From selectively lighting objects (revealing details invisible under ambient light) to creating abstract shapes in the air, light painting offers unlimited ground for experimentation.
An advanced variation is light painting on static subjects: lighting a sculpture, a car or a building by moving around the object with a point light source. The result is omnidirectional lighting impossible to achieve with conventional flashes.
ICM: intentional camera movement
Intentional Camera Movement (ICM) explores abstraction through deliberate panning. With slow speeds (1/8 s-1/2 s), the photographer moves the camera gently during the exposure.
The result can be a forest turned into vertical brushstrokes, city lights transformed into strokes of color, or landscapes turned into dreamlike atmospheres. What matters is not the literalness of the subject, but the emotion the image conveys.
ICM takes practice to stop being a random effect and become a repeatable technique. Variables such as the speed of the movement, its direction (vertical, horizontal, circular), the shutter speed and the amount of available light determine the final character of the image. Keeping a record of these variables in the first sessions speeds up learning significantly.
Optical experiments and projections
Experimental photography also plays with elements outside the camera. Prisms, glass surfaces, cut crystals or even the bottom of a glass can refract light and distort reality in surprising ways. This technique, known as prism photography, requires no post-production: the effect is real and is captured directly on the sensor.
Another powerful technique is light mapping or projection: projecting images, patterns or textures onto a subject or background to create impossible environments without the need for digital editing. It is a way of merging optics, set design and storytelling that many editorial photographers adopt to differentiate their work. Editorial photography and experimental photography constantly feed each other at this point.
Unconventional filters (translucent fabrics, colored gels, frosted glass) applied in front of the lens modify the texture of the air in the image, creating halos, veiling or selective saturation that transform the emotional character of a photo without altering its documentary content.
Analog photography as an experimental tool
The resurgence of analog photography has opened up unique experimental possibilities: redscale (flipping the film roll to expose through the opposite side), double exposure on film, photograms (images created without a camera by placing objects directly on light-sensitive paper) and solarization are techniques that produce results impossible to replicate digitally with the same texture.
Even the "mistakes" of the analog process (fogging from stray light, drag lines, emulsion damaged by time) can be incorporated as creative resources when controlled intentionally. The value of the imperfect as a deliberate aesthetic decision is one of the most liberating principles of experimental photography.
What mistakes ruin an experiment?
Trying things without a technical foundation, producing results that cannot be repeated and offer no chance to learn.
Using effects only for aesthetics, with no narrative purpose to justify the technique chosen.
Not documenting settings, which prevents you from learning from successes and reproducing them.
Ignoring safety when working with fire, chemicals or risky elements outdoors.
How do I turn an accident into my own technique?
Master a new technique every quarter: progressive learning strengthens your portfolio without scattering your creative focus.
Document your successful settings and build a personal library to repeat or improve results. A simple spreadsheet with date, technique, parameters and visual result is enough.
Combine traditional and experimental techniques: a classic portrait can gain strength with a projection, or a natural landscape with a touch of ICM. The fusion of the conventional and the experimental is where personal style appears.
For those working on developing their photographic style and professional portfolio, incorporating experimental techniques coherently can be the differentiating element that defines a unique visual identity.
Frequently asked questions
Do I need specialized equipment to experiment? Not necessarily. Many techniques require only your camera, a tripod and simple accessories such as flashlights, prisms or translucent fabrics. ICM does not even require accessories: just a slow shutter speed and intentional movement.
What is the easiest technique to start with? Light painting and ICM are the most accessible for beginners: you just need to practice with exposure times and controlled movements in a space where you can control the light. Results are visible immediately and every attempt teaches something.
Can I use experimental techniques in professional photography? Yes, as long as they have a clear narrative purpose. Many editorial and fashion photographers use projections and multiple exposures as a differentiating creative resource that generates exclusive work that is hard to replicate.
How do I know if an experimental image is good or just an accident? If you can explain why you made that technical decision and what you wanted to communicate, it is an intentional image. If you do not know how to reproduce it or what makes it work, it is still an accident. The goal is to turn accidents into documented techniques.
How far "breaking the rules" goes
Breaking a rule only counts when you can explain why you broke it and repeat the result. An effect you cannot reproduce is still a lucky accident; practice, documentation and discipline are what turn it into technique.
At Enfogram you will find the 44 photography cards with the exact settings for every situation: print them, carry them with you and shoot with confidence.