Diploma Photo Size: 5 × 7 cm and How to Take It
The diploma photo is 5 × 7 cm and the professional degree photo is 6 × 9 cm, almost always oval. Pixel sizes, who sets them and how to prepare it at home.
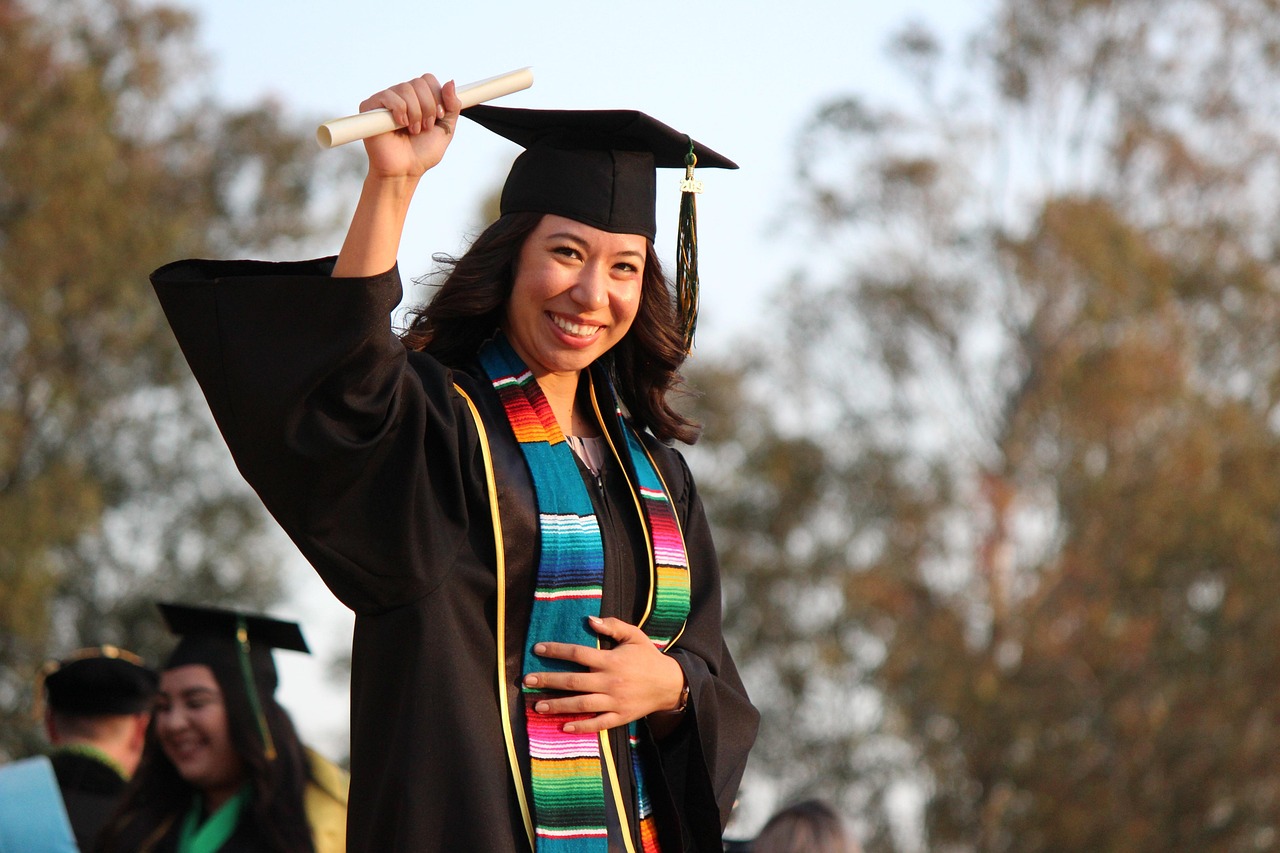
The diploma photo is 5 × 7 cm and the professional degree photo is 6 × 9 cm, and both are almost always requested with an oval crop. At 300 ppi that is 591 × 827 pixels and 709 × 1063 pixels respectively, which is a laughably low resolution for any current camera: pixels will never be the problem.
What is worth knowing before paying for printing is that no Mexican authority sets these sizes. They are lab conventions, very stable but conventions nonetheless, and the one who really decides is the institution asking you for the photo.
How big is a diploma photo?
Format: Diploma; Centimeters: 5 × 7 cm; Pixels at 300 ppi: 591 × 827; Pixels at 600 ppi: 1181 × 1654; Typical use: Certificates, diplomas, recognitions
Format: Degree; Centimeters: 6 × 9 cm; Pixels at 300 ppi: 709 × 1063; Pixels at 600 ppi: 1417 × 2126; Typical use: Professional degrees, professional license (cédula)
Format: Rectangular ID; Centimeters: 3.5 × 4.5 cm; Pixels at 300 ppi: 413 × 531; Pixels at 600 ppi: 827 × 1063; Typical use: ID cards and badges
Format: Oval ID; Centimeters: 3.5 × 5 cm; Pixels at 300 ppi: 413 × 591; Pixels at 600 ppi: 827 × 1181; Typical use: The oval variant of the previous one
Format: Child; Centimeters: 2.5 × 3 cm; Pixels at 300 ppi: 295 × 354; Pixels at 600 ppi: 591 × 709; Typical use: School paperwork
The calculation behind any of those figures is a division: pixels = centimeters ÷ 2.54 × ppi. If you'd rather plug in your own numbers, the document photo size calculator gives them ready-made, and now includes these two formats.
For documents this small it pays to work at 600 ppi instead of 300. The file is still tiny and the lab appreciates the margin.
Diploma and degree are not the same size
This is the mistake that forces a reprint most often. They are two different formats with names that are used interchangeably in conversation but not at the counter: diploma 5 × 7, degree 6 × 9. One centimeter of width and two of height apart.
At some schools the 6 × 9 is called a "semitítulo" or simply a "professional degree" photo. If the call only says "degree-size photo," ask for the number in centimeters before ordering, because the name isn't enough.
Who sets these sizes?
Nobody, and it is worth saying clearly because almost every page that answers this question implies the opposite.
There is no official Mexican standard that sets the diploma size. What exists are two different things:
Very consistent lab conventions. Photo studios that publish their price lists agree almost unanimously on 5 × 7 for diploma and 6 × 9 for degree. That's why you can ask for it by name almost anywhere and they understand you.
Your institution's specific requirement, which is the one that truly rules and the only one that can reject your application. Each university publishes its own, and besides size it usually specifies background, clothing and crop.
When the two don't match, the institution wins. The same goes for the child and ID formats, and it is covered in standard photo sizes for printing.
The oval, and why this photo is cropped that way
The oval crop is a legacy of last century's studio portrait that survived in academic documents, and it is still what most schools ask for.
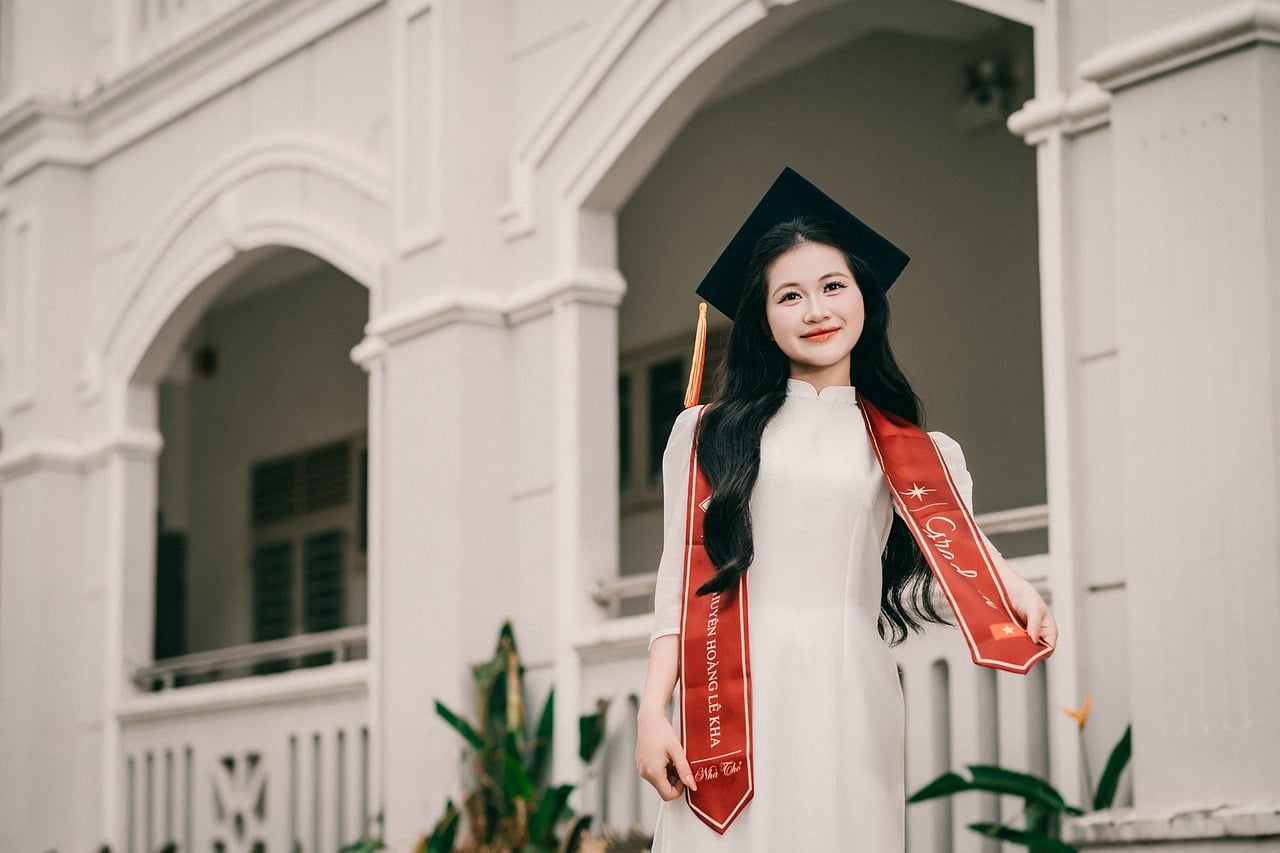
It has a practical consequence when framing: the oval cuts off the corners, so anything near the edges disappears. If you compose tight, the shoulders get lost and the head ends up touching the upper limit. Leave plenty of room around the subject when you shoot and crop at the end, once you know whether they want it oval or rectangular.
A tip that saves money: order or prepare the rectangular 5 × 7 file and let the lab apply the oval. The other way around doesn't work: from an already cropped oval you can't recover a rectangle.
How to prepare it at home
None of this needs a studio, and a window is enough:
Plain, light background. A white or very light gray wall. No pictures, no door frames, no texture.
Place the person one meter from the wall. This keeps their own shadow from falling behind them and ruining the plain background.
Soft frontal light. A large window in front of the subject, not to one side. Here you aren't looking for dramatic volume: you're looking for clear identification, which is the opposite of what a normal portrait asks for.
No direct on-camera flash. It produces glare on glasses and a hard outline shadow stuck to the wall.
Medium focal length and two meters of distance. An 85 mm full-frame equivalent at about two meters gives natural proportions. A wide angle at half a meter enlarges the nose, and it is the reason so many ID photos come out looking odd.
Head straight, shoulders facing forward, neutral expression. Eyes open, looking at the lens.
Shoot at maximum resolution and crop at the end. Never enlarge a small crop.
What clothing and background do they ask for?
This is where you need to go to the call for submissions and not to an article, because it varies by institution and sometimes by department. What is common to almost all: white background, formal clothing, no cap or accessories covering the face, and frequently black and white for the degree.
Many Mexican universities also ask for a fully uncovered face, no glasses, and prohibit a broad smile. Confirm those three points on the procedure's page before the session: they are the ones that cause the most rejections and cost nothing to check.
Frequently asked questions
How many pixels does a diploma photo need?
591 × 827 pixels at 300 ppi, or 1181 × 1654 at 600 ppi, which is the recommendation for formats this small. Any current camera or phone exceeds that by a huge margin; what matters is that those pixels come from a tight frame and not from cropping a tiny face out of a wide shot.
Can I use an ID photo for the diploma?
No, they are different proportions. The ID is 3.5 × 4.5 (ratio 1:1.29) and the diploma is 5 × 7 (ratio 1:1.4). Enlarging the ID to diploma size crops or distorts, and it also starts from a smaller file than necessary.
Does the diploma photo go in black and white or in color?
It depends on the institution and both are requested. Many universities require black and white for the degree and accept color for diplomas and recognitions. Always shoot in color and convert afterward: a color file gives you a black and white, and the reverse isn't true.
How long before must it be taken?
For the diploma there usually isn't a set deadline, unlike the Mexican passport, which requires a photo less than 30 days old. Even so, the photo has to look like you now: if your appearance has changed noticeably, retake it.
What to confirm before sending it to print
Three details, and all three come from the call for submissions, not from this page: the exact size in centimeters, whether they want it oval or rectangular, and whether it is in color or black and white. With that settled, prepare the rectangular file at 600 ppi, leave room around the head and set up a 10 × 15 cm sheet with several copies to pay for a single print.
The 44 cards from Enfogram come with the lighting and framing diagrams printed in A4 and A5, so you can set up the shot without improvising in front of the subject.