Lake Reflections: Mirror Composition
Lake reflection photography: when you get a perfect mirror, how to expose for the difference in light and how to compose symmetry with intention.
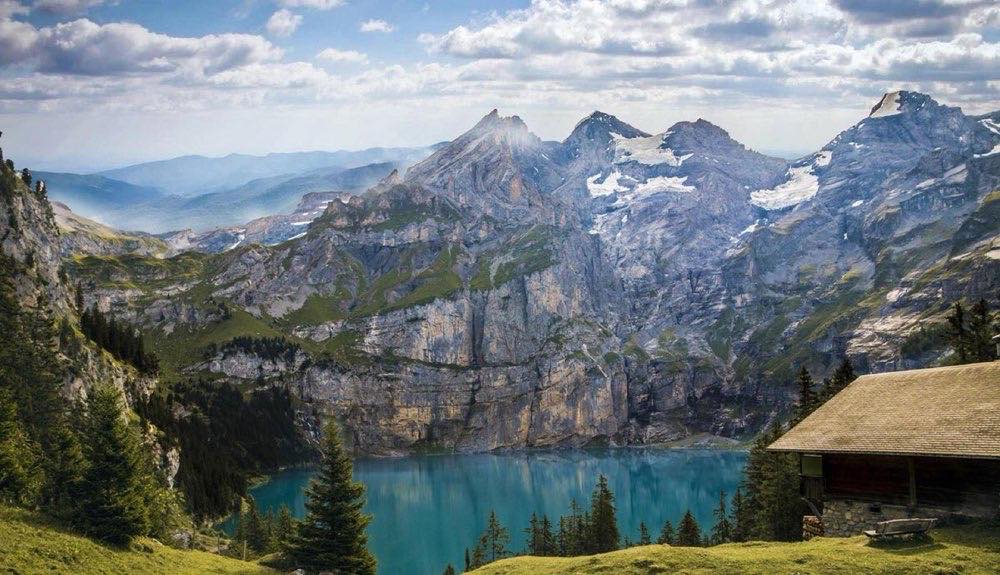
A calm lake is the most powerful compositional tool nature offers: it doubles mountains, skies and trees in a symmetry the eye cannot stop looking at. But reflections in landscape photography have their own rules: the mirror only appears under specific conditions, the reflection is always darker than the real scene, and perfect symmetry can be as much a virtue as a compositional trap.
Mastering mirror photography means knowing three things: when the water will be still, how to expose two scenes of different brightness in a single frame and where to break (or respect) the symmetry.
Let's take them one by one.
When you get a mirror: the conditions for a perfect reflection
A mirror reflection demands flat water, and flat water is a matter of wind and time of day:
Wind under 5 km/h: above that, the surface ripples and the reflection breaks into textures (which have their own charm, but are not a mirror).
Sunrise: the calmest moment of the day, before the sun generates thermals. The typical mirror window runs from 40 minutes before dawn to 1-2 hours after. At sunset, calm sometimes returns right as the sun goes down.
Sheltered waters: lee shores, coves, small ponds and giant puddles after rain calm down sooner than an open lake. A 2-meter puddle can give the same mirror as a 2-kilometer lake.
After rain: the washed atmosphere and wet ground multiply the reflective surfaces: puddles, damp rocks, wet sand at low tide.
Planning tip: check the hourly wind forecast, not the daily one. "Wind 15 km/h" can hide a completely calm dawn and an impossible afternoon.
Exposing the reflection: always darker than reality
Physics does not negotiate: water does not return all the light, so the reflection is 1 to 2 stops darker than the scene it reflects. If you expose for the mountain, the reflection goes dull; if you expose for the reflection, the mountain blows out.
Handling options, from simple to elaborate:
Single exposure protecting highlights: meter the real scene, compensate -0.3 EV and lift the reflection in editing (+0.5 to +1.5 EV of local shadows). With current sensors and RAW, it solves 80% of cases. Typical setting at dawn: f/11, ISO 100, 1/15 s, tripod.
Graduated filter (GND): a 2-stop GND with the transition on the waterline and the dark part over the real scene evens out scene and reflection in the shot. It works when the waterline is straight.
Merged double exposure: one shot for the scene, another +1.3 EV for the reflection, and a masked merge along the waterline. The precision method for extreme sunrise light.
In any case, shoot RAW and watch the histogram: the lit-up clouds at dawn are the first thing to clip. These decisions are the direct application of dynamic range control in complex landscapes.
What settings do I use in each mirror scene?
Scene: Lake at dawn, lit-up sky; Starting settings: f/11, ISO 100, 1/8-1/15 s; Technique: Tripod, -0.3 EV, lift the reflection in RAW
Scene: Mirror with fog; Starting settings: f/8, ISO 100, 1/30 s, +0.7 EV; Technique: Compensate for the white of the fog
Scene: Urban puddle after rain; Starting settings: f/5.6, ISO 400, 1/125 s; Technique: Camera at water level
Scene: Reflection with slight texture; Starting settings: f/11, ISO 100, 2-4 s + ND8; Technique: Long exposure re-smooths the water
Scene: Mountain reflected at midday; Starting settings: f/11, ISO 100, 1/125 s; Technique: No CPL or CPL turned to the minimum
Scene: Mirror detail with a telephoto; Starting settings: f/8, ISO 200, 1/250 s; Technique: Only the reflection, inverted world
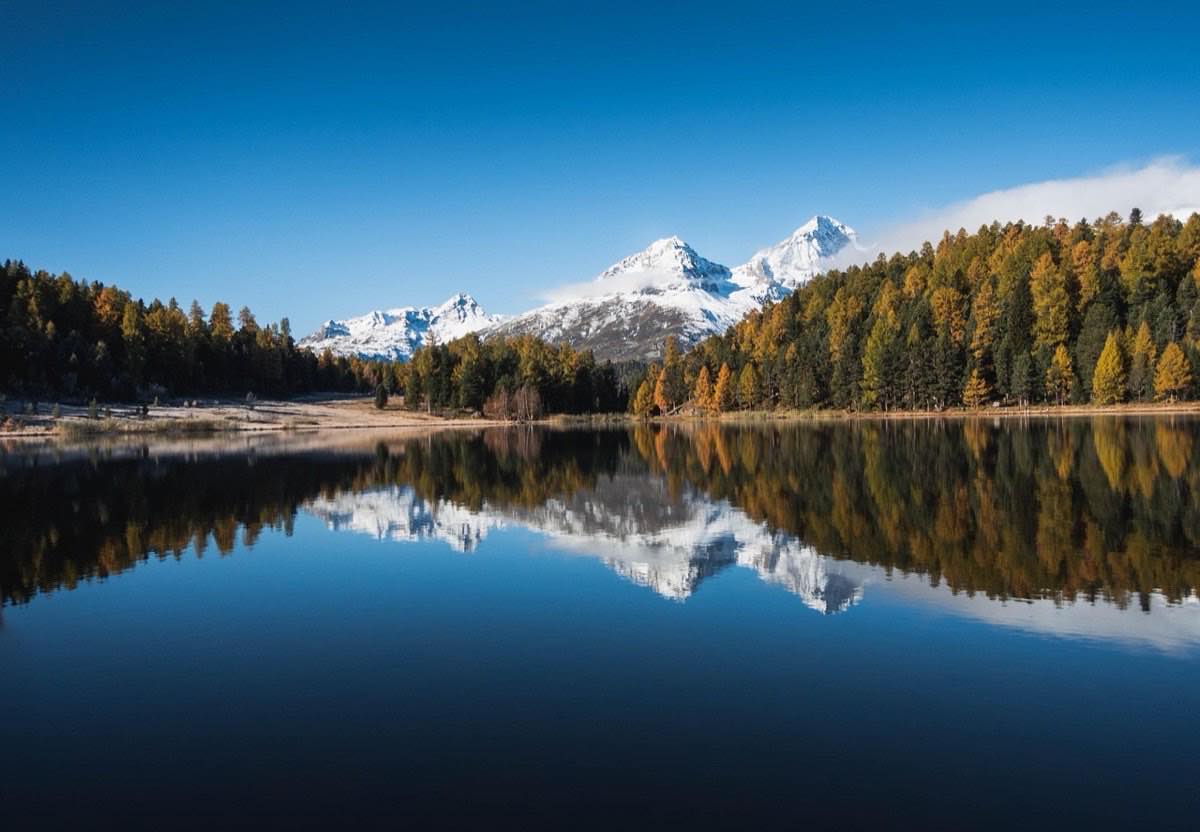
A note on the polarizer: it is the only filter that can erase your reflection. Turned to the wrong position, it removes exactly what you are after. For reflections, turn it until the mirror is maximized or simply leave it in the bag.
Composing symmetry: when to respect it and when to break it
The waterline in the center. Mirror symmetry is the legitimate exception to the rule of thirds: a centered horizon with the scene above and the reflection below creates a contemplative, balanced image. For it to work, the symmetry must be nearly perfect: flat water and a frame leveled to the millimeter.
Breaking it with an anchor. If the mirror is good but the scene lacks a subject, introduce an element that breaks the symmetry: a rock poking out, a boat, a pier, a figure on the shore. That anchor becomes the focal point and the symmetry becomes the stage.
Lower the camera. The closer the lens is to the water, the larger the reflection and the more it blends with the real scene. At water level, a small puddle reflects an entire mountain. Tripod in low position or camera resting on the shore with a tilting screen.
The reflection as the whole photo. Frame only the reflection with a telephoto and rotate the image 180° in editing: the inverted world with the subtle texture of the water gives painterly images that nobody identifies at first glance. The slight vibration of the water works here like a brushstroke.
These games of balance and visual weight draw directly from the dynamic visual composition guide, where symmetry is one of the tools of tension and calm in the frame. And if your lake wakes up with fog, combine this technique with what you have learned about narrative landscape and layers of depth.
Common mistakes in mirror photography
Crooked horizon: in symmetry, half a degree of tilt is noticeable twice over (the real line and the reflected one diverge). Use the camera's electronic level.
Cropping the reflection out of compositional laziness: if you include a reflection, give it full space; a reflection cut in half looks like an accident. Decide: either it comes in whole, or it does not come in.
Ripples from the photographer: walking on a soft shore or putting tripod legs in the water creates ripples that take minutes to calm down. Get set up and wait.
Leaving too soon: wind comes and goes in cycles; the mirror that broke can return in five minutes. Patience is part of the technique.
Frequently asked questions
Why does my reflection come out darker than the scene?
Because it always is: water absorbs part of the light. It is physics, not an error. Lift the shadows of the reflection in editing or use a graduated filter to even it out at capture.
Does the polarizer help or spoil reflections?
Both, depending on how you turn it: in one position it eliminates the reflection (useful for seeing the bottom of the water), in the opposite one it respects it. If the reflection is the subject, the safest thing is not to use it.
What do I do if there is some wind and the mirror is not perfect?
Two paths: mount an ND (ND64) and lengthen the exposure to 15-30 seconds so that the averaged movement re-smooths the reflection, or embrace the texture and work impressionistic reflections with a telephoto.
Do these techniques work for rivers and sea?
Partially: slow rivers and pools give good reflections when calm; the sea is almost never a mirror, but the wet sand after each wave is an excellent mirror surface for a few seconds. The exposure rules are identical.
The perfect reflection is an appointment with three conditions
The perfect reflection is an appointment with three conditions: dawn, calm and sheltered water. Arrive early, level the camera, expose protecting the sky and consciously decide whether your photo is pure symmetry or symmetry broken by an anchor.
And remember that the nearest mirror may be a puddle: after the next rain, go out with the camera at ground level. At Enfogram you will find the 44 photography cards with the exact settings for every situation: print them, carry them with you and shoot with confidence.