1:1 Macro Photography: Sharpness and Focus
1:1 macro explained: reproduction ratio, manual focus, dedicated flash and focus stacking for insects, flowers and textures.
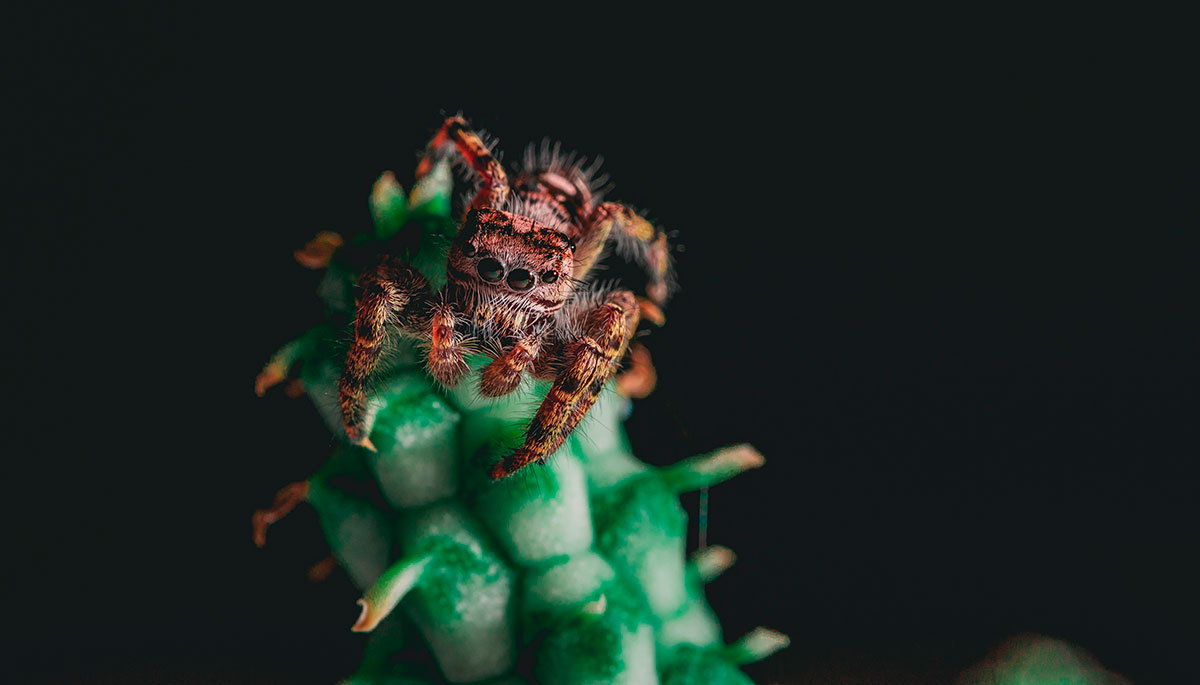
Macro photography lets us explore a universe invisible to the human eye. From the subtlest textures of a flower to the tiny world of insects, working at magnifications of 1:1 or greater turns the everyday into the extraordinary. But this genre demands technique, patience and meticulous command of every variable.
The main challenge is depth of field. At such short distances, even at f/8 or f/11, the in-focus zone can be measured in millimeters. This forces you to work with manual focus, use a tripod and control your breathing and pulse to avoid micro-movements.
Lighting weighs as much as focus. Diffused natural light can work for plants or flowers, but for insects or water drops it is almost essential to turn to macro flashes, diffusers and reflectors that freeze the instant and keep sharpness without excessive noise.
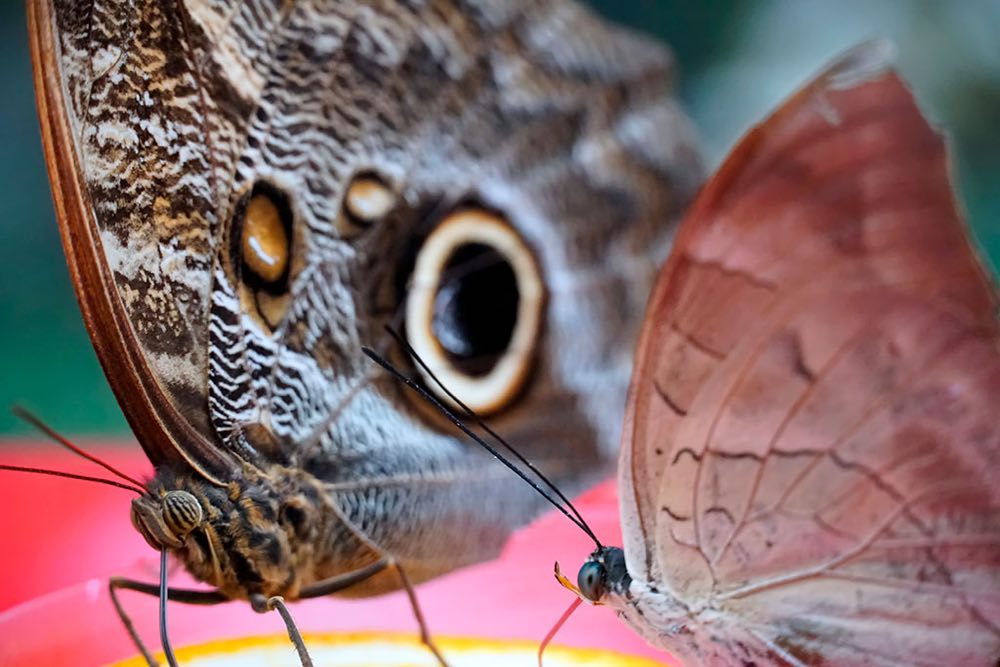
What settings do I use in each macro scenario?
Scenario: Flowers and plants; Aperture: f/8–f/11; ISO: 200–400; Shutter speed and light: Soft natural light; the side light of blue hour and golden hour reveals the texture of petals and leaves
Scenario: Insects; Aperture: f/5.6; ISO: 800–1600; Shutter speed and light: Minimum 1/250 s with macro flash, which freezes an unpredictable subject
Scenario: Abstract textures; Aperture: f/11–f/16; ISO: —; Shutter speed and light: Controlled light, for bark, minerals or fabrics
Scenario: Water drops; Aperture: f/8; ISO: —; Shutter speed and light: 1/250 s and flash to freeze the shape
With drops, a water sprayer lets you repeat the scene as many times as needed until you nail the moment. Each scenario calls for different settings, but the constant is control of focus and light.
What do you need to work at 1:1?
True macro lenses (60 mm, 100 mm or 180 mm), which allow 1:1 magnification without additional accessories and with optimal optical quality. The 100 mm offers a greater working distance from the subject, reducing the risk of casting a shadow with the camera body.
Manual focus with live view and digital magnification, to place the point of sharpness exactly where it's needed with a precision that autofocus can't guarantee at extreme magnifications.
Tripod + remote release or 2-second timer, minimizing the vibrations transmitted when pressing the shutter button.
Dedicated lighting: ring flashes, homemade diffusers or small reflectors to direct light precisely. A ring flash provides even lighting without shadows, while a side source adds texture and dimension to the subject.
At such short distances the light meter behaves counterintuitively; strategic light metering explains why and what to do about it.
How much depth of field do you have at 1:1?
In macro photography, depth of field is measured in millimeters or even fractions of a millimeter. At 1:1 scale with a 100 mm lens at f/8, the total depth of field can be under 2 mm. This means an insect's head may not fit entirely within the in-focus zone even though it seems like it should.
Understanding this physical limit completely changes the capture strategy. Instead of trying to focus the whole subject in a single shot, the advanced macro photographer works with focus stacking: capturing a series of images in which the focal plane advances millimeter by millimeter along the subject, then merging them in specialized software such as Helicon Focus or Photoshop itself.
The result is an image with complete sharpness across the whole three-dimensional subject, something impossible to achieve in a single shot. Tools such as a motorized focusing rail let you automate this process with precise, repeatable movements.
Common mistakes in macro photography
Opening the aperture too much: it creates a depth of field so shallow that barely a fraction of the subject is in focus, producing images in which the insect's eye is sharp but its wings are completely blurred.
Relying on autofocus: in extreme macro the AF tends to fail, hunting between planes without finding the right subject. Manual focus with magnified live view is always more reliable.
Neglecting the background: a noisy or distracting background ruins the narrative of the image. Controlling the distance between subject and background, or using neutral-colored cards, makes a radical difference.
Micro-movements from breathing or pulse: even the slightest tremor is amplified in macro, producing blurred images that seem to be in focus but are actually slightly shaken. Mirror lock-up and a remote release eliminate this problem on DSLR cameras.
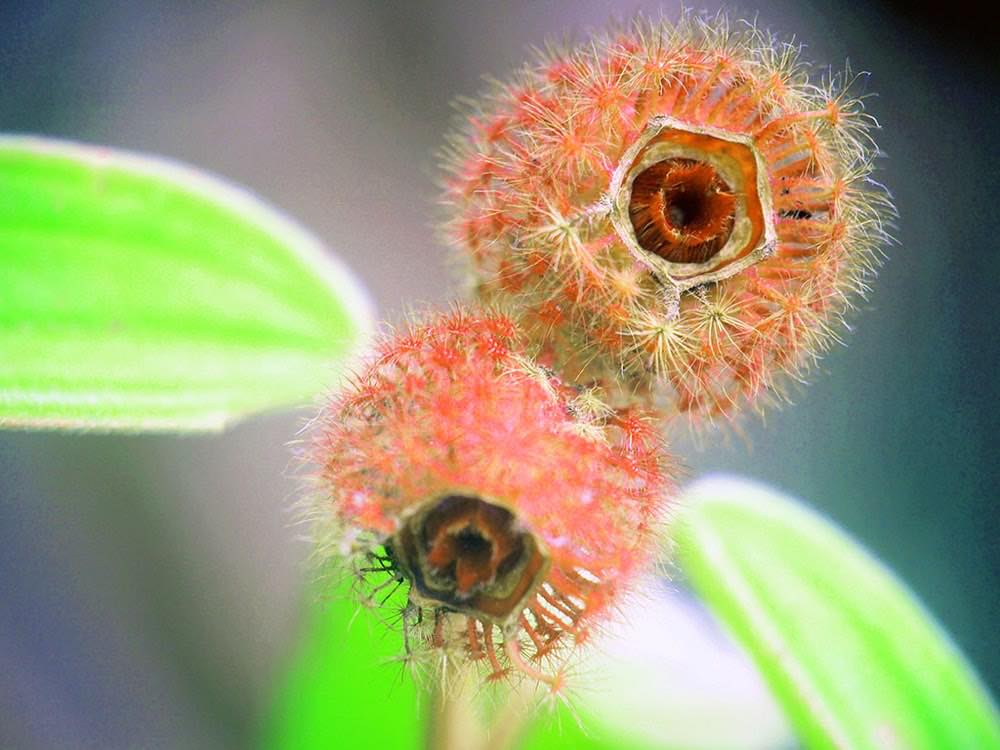
How do I focus when the focus ring isn't enough?
Use the technique of focusing by moving the camera instead of turning the ring: you adjust the distance with your whole body and gain millimeter precision on small subjects.
Do a pre-focus on the likely zone of movement (ideal for insects), and shoot when they enter the plane. This technique requires patience but produces more consistent results than chasing the subject with the focus.
Practice focus stacking: take several photos at different planes and merge them in post-production to achieve complete sharpness on three-dimensional subjects. It is the standard technique in professional macro photography.
Calculate the depth of field in macro with specific apps to squeeze the most out of the available depth of field without sacrificing optical quality through diffraction from stopping down too far.
Advanced focusing techniques are central in macro as well as in other genres where precision is critical. Digging into the secrets of advanced focus will give you a complete technical understanding that applies from macro to portrait and landscape.
Frequently asked questions
What is the difference between a true macro lens and extension tubes? A true macro lens lets you work comfortably at 1:1 with better optical quality, sharpness at the edges and a comfortable working distance. Extension tubes are an economical option for getting started with conventional lenses, but they limit versatility, working distance and quality at the edges of the frame.
Is flash essential in macro? Not always, but for insects and scenes with fast movement it is almost mandatory to freeze motion and avoid excessive noise at high ISOs. For plants or static textures, diffused natural light with a tripod and slow shutter speeds is enough and produces very natural results.
How do I keep the background from ruining the photo? Increase the distance between subject and background so it falls outside the focus range, or place neutral surfaces (gray, dark green or black card) behind. You can also use intermediate apertures (f/5.6–f/8) to balance sharpness on the subject and background blur.
What is focus stacking and when should I use it? It is a technique that combines multiple images with slightly different focal planes to achieve total sharpness on the subject. It is used when the depth of field of a single shot is insufficient to cover the physical depth of the subject, especially for insects, coins, jewelry or any three-dimensional object photographed at 1:1 scale or greater.
How far a single shot goes
No aperture gives you a whole insect sharp at 1:1 scale. At 100 mm and f/8 you have less than 2 mm of in-focus zone, and stopping down further doesn't fix it: past a certain point diffraction takes away what you gain in depth. When the subject is three-dimensional, the answer is focus stacking, not the aperture.
What does depend on you before shooting is three things: manual focus with magnified live view, a tripod with a remote release or a 2-second timer, and a light that doesn't depend on the sun. With those settled, the aperture is the only decision left.
At Enfogram you will find the 44 photography cards with the exact settings for every situation: print them, carry them with you and stop recalculating the aperture while lying in the grass.