Night Photography Noise Reduction: Camera and Software
How to reduce noise in night photos: correct exposure, your camera's real ISO, image stacking and software noise reduction without losing detail.
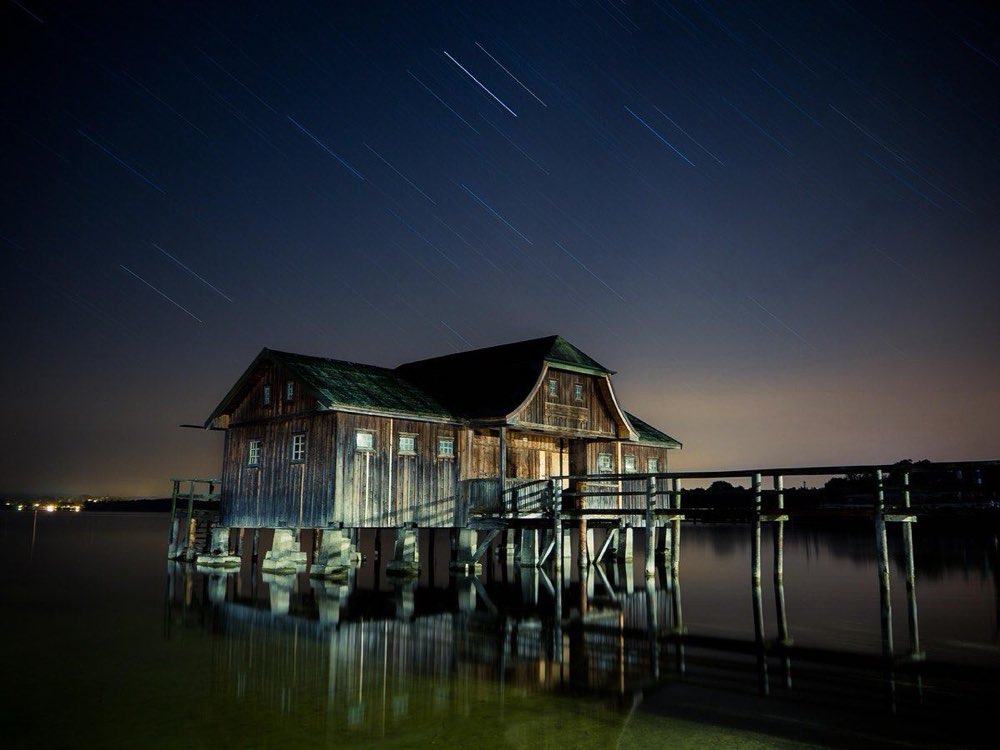
Noise is the tax of night photography: that color and luminance grain that dirties skies, crushes detail and gives away lifted shadows. But most photographers fight noise in the wrong place: they battle sliders in software when the fight is won or lost at the moment of capture. Reducing noise in night photos is a chain of decisions that begins when you expose and ends when you export.
The central paradox to internalize: fear of high ISO generates more noise than it avoids. An underexposed shot at ISO 1600 that you then lift +2 EV in editing ends up just as dirty or dirtier than the same shot properly exposed at ISO 6400. The dominant noise at night comes from a lack of signal (few photons), not from the ISO number.
The chain has four links (exposure, camera settings, stacking and software) and the order matters as much as each one separately. To understand in depth how your sensor's sensitivity behaves, the smart ISO guide is the theoretical foundation for everything that follows.
How do I expose at night so noise does not appear?
The most effective technique is not in any menu: it is capturing the maximum possible signal without clipping. It is called exposing to the right (ETTR): push the histogram toward the right side without clipping the highlights.
In night practice that means: open the aperture all the way (f/1.8-f/2.8), use the longest time your scene allows (30 s on a tripod, or your limit for pinpoint stars) and only then raise the ISO until the histogram breathes, separated from the left edge. The photo will look "too bright" on the screen; that is correct. When you bring it down in editing, the shadows will be clean.
Also learn your camera's "ISO invariant" range and its second gain step (on many modern sensors, around ISO 640-800): beyond that, raising ISO in camera or lifting in editing gives similar results. A 10-minute home test with your own camera is worth more than any generic table.
Which camera settings really matter?
Always RAW: JPEG applies destructive, irreversible noise reduction. Any serious workflow starts from RAW, as explained in RAW vs JPEG: the smart decision.
Long exposure noise reduction (dark frame): useful for single exposures longer than 1-2 minutes on warm nights (it removes hot pixels), but it doubles every exposure. Turn it off if you are shooting sequences, star trails or stacking.
High ISO noise reduction: only affects JPEG. With RAW, irrelevant.
Temperature: thermal noise grows with the heat of the sensor. In summer, avoid prolonged live view and let the camera breathe between long bursts.
Stacking: the technique that changes the game
If noise is random and the signal is constant, averaging several identical shots cancels the noise and keeps the signal. It is pure math: stacking 4 shots reduces noise by half; 16 shots, to a quarter.
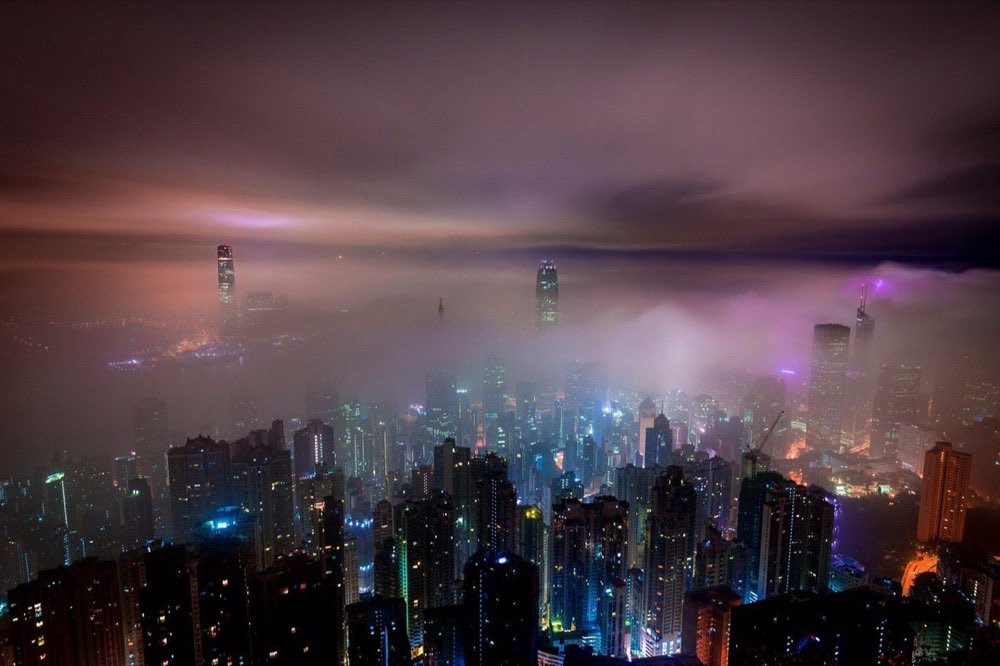
Practical workflow for a starry sky: shoot 10-15 identical consecutive shots (same framing, same settings), align them and average them in specialized software (Sequator on Windows, Starry Landscape Stacker on Mac, or cross-platform Siril), which compensates for the rotation of the stars by separating sky and ground. The result is equivalent to having shot at an ISO several times lower.
Situation: Milky Way on a tripod; Priority technique: Stacking 10-15 shots; Typical setting: f/2.8, 15 s, ISO 6400; Expected gain: Noise ÷ 3-4
Situation: Static night landscape; Priority technique: ETTR + long foreground exposure; Typical setting: f/2.8, 2-4 min foreground, ISO 800; Expected gain: Clean shadows
Situation: Handheld urban night; Priority technique: Burst + software stacking; Typical setting: f/1.8, 1/30 s, ISO 3200; Expected gain: Noise ÷ 2-3
Situation: Single shot with moon; Priority technique: Simple ETTR; Typical setting: f/4, 20 s, ISO 800; Expected gain: Base already clean
Situation: Single exposure over 2 min; Priority technique: In-camera dark frame; Typical setting: f/4, 3 min, ISO 400; Expected gain: No hot pixels
In what order do I apply denoise?
With the capture optimized, software finishes the job. Principles:
AI denoise first, then the rest: modern artificial intelligence noise reduction tools (already built into the main RAW developers) work best on the unprocessed file. Apply them at the start of the workflow at moderate strength (30-50 out of 100): the maximum setting produces plastic skies and devoured stars.
Separate luminance and color: color noise (green and magenta blotches) can be removed aggressively at barely any cost in detail; luminance noise (grain) is best treated gently because that is where texture lives.
Mask: the sky tolerates more reduction than a textured foreground. Apply strong denoise to the sky and gentle to rocks, trees and buildings.
Sharpening comes later and with a mask: sharpening amplifies noise; use the sharpening mask to limit it to the edges.
The goal is never zero noise: it is irrelevant noise. A fine, even grain at viewing size is invisible; a surface made plastic by too much denoise is always noticeable. This balance rests on the field technique detailed in low light without noise: focus, ISO and real minimum shutter speed.
Frequently asked questions
What is the maximum usable ISO of my camera?
The one you determine with a test: photograph the same dark scene properly exposed at ISO 1600, 3200, 6400 and 12800, and compare at 100%. Most modern full-frame cameras are comfortable up to 6400-12800; APS-C ones, up to 3200-6400. With stacking, those limits rise two stops in practice.
Why do my shadows have green and magenta blotches when I lift them?
It is chroma noise from a lack of signal: you underexposed. The root solution is more exposure at capture (ETTR); the patch is the color noise slider, which removes it almost at no cost.
Does stacking work if there is movement in the scene?
Night stacking software aligns the stars and treats the ground separately, but clouds, water or people in motion create artifacts. In those areas use a single shot as the source and blend with masks.
Does AI denoise replace good exposure?
No. AI reconstructs plausibly, but only the real signal contains the true detail. Use it as a final refinement, not as a safety net for underexposures.
The order that decides the night
Maximum signal at capture, stacking when the scene allows it and software used with restraint and masks. That order is not interchangeable: each link multiplies the previous one and software alone cannot rescue what the sensor never received. If you change just one thing tonight, make it losing your fear of ISO and exposing to the right.
The 44 printed cards from Enfogram come with the settings for every night situation, so you can check them with a headlamp and gloves instead of remembering them at three in the morning.