NPF Rule vs 500 Rule: Which One to Use
NPF rule or 500 rule: find out which one better calculates your exposure time for pinpoint stars based on your sensor, lens and resolution.
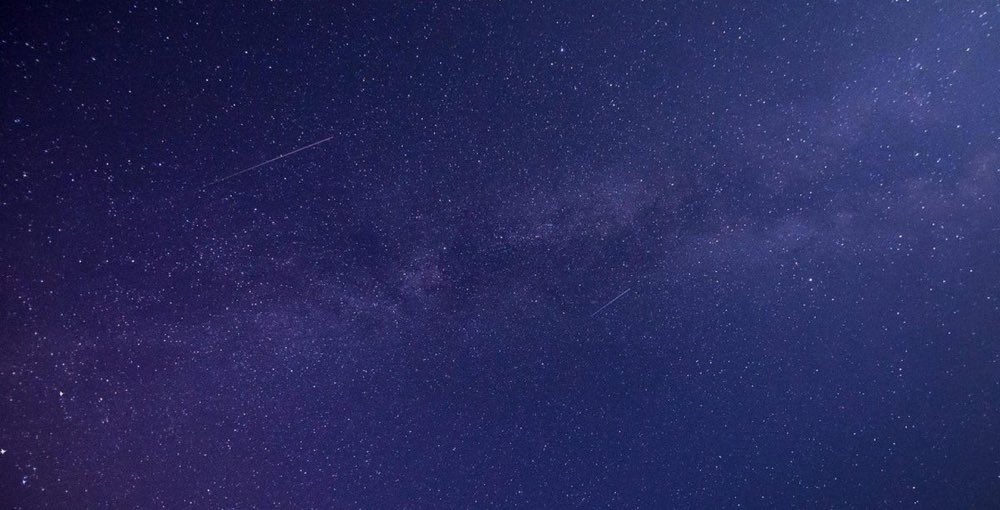
If you've looked up how long to expose so stars come out as points and not as trails, you surely found two different answers. The classic 500 rule and the more modern NPF rule calculate the same thing (the maximum shutter time before star trailing appears) but arrive at different results. And that difference may be the reason your stars never look perfectly sharp when you zoom in.
The 500 rule was born in the era of film and low-resolution sensors. The NPF was designed for today's 24, 45 or 61 megapixel sensors, where each pixel is so small that it registers star movement much sooner. Understanding when to use each one saves you frustration and gives you technically impeccable photos.
This article compares both formulas with real numerical examples. For the full context of the genre (planning, focus, processing) see the night photography and astrophotography guide.
What exactly each rule calculates
500 rule: maximum time = 500 ÷ full-frame equivalent focal length. With a 20 mm on full frame: 500 ÷ 20 = 25 seconds. Simple, memorable, and good enough for sharing on social media or printing at small sizes.
NPF rule: maximum time = (35 × aperture + 30 × pixel pitch) ÷ focal length. It considers three variables: N (aperture), P (pixel pitch in microns, which depends on the sensor's resolution) and F (actual focal length). It is more conservative because it recognizes that a dense sensor detects movement sooner.
Example with a 45 MP full-frame camera (pitch ≈ 4.4 µm) and a 20 mm f/1.8:
500 rule: 25 seconds.
NPF rule: (35 × 1.8 + 30 × 4.4) ÷ 20 ≈ 9.75 seconds.
Less than half. If you expose 25 seconds with that camera, you'll see obvious trails at 100%.
Practical comparison by camera type
Camera and lens: Full frame 24 MP, 14 mm f/2.8; 500 rule: 36 s; NPF rule (approx.): 20 s; Visible difference?: Yes, when enlarged
Camera and lens: Full frame 45 MP, 20 mm f/1.8; 500 rule: 25 s; NPF rule (approx.): 10 s; Visible difference?: Very noticeable
Camera and lens: APS-C 24 MP, 18 mm f/3.5; 500 rule: 18 s; NPF rule (approx.): 13 s; Visible difference?: Yes, when enlarged
Camera and lens: APS-C 26 MP, 11 mm f/2; 500 rule: 30 s; NPF rule (approx.): 17 s; Visible difference?: Moderate
Camera and lens: Micro Four Thirds 20 MP, 12 mm f/2; 500 rule: 21 s; NPF rule (approx.): 14 s; Visible difference?: Moderate
The conclusion from the table is clear: the denser the sensor, the further the 500 rule drifts from reality. You can get the exact value for your combination of body and lens with the NPF rule calculator, which does the formula for you in seconds.
When to use the 500 rule
The 500 rule is still useful in three specific scenarios:
Publishing on social media or the web: at reduced resolution, micro-trailing is invisible.
Low-density sensors: full-frame cameras of 12 to 20 MP tolerate its times well.
When you prioritize signal over perfection: more seconds of exposure mean less ISO and less noise. Sometimes a microscopic trail is a better deal than a noisy photo.
It is also the practical option when you're in the field without a calculator: dividing 500 by the focal length can be done in your head.
When the NPF is mandatory
Use NPF if you do any of these things:
Large prints (A3 or larger), where every pixel counts.
40+ MP sensors, where the 500 rule fails by a lot.
Image stacking: the software aligns pinpoint stars better.
Focal lengths of 35 mm or more for the galactic core, where the margin for error shrinks.
The price of the NPF is that its short times demand more ISO. With 10 seconds instead of 25, you need to go from ISO 3200 to 6400 or 8000 to maintain the exposure. The professional solution is to stack: shoot 10 or 15 shots of 10 seconds and combine them in software to recover cleanliness. On handling high ISOs without fear, I recommend ISO sensitivity in photography: control exposure with intention.
A hybrid method for the real world
Many astrophotographers use a practical middle ground: the "300 rule" or the NPF value multiplied by 1.5 or 2 (the NPF standard itself contemplates this "relaxed" mode). The criterion is simple:
Calculate the exact NPF value for your gear.
If you're going to stack or print large, respect it.
If it's a single shot for screen, double it and take advantage of the lower ISO.
Do the definitive test just once: photograph the same sky with the 500 rule time and with the NPF time, zoom to 100% and decide what level of demand you need for your real use. That personal reference is worth more than any formula, as I also explain in the practical guide to night photography with pinpoint stars.
Frequently asked questions
Does the 500 rule use the real or the equivalent focal length?
The full-frame equivalent. With APS-C multiply your focal length by 1.5 (or 1.6 on Canon); with Micro Four Thirds, by 2. An 18 mm on APS-C is calculated as 27 mm: 500 ÷ 27 ≈ 18 seconds.
What is pixel pitch and where do I find it?
It is the size of each photosite on the sensor in microns. It is calculated by dividing the sensor width by the horizontal pixels: a 36 mm full frame with 8192 px has a pitch of 4.4 µm. Calculators usually deduce it from the camera model or the megapixels.
Does the star's declination affect the time?
Yes. Stars near the celestial equator move faster across the frame than those near the pole star. The full NPF formula includes declination; pointing near Polaris you can expose considerably longer.
Does neither rule help me if I use a tracking mount?
Correct. A star tracker compensates for Earth's rotation and lets you expose for minutes instead of seconds. The 500 and NPF rules only apply with a fixed tripod.
Which to use depending on where you'll view the photo
The 500 rule is a quick approximation for screen and modest sensors; the NPF is the precise formula for dense sensors, prints and stacking. They aren't rivals: they are two levels of demand, and the smart photographer knows which to apply on each outing.
Calculate your times before heading out and note them down for your usual lenses. At Enfogram you'll find the 44 photography cards with the exact settings for every situation: print them, carry them with you and shoot with confidence.