Planning a Landscape Photo Outing: Complete Guide
Plan landscape photography: location, light, weather, gear and a complete checklist to arrive prepared for any outing.
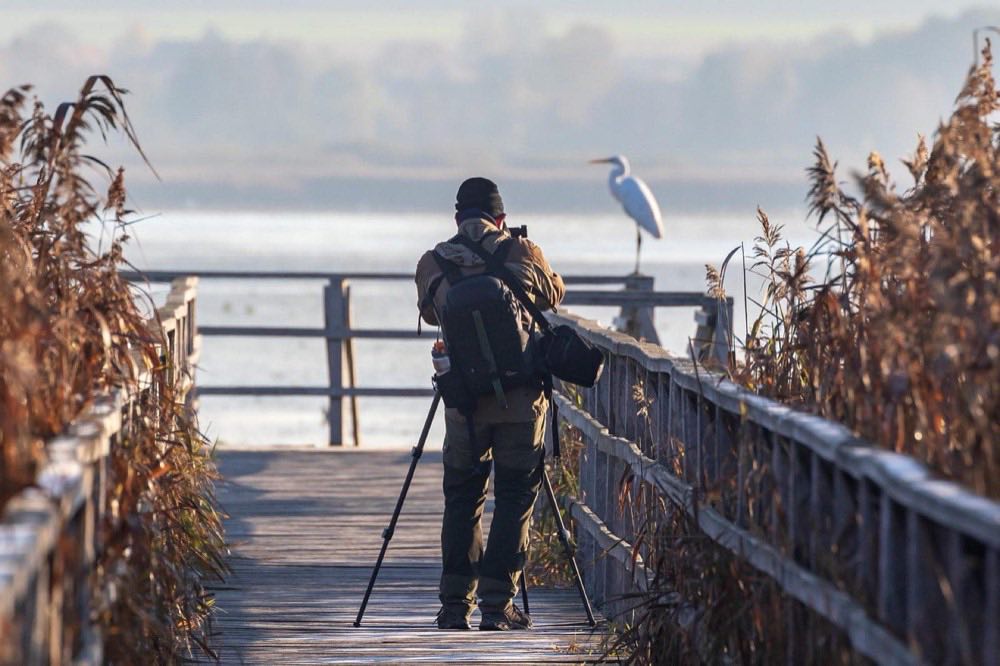
Landscape photos that seem "lucky" (the perfect light, the cloud right in its place, the reflection intact) are almost never luck. They are the result of planning a landscape photography outing far enough in advance to be in the right place, at the right time, with the right gear and knowing what to expect from the weather.
Improvisation has its charm and sometimes delivers surprises, but consistency (coming back with good photos outing after outing) is built with a repeatable planning process. This guide gives you that complete process: location, light, weather and gear checklist, complementing the narrative approach of the guide to narrative landscape photography.
Step 1: choose and study the location
Before heading out, answer these questions about the place:
Which way does the scene face? If the main subject gets the sun head-on at sunrise, you need an east orientation; at sunset, west. Use a solar orientation app or simply a compass and a map to know for sure before getting up early in vain.
What foreground elements exist? Look through earlier images of the place (photos by other photographers, satellite views) for rocks, vegetation or water that can serve as a compositional anchor, as explained in the guide to landscape composition with strong foregrounds.
How far do you have to walk and with how much elevation change? This determines how much gear you can reasonably carry and how much margin time you need before the target light.
Are there access restrictions? Park opening hours, required permits, private areas. Checking this avoids surprises on the day of the outing.
Ideally, make a scouting visit in neutral light (midday) to locate potential compositions without the pressure of good light, and come back later at the target time just to execute.
Step 2: plan the light precisely
Landscape light is not random: it follows the solar and lunar calendar with mathematical precision. Before deciding your departure time, work out:
The exact sunrise/sunset time and the golden and blue hour phases at the specific location (not the nearest city; the difference can be several minutes depending on longitude and altitude). You can calculate the exact golden and blue hour for your location so you don't arrive late or end up waiting too long.
Moon phase, if you want the moon in the frame or a dark sky for astrophotography: a full moon ruins Milky Way visibility, while it is perfect for gently lighting a night landscape.
Sun angle relative to your composition: at summer solstices the sun rises far to the north-east and sets far to the north-west (northern hemisphere), drastically changing which mountain faces receive raking light depending on the time of year.
Length of the useful window: at mid and high latitudes, the golden hour lasts longer in winter (sun on a more oblique path) than in summer, when the sun climbs quickly and the window shrinks to minutes.
This timing decision is developed in more depth in the comparison sunrise vs. sunset, which light to choose, useful for deciding which of the two moments suits your specific location.
Step 3: read the forecast like a photographer
The general forecast ("sunny," "rain") is not enough. Check specifically:
Cloud cover by altitude and percentage: 20-50% high and mid-level clouds usually gives the most dramatic skies at sunrise/sunset (color reflected in the clouds); a completely clear sky gives flat colors, and a fully overcast sky blocks the show.
Wind by the hour, not just the daily average: crucial for water reflections, waterfall silk effects or stability in exposed areas.
Dew point and overnight humidity: a small gap between temperature and dew point, or one that narrows overnight, together with a clear sky and little wind predicts radiation fog in valleys, as detailed in the guide to fog, exposure and atmosphere.
Air quality and visibility: they affect atmospheric sharpness at a distance; days with heavy pollution or haze reduce contrast in wide landscape shots.
Gear checklist by type of outing
Type of outing: Sunrise at a valley/lake; Essential gear: Tripod, camera body + wide-angle lens, headlamp; Extras by scene: ND if windy, graduated filter
Type of outing: Waterfall or river; Essential gear: Tripod, CPL, ND64/ND1000; Extras by scene: Extra microfiber cloths
Type of outing: Mountain/altitude; Essential gear: Layers of clothing, extra battery, wide-angle + telephoto; Extras by scene: GPS or offline map, first-aid kit
Type of outing: Astrophotography; Essential gear: Sturdy tripod, fast lens (f/2.8 or wider); Extras by scene: Headlamp with red light, lens heater
Type of outing: Autumn/forest; Essential gear: CPL, telephoto lens; Extras by scene: Waterproof bag if there is dew
Type of outing: Panorama/architecture; Essential gear: Tripod with level, panoramic head; Extras by scene: Nodal point adapter if there is a close foreground
Final checklist before leaving home
Batteries charged (at least two, three in cold weather).
Memory cards formatted and with enough space.
Filters clean and stored in their case (not loose in your pocket).
Tripod with all legs working and quick-release plate mounted on the camera.
Clothing suited to the forecast weather, with an extra layer as margin.
Route and return time shared with someone if it is a remote area.
Enough food and water for the total length of the outing, not just the shooting time.
Maps app downloaded for offline use if the area has weak coverage.
The day of the outing: realistic time margins
A common mistake is calculating arrival time for exactly "photo time," with no margin. Serious planning includes:
30-60 minutes of margin before the target light to walk, set up gear and compose without rushing.
Additional exploration time if it is your first visit to the place (alternative compositions in case the main one doesn't work that day).
Staying after the "main" moment: many of the best photos happen in the minutes after the expected light peak, when most photographers have already packed up.
Frequently asked questions
How far in advance should I start planning an outing?
For known locations, a couple of days reviewing the forecast and light times is enough. For new or remote places, one to two weeks of research (access, permits, potential compositions) greatly reduces the risk of a wasted trip.
What do I do if I arrive and the weather doesn't match the forecast?
Always have a plan B composition that doesn't depend on the expected condition: if you expected a clear sky and it came out overcast, switch to forest or detail scenes that benefit precisely from that diffuse light.
Is it worth using several forecast apps?
Yes: comparing two or three sources (a general one and one specialized in mountain or marine conditions) gives a more reliable picture than trusting a single one, especially for wind and hourly cloud cover.
How do I prioritize when I have little time to plan?
Prioritize in this order: orientation of the scene relative to the sun, exact timing of the light you want, and wind/clouds. Those three factors determine most of the result; gear details are resolved afterward with the checklist.
Planning doesn't eliminate surprise, it improves the odds
Planning a landscape outing doesn't eliminate surprise (the weather always holds a card or two) but it multiplies your chances of being in the right place when the light decides to show up. A studied location, a calculated schedule, a forecast read with a photographer's eye and a reviewed gear checklist: that is the formula behind "luck."
Start your next outing with fifteen minutes of real planning instead of improvising on the fly: the difference shows in the photo folder, not in the effort invested. At Enfogram you will find the 44 photography cards with the exact settings for every situation: print them, carry them with you and shoot with confidence.