How to Pose People Who Aren't Models
Learn how to pose people with no experience: body direction, hands, angles and phrases that relax them, with practical camera settings.
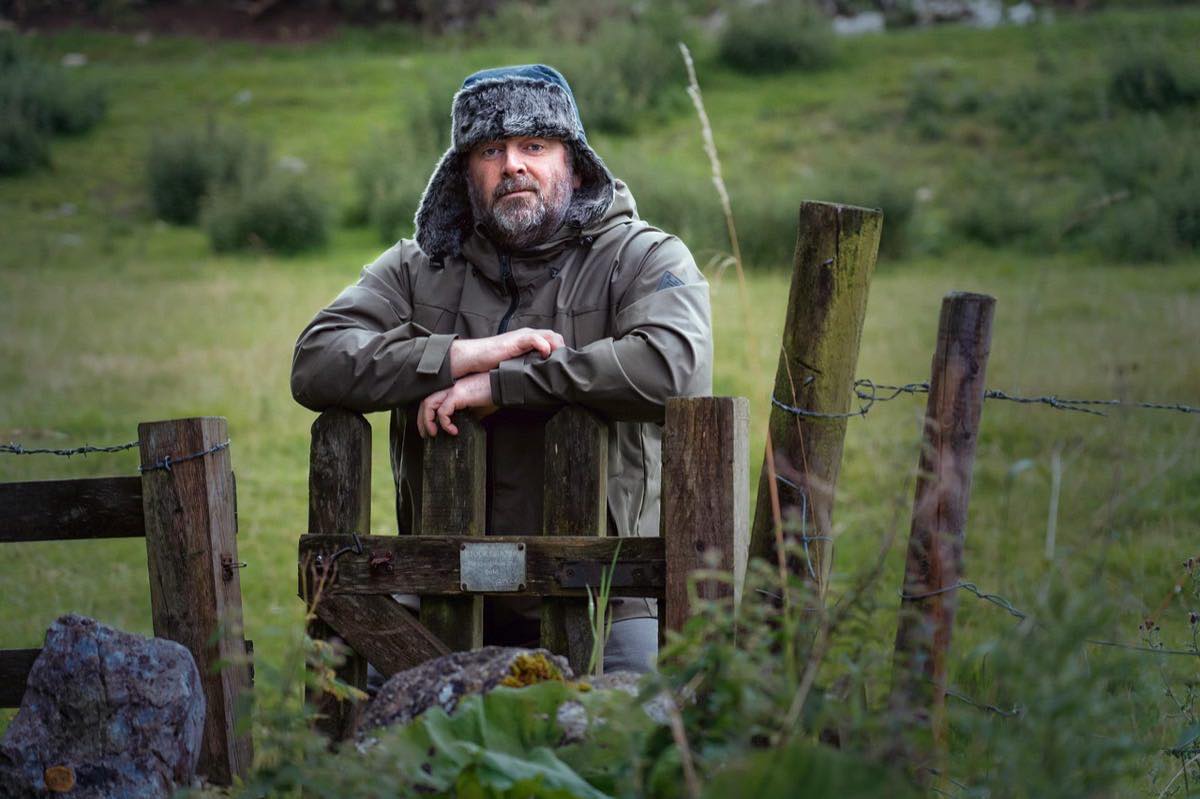
Most of the people you'll photograph in your life are not models: they are clients, relatives or friends who freeze in front of the camera. Knowing how to pose people with no experience is probably the skill that most separates a competent portrait photographer from a mediocre one, far more than the lens or camera body you use.
The good news: you don't need a catalog of a hundred poses. You need a direction system based on actions, not static postures, and a handful of universal corrections that work with any body and any age.
This article gives you that system: how to prepare the person before you raise the camera, the five corrections that solve 80% of problems, what to do with the hands, and which technical settings let you focus on directing.
What to do before posing? Lower the tension
The biggest enemy of a portrait isn't the wrong pose, it's stiffness. Spend the first five minutes chatting without really photographing: shoot "test shots to meter the light" while you talk. Those throwaway shots thaw the person out.
Three golden rules of direction:
Never say "pose" or "be natural": they are impossible orders. Give concrete actions: "walk toward me and look at the window," "adjust your jacket," "blow as if you were blowing out a candle and smile right after."
Show the pose with your own body: imitating is infinitely easier than interpreting verbal instructions.
Give feedback that's positive and out loud: "yes, just like that" every few shots. A photographer's silence is read as "I'm doing it wrong."
This connection-before-technique approach is the heart of the contemporary portrait photography guide, which I recommend reading in full if portraiture is your genre.
The five universal corrections
Apply them in this order and almost any portrait improves right away:
Weight on the back leg: shift the hip away from the camera and create a more streamlined body line.
Shoulders at 30–45° to the camera: facing the camera straight on, the body looks wider and like an ID photo.
Chin forward and slightly down: lengthens the neck and defines the jaw. Ask them to "bring your forehead toward the camera" and you'll get the right gesture.
Space between arms and torso: a fist's width of separation keeps the arm from flattening and looking thicker.
Long spine: "grow two centimeters from the crown of your head." It corrects posture without saying "straighten your back," which creates military stiffness.
What to do with the hands
Hands give away nervousness. Always give them a destination or a task:
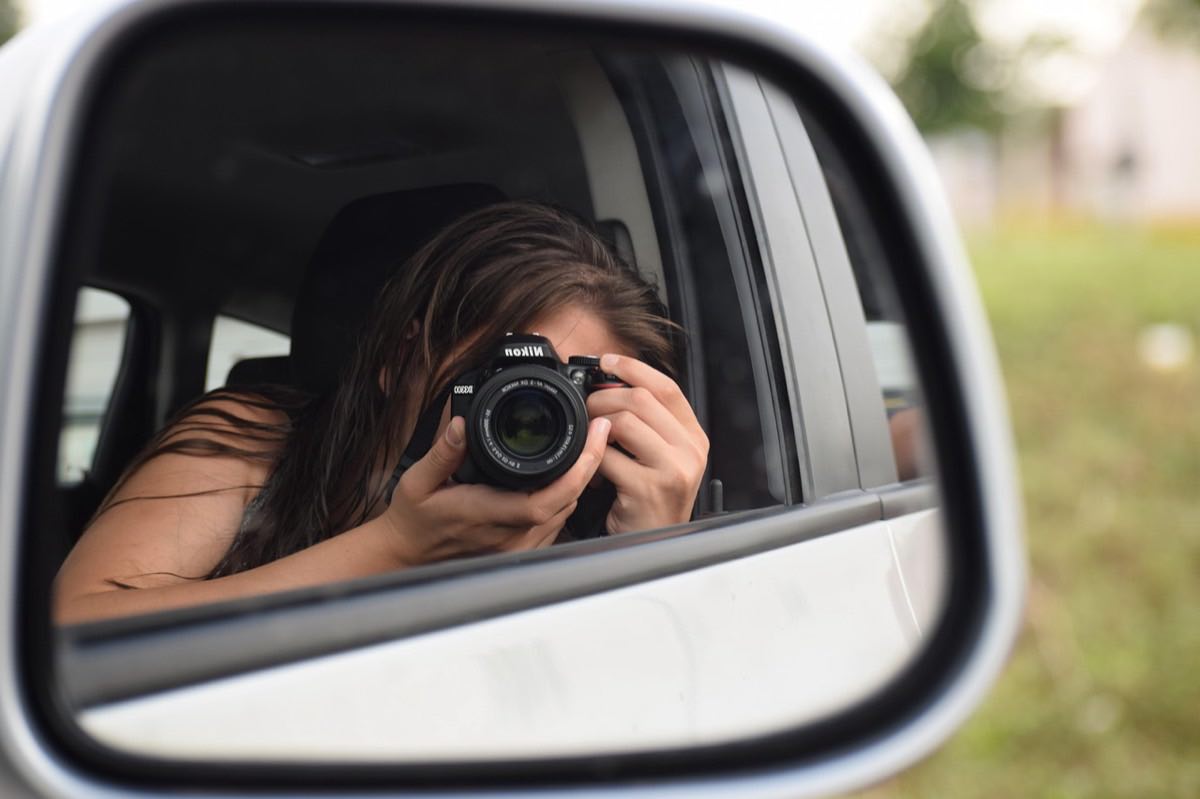
Touching the shirt collar, a watch, a lock of hair.
One hand in a pocket with the thumb out (fully inside looks forced).
Holding something real: a cup, a book, a jacket over the shoulder.
For couples: hands in contact with each other, never hanging.
Avoid fingers pointing straight at the camera (they distort) and clenched fists (they convey tension). Photograph hands from the edge, not flat-on, and ask for "ballerina hands, relaxed fingers."
What camera settings do I use for directed sessions?
When you're directing, you can't be fighting with the dials. Leave the technical side sorted and semi-automatic:
Situation: Static outdoor portrait in shade; Mode: Aperture priority; Aperture: f/2.8; Shutter speed: ≥1/250 s (auto); ISO: Auto, capped at 1600
Situation: Directed movement (walking, turning); Mode: Manual + auto ISO; Aperture: f/3.2; Shutter speed: 1/500 s; ISO: Auto, capped at 3200
Situation: Indoors with window light; Mode: Aperture priority; Aperture: f/2; Shutter speed: ≥1/160 s; ISO: Auto, capped at 3200
Situation: Small group (2-3 people); Mode: Manual; Aperture: f/4; Shutter speed: 1/250 s; ISO: Depends on light
Turn on continuous AF with eye detection and a short burst (3–5 fps): genuine micro-expressions happen between poses, not during them. Always shoot a brief burst after each instruction; the second or third photo is usually the good one, when the person has already let go of the tension of "being posed."
Working near a window simplifies the entire lighting side, as I detail in the article on contemporary portraits: technique and connection.
Rescue poses for every situation
Have these formulas memorized for when the session stalls:
Standing with no support: soft crossed arms + weight back + half smile looking off camera.
With a wall: shoulder leaning, ankles crossed, hand in pocket. Works with anyone.
Seated: forward on the edge of the chair, elbows on knees, leaning toward the camera. Avoid the backrest: it slouches.
In motion: walk diagonally toward you looking at a point to the side; repeat 4–5 passes.
Real laughter: ask for an exaggerated fake laugh. The genuine laugh that follows it, and it always comes, is the photo.
And remember to check the background before the pose: a pole sticking out of the head ruins the best direction, something that is also worked on through dynamic visual composition.
Frequently asked questions
Should I show the photos during the session?
Yes, but strategically: show only one or two good shots around the ten-minute mark. Seeing a good result sparks confidence. Never show the screen after every photo: it breaks the rhythm.
How do I pose someone who is self-conscious about their body?
Ask at the start, without drama, if there's anything they'd prefer to take care with. Then use a slightly high angle, shoulders on the diagonal and medium shots. A person who feels heard relaxes twice as much.
How many poses do I need for a one-hour session?
Between 5 and 7 setups with 2–3 variations each. Changing the scene or the action renews the energy more than piling up poses in the same spot.
What do I do if the smile looks fake?
Stop asking for smiles. Provoke reactions: an unexpected question, an honest compliment, the fake-laugh technique. An authentic expression is caught, not ordered.
It's 80% comfort and 20% poses
Posing people with no experience is 20% knowledge of poses and 80% managing comfort: actions instead of postures, simple corrections and constant feedback. With the five universal corrections and the rescue poses you already have more of a system than most.
Sort out the technique before the session so you can give all your attention to the person. At Enfogram you'll find the 44 photography cards with the exact settings for every situation: print them, bring them to your sessions and direct with confidence.