Infrared Photography: Filters, Focus and Color
How to shoot infrared: 590, 720 and 850 nm filters, focus shift, the impossible white balance and channel swapping.
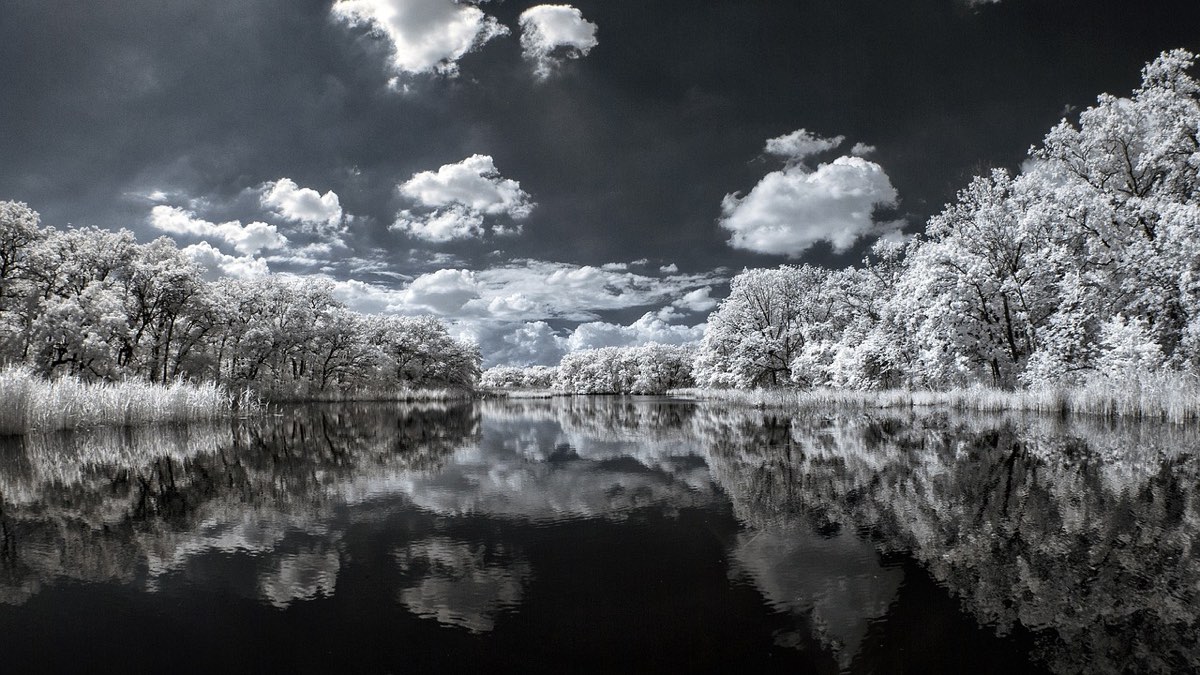
Infrared photography records light your eye can't see, just below visible red, and the most recognizable result is the Wood effect: vegetation reflects near-infrared so strongly that leaves come out white as snow, while the clear sky turns almost black.
You can do it with a normal camera and a filter, with two warnings up front: exposures run to several seconds even in full sun, and the focus point doesn't land where the viewfinder tells you. Both have solutions, and they are half of this article.
Why does your camera barely see infrared?
Because it carries a filter that blocks it on purpose. The sensor is naturally sensitive to near-infrared, and that sensitivity would spoil the color of normal photos, so manufacturers place a cut filter in front (sometimes called a hot mirror) that removes it.
That produces the practical situation: when you put on a filter that only lets infrared through, the little light that gets through the camera's filter is all you have. The amount that gets through varies enormously from one model to another, and that is why there is no universal exposure table for this. With one camera you'll need two seconds and with another thirty, in the same scene.
Filters and their cutoff wavelength
Infrared filters are named for the wavelength above which they let light through. The higher the number, the less color remains and the stronger the effect.
Filter: 590 nm; What it lets through: Infrared and quite a lot of visible red; Result: Intense false color: blue skies, golden or pink foliage; Difficulty: The easiest to process
Filter: 665 nm; What it lets through: Infrared and some red; Result: Softer false color, still with channel separation; Difficulty: Intermediate
Filter: 720 nm; What it lets through: Almost only infrared; Result: The classic: white foliage, dark sky, some false color; Difficulty: The standard option
Filter: 850 nm; What it lets through: Only infrared; Result: Pure black and white, no usable color; Difficulty: Easy to process, less flexible
If you are going to buy just one, 720 nm is the sensible starting point: it gives the effect people recognize as infrared and still leaves room to play with color. The 850 nm simplifies processing because you give up color from the start.
How much should you expose?
I can't give you a number, and be wary of anyone who gives you one without asking which camera you have: it depends on the strength of your model's internal cut filter, which is not published and varies by generation.
What I can give you is the method, which is the same one used with a dense ND filter:
Compose and focus before putting on the filter. With the filter mounted you won't see anything through the optical viewfinder, and autofocus won't work either.
Meter without the filter and note the correct exposure.
Mount the filter and take a test shot of a few seconds. Look at the histogram, not the screen.
Adjust and repeat. In two or three attempts you have your filter factor. Write it down: it is constant for that camera and filter combination, and you never have to calculate it again.
Tripod required, delayed or remote release, and stabilization turned off if you're on a tripod. At these speeds, any vibration shows.
A realistic warning about timing: infrared is abundant at midday and in strong sun, which is exactly when visible light is at its worst. It is one of the few techniques practiced at two in the afternoon in summer.
Focus doesn't land where you think
Lenses bend infrared light at a different angle than visible light, so the infrared focal plane falls somewhat behind the one you see. With the aperture open, a photo perfectly focused in the viewfinder comes out soft.
Old lenses came with a red mark on the distance scale precisely for this: you focused, and then transferred the distance to that mark. Modern ones barely carry it anymore.
The two solutions that work today:
Stop down. At f/8 or f/11 the depth of field absorbs the shift in most landscape scenes. It is the practical solution and the one almost everyone uses.
Focus with live view, with the filter on. If the camera focuses using the sensor's own signal, it is focusing the light it will actually record, so the shift disappears. It takes patience because the image is dark, but it is the exact solution.
And a detail that surprises: some lenses produce a bright spot in the center of the frame in infrared, from internal reflections in the anti-reflective coatings. It is not a defect in your unit and can't be fixed in processing; some lenses simply don't get along with this technique. Test it before counting on one.
White balance and channel swapping
When you open the file you will find a completely red image. That's normal, and correcting it takes a trick.
The problem is that the white balance needed falls outside the range offered by many raw processors: even if you drag the slider to the extreme, the red cast won't go away. The solution is to set a custom white balance in the camera, metering on sunlit grass with the filter mounted. That setting is recorded in the file and the raw processor starts from a reachable point. How the adjustment works is covered in white balance.
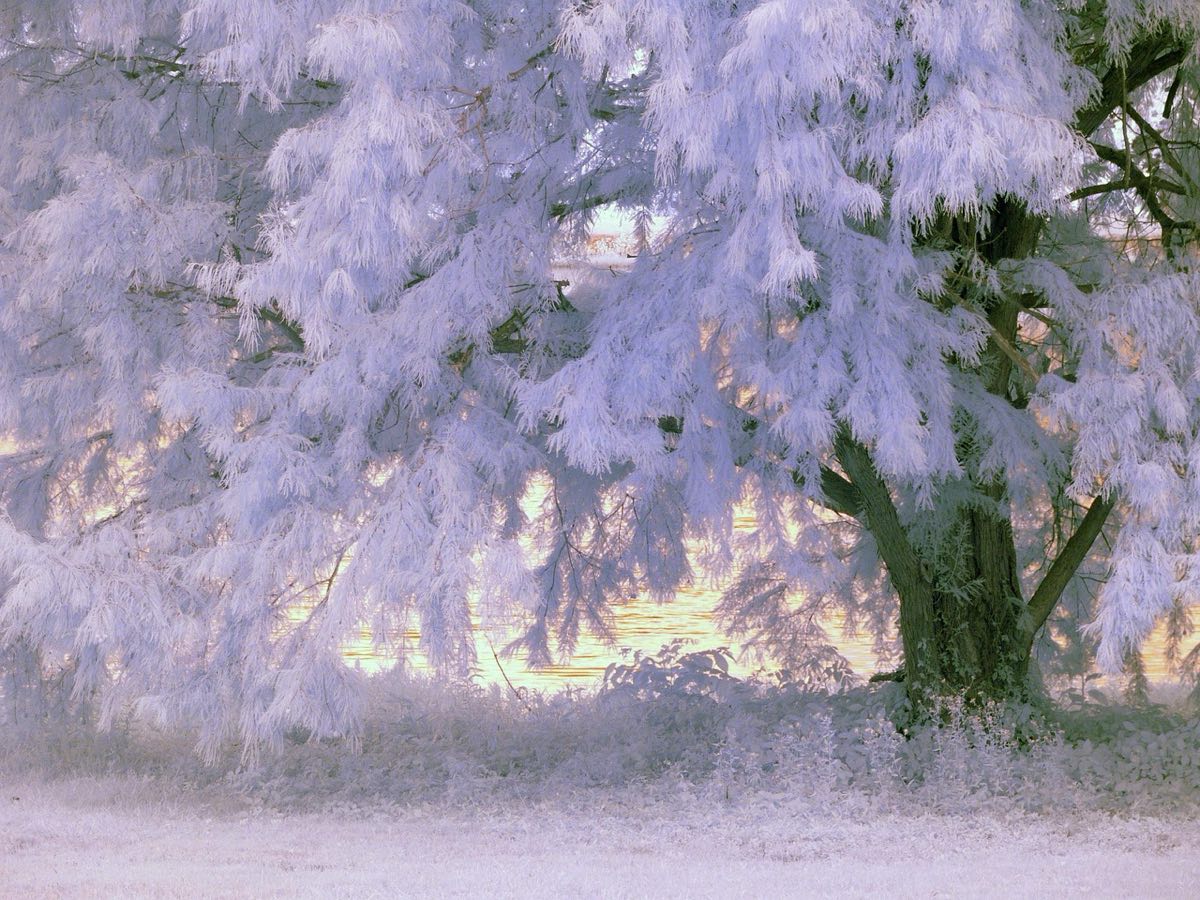
From there, the step that gives the recognizable look is channel swapping: swapping red for blue in the channel mixer. Reddish skies turn blue, foliage shifts to light tones and that dreamlike false-color palette appears. With an 850 nm filter this step adds nothing, because there is no color separation left to swap: there you go straight to black and white.
Is it worth converting a camera?
Converting means physically removing the internal cut filter and replacing it with an infrared one. It is workshop work, practically irreversible, and leaves the camera useless for normal photography.
In return it solves all three problems at once: normal exposures (fractions of a second, handheld), autofocus that works and a usable viewfinder. If infrared is going to interest you for more than a weekend, an old converted camera is much more pleasant to use than a filter on your main one.
The reasonable route is to start with a 720 nm filter on the camera you already have. If after three months you're still going out to shoot infrared, you know the conversion is worth it. The other paths for stepping outside conventional photography are in the guide to experimental techniques.
Frequently asked questions
Can I do infrared photography with a phone?
With the main camera, practically not: they have very effective cut filters and don't accept threaded filters or long exposures comfortably. Curiously, many front cameras filter less, which is why you can see the flash of a remote control through them. That is good for checking that a remote works, not for making photographs.
Is infrared the same as thermal vision?
No, and they are constantly confused. This is near infrared, very close to visible light, and it needs a source to illuminate it, normally the sun. Thermal imaging works in far infrared and detects the heat that objects themselves emit. A converted camera doesn't see body heat in the dark.
Why do my infrared photos come out soft if I focused correctly?
Because of the focal plane shift: infrared focuses somewhat behind visible light. Stop down to f/8 or f/11, or focus with live view and the filter already mounted, which is the exact way to solve it.
What time of year is best?
Spring and summer, with vegetation in full activity, because that is when foliage reflects the most infrared and the Wood effect is most spectacular. In winter, with bare trees, the same landscape gives a much more subdued result.
What to try on day one
A day of strong sun, a park with trees, tripod, a 720 nm filter and the custom white balance metered on the grass. Focus without the filter, stop down to f/8, and work out your exposure factor with three test shots. With that you already have the Wood effect, and from there false color is a matter of processing.
The 44 Enfogram cards come with the settings for each technique printed in A4 and A5, so you can consult them in the field without relying on memory.