Light Pollution: The Bortle Scale and Filters
Light pollution explained: how to read the Bortle scale, find dark skies near you and know when to use light pollution filters.
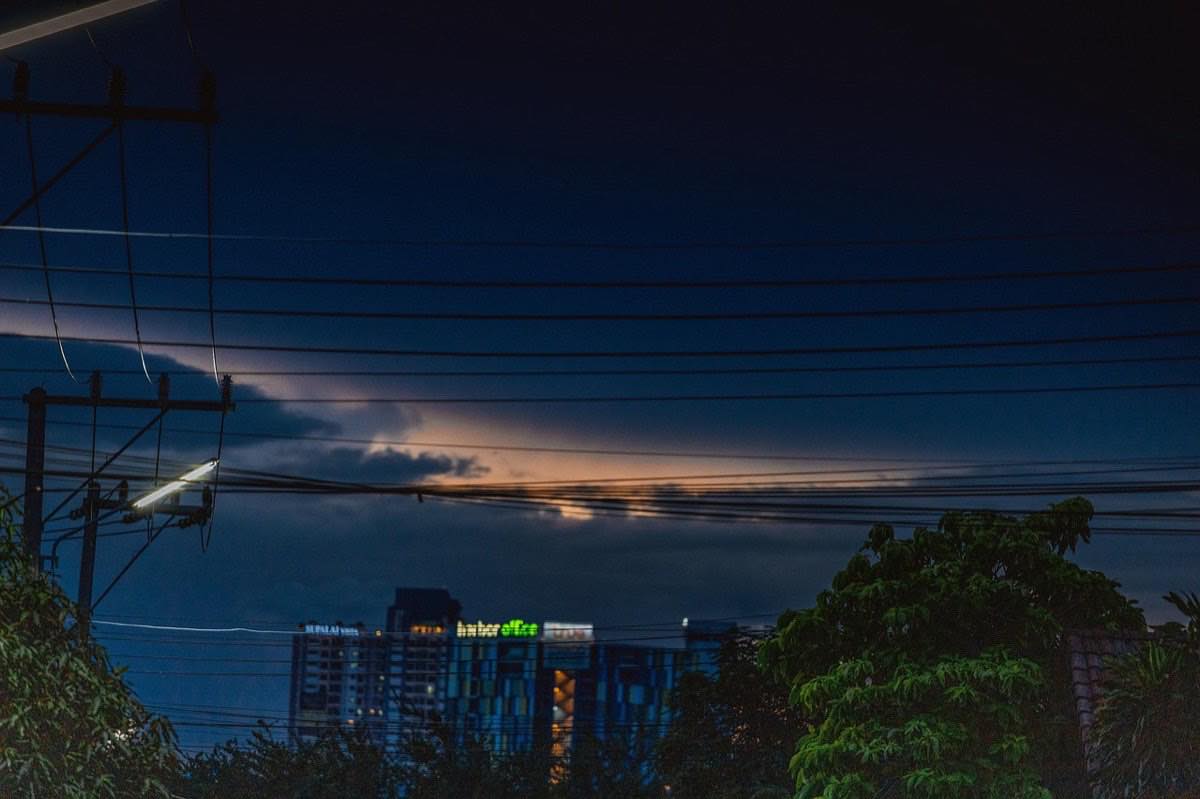
The factor that most determines the success of an astrophotography night is not the lens or the camera: it is how much artificial light stands between you and the sky. Light pollution is the glow that cities project into the atmosphere, and understanding it (measuring it, finding it on the map, knowing when a filter really helps) separates frustrating nights from the ones that produce memorable photos.
The Bortle scale is the tool that turns that pollution into an understandable number: from 1 (perfectly dark sky) to 9 (the center of a big city). Knowing your Bortle before heading out tells you exactly what to expect and which technique to apply, instead of discovering it with the sky already washed out on the camera screen.
Reading the scale, finding the nearest dark sky and deciding on the filter are the three steps before any night shot, and they fit into the broader process covered by the night photography and astrophotography guide.
What does each number on the Bortle scale mean?
The scale was created by John Bortle in 2001 to describe the darkness of the night sky according to what an observer can see with the naked eye.
Bortle: 1-2; Description: Exceptional/dark rural sky; What you see with the naked eye: Zodiacal light, hundreds of stars; Photographable Milky Way: Extreme detail, effortless
Bortle: 3-4; Description: Rural/rural-suburban; What you see with the naked eye: Clear galactic core; Photographable Milky Way: Excellent with basic technique
Bortle: 5; Description: Suburban; What you see with the naked eye: Milky Way visible but faint; Photographable Milky Way: Requires stacking or a filter
Bortle: 6-7; Description: Bright suburban/urban; What you see with the naked eye: Milky Way almost invisible to the eye; Photographable Milky Way: Core only, with aggressive stacking
Bortle: 8-9; Description: City center; What you see with the naked eye: Only planets and the moon; Photographable Milky Way: Practically impossible without an extreme filter
The practical difference between Bortle 4 and Bortle 7 is enormous: at Bortle 4, a 15-second shot at ISO 3200 shows the core with texture; at Bortle 7, the same shot is dominated by an orange-gray glow that only aggressive software or a specific filter can reduce, and with a noticeable loss of detail.
How to find your nearest dark sky
You do not need to travel to the desert: most cities have Bortle 3-4 zones 1-2 hours away. The method:
Consult a light pollution map (free web versions exist that show sky brightness in colors, from intense red to black).
Look for the nearest color transition: you do not need the darkest point on the map, just the nearest jump in category (from yellow to green, for example, is already a substantial improvement).
Check real accessibility and safety: a dark spot on the map with no access road or on private property is no use.
Cross-check with the cloud forecast before deciding on the outing.
This same planning process is automated by dedicated tools; the complete workflow with specific apps is in apps for planning astrophotography.
When an anti-pollution filter really helps
Light pollution filters (sometimes called narrowband filters or "light pollution suppression" filters) selectively block the wavelengths of sodium lighting and some LEDs, letting nebula and hydrogen-alpha light through better.
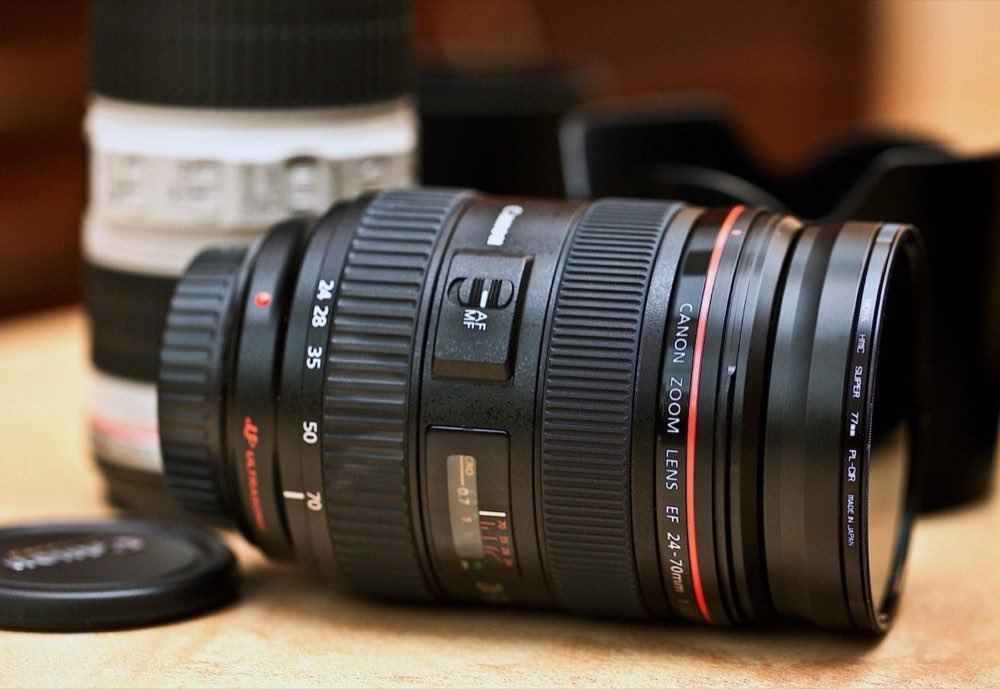
Where they work well: tracked deep-sky astrophotography (nebulae, galaxies) under suburban skies, where the filter can make a real difference in the contrast of emission objects.
Where their effect is limited: wide-angle photography of the Milky Way. The galactic core emits across a broad, continuous spectrum, not in the narrow bands the filter isolates, so the benefit is much smaller than advertising suggests.
The real cost: every filter subtracts some total light (0.3 to 1 stop), which in untracked wide-angle work, where you are already fighting star trailing, can be a net disadvantage.
The honest recommendation: before buying a filter, put that same energy into finding a site one Bortle level darker. The improvement is always greater, and free.
Techniques that compensate for pollution without a filter
When a dark sky is not an option that night, these strategies help more than any accessory:
Point away from the light source: if the city is to the north, frame toward the south. The difference from a simple 180° turn can drop you a whole Bortle level of effective glow.
Aggressive stacking: 15-20 averaged shots reduce noise and let you stretch contrast further in editing without the background glow being so noticeable. The full method is in night noise reduction: camera and software.
Gradient in editing: urban glow tends to concentrate near the horizon; a graduated mask that darkens only that band recovers contrast in the rest of the sky.
Choose the direction and time with the least combined moonlight and glow: light pollution and moonlight add together; avoid skies with both factors high at the same time.
Frequently asked questions
Can I do good astrophotography at Bortle 6 or 7?
With adjusted expectations, yes: the galactic core and the brightest stars are still capturable with stacking and good processing, although fine detail and faint nebulae are out of reach. It is the typical "suburban sky" scenario and produces decent images, not spectacular ones.
How do I measure the Bortle of my location without instruments?
Roughly: if you can see the Milky Way with the naked eye with structure (not just a smudge), you are at Bortle 4 or better. If you can barely make out a few dozen stars, you are probably at Bortle 6-7. Online maps give a more precise estimate based on satellite data.
Are CLS or dual-band filters useful for wide-angle night landscapes?
Their benefit is marginal in this use. They are designed and optimized for tracked telescopes pointed at deep-sky objects, not for capturing a wide arc of the Milky Way with a wide-angle lens.
Is light pollution getting worse?
Generally speaking, artificial sky brightness has increased steadily in recent decades with urban expansion and LED lighting. It is one more reason to document and plan your trips to dark skies well while they still exist.
The extra drive that is worth more than the filter
Understanding the Bortle scale gives you a realistic expectation before heading out, and knowing how to read a light pollution map takes you to the best sky within your reach. Filters have their place, but they rarely replace the simple advantage of driving a bit farther from the city.
With the right sky chosen, the rest is technique you already know. At Enfogram you will find the 44 photography cards with the exact settings for every situation: print them, carry them with you and shoot with confidence.