Night Timelapse: From Photos to Video
Night timelapse step by step: intervals, exposure settings, the holy grail at sunset and assembling photos into 4K video.
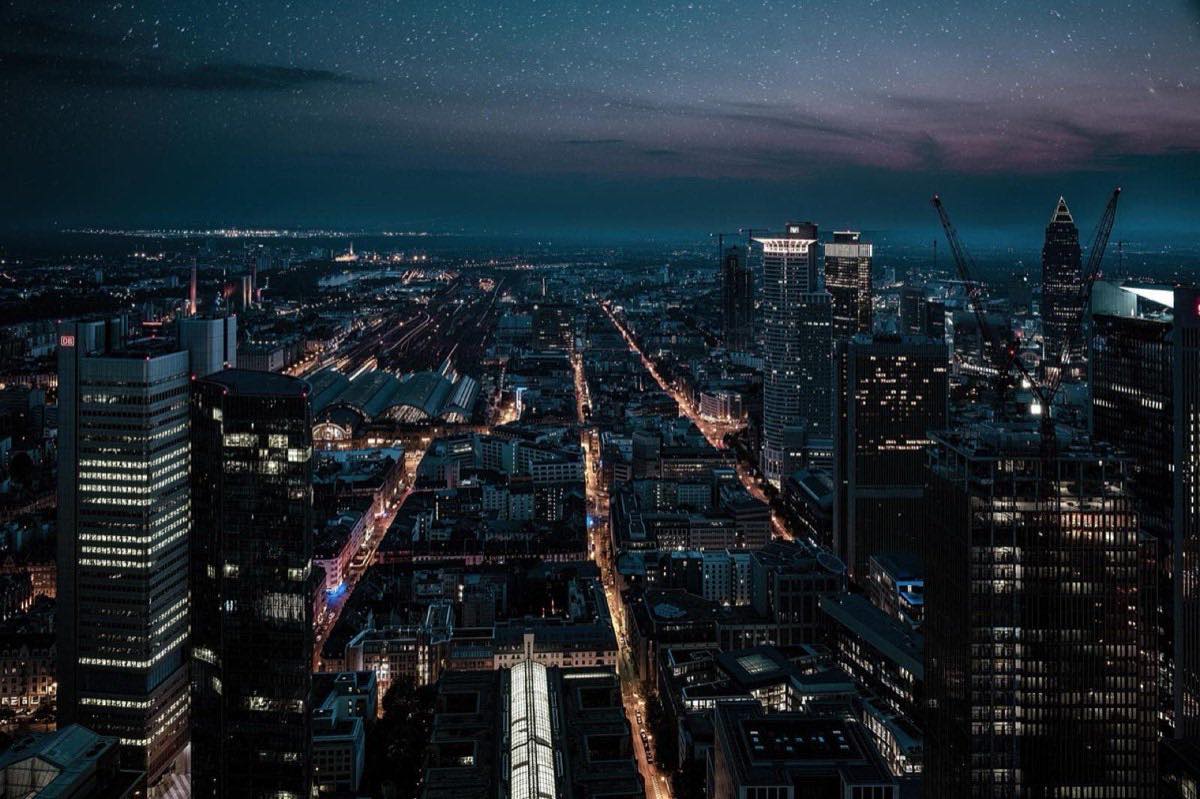
Watching the Milky Way cross the sky in twenty seconds, night clouds boil over the city or the stars spin above a mountain: the night timelapse compresses hours of night into hypnotic sequences, and technically it is a direct relative of the astrophotography you already know: hundreds of well-exposed still photos, assembled afterward as video frames.
That is the good news: if you know how to expose a night photo, you know how to expose a timelapse; what changes is the discipline of the series: constant intervals, locked exposure, batteries for hours and an assembly workflow. The bad news is that mistakes also get multiplied by hundreds: a missed focus doesn't ruin one photo but the entire sequence.
This article covers the complete process: interval math, settings, the "holy grail" technique for day-to-night transitions and the final assembly. As a creative discipline of series and process, it fits within the guide to experimental techniques and creative photography.
The math of the timelapse: intervals and duration
Three numbers define the whole project:
Interval: time between the start of one photo and the next.
Number of shots: how many photos you take.
Output FPS: frames per second of the final video (24 or 25 is the cinematic standard).
The formula: clip duration = shots ÷ fps. For 10 seconds of video at 25 fps you need 250 photos. With a 30-second interval, that is 125 minutes of shooting. The night timelapse is a sport of patience.
The interval controls the apparent speed of the sky: short (20-35 s) for fluid stars, long (45-60 s) for accelerated, dramatic movement. Critical rule: the interval must exceed the exposure by at least 1-2 seconds to give time to write to the card.
Night subject: Moving Milky Way; Exposure: f/2.8, 20 s, ISO 3200; Interval: 25 s; Shots for a 10 s clip: 250; Real time: 1 h 44 min
Night subject: Stars with moonlit landscape; Exposure: f/4, 15 s, ISO 800; Interval: 20 s; Shots for a 10 s clip: 250; Real time: 1 h 23 min
Night subject: Urban night clouds; Exposure: f/4, 4 s, ISO 400; Interval: 8 s; Shots for a 10 s clip: 250; Real time: 33 min
Night subject: Traffic and city; Exposure: f/8, 2 s, ISO 100; Interval: 5 s; Shots for a 10 s clip: 250; Real time: 21 min
Night subject: Sunset-to-night transition; Exposure: Variable (holy grail); Interval: 10-15 s at the start, longer toward night; Shots for a 10 s clip: 300-400; Real time: about 1-2 h
Setup: lock everything that can be locked
The enemy of the timelapse is flicker: variations in brightness between frames that ruin fluidity. It is prevented by locking every automatic function:
Absolute manual: fixed aperture, shutter speed and ISO. No priority modes or auto ISO.
Fixed white balance (3800-4200 K for a starry sky): automatic bounces around between shots.
Manual focus verified with 10x live view, and tape on the ring.
RAW: essential to match the series in editing and for 4K (a 24 MP RAW gives margin even for reframing).
Turn off: stabilization, long-exposure noise reduction (it would break the intervals), automatic image review (saves battery).
Logistics for hours: dual battery or USB power with a power bank, a fast card with 30-60 GB free and dew protection on the lens (fogging halfway through the sequence is the most common night failure). The same long-session preparation that startrails demand, detailed in startrails: circumpolar step by step. In fact, the same shots from a night timelapse work for stacking a startrail: two results from a single night.
Holy grail: the transition from day to night
The holy grail of timelapse is the continuous sunset-to-night transition (or night-to-sunrise): the light drops 15-20 stops and no fixed exposure covers it. The technique:
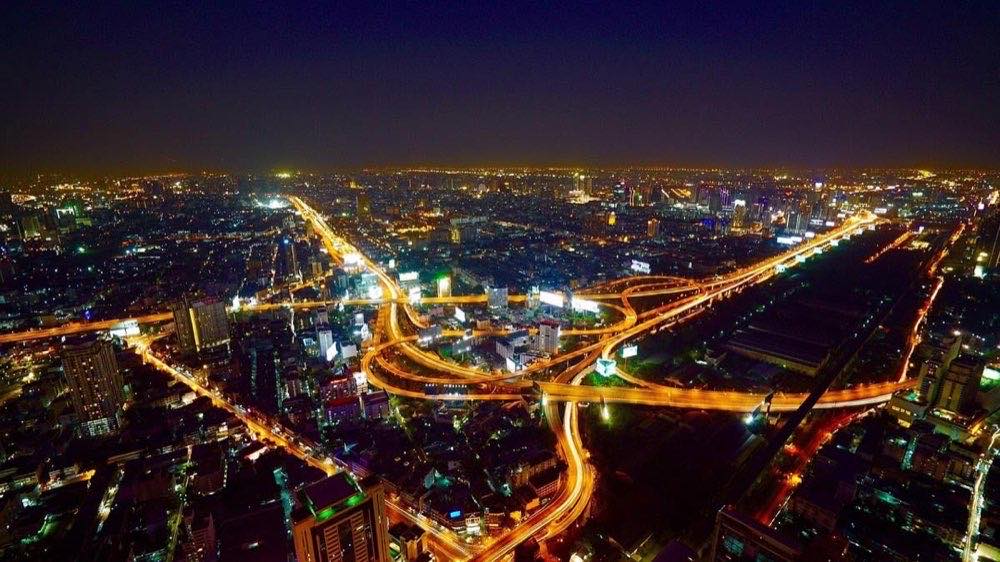
Start at sunset with f/2.8, 1/60 s, ISO 100.
As it gets darker, compensate in small steps: first lengthen the shutter speed, then raise the ISO. An adjustment of 1/3 of a stop every 2-4 shots keeps it smooth.
End in the middle of the night at f/2.8, 20-25 s, ISO 3200-6400, lengthening the interval so it exceeds the exposure.
In post-production, specialized assembly software (LRTimelapse is the reference) interpolates and smooths the exposure jumps until they are invisible.
A simple alternative without dedicated software: shoot in aperture priority with limited auto ISO and smooth the flicker with the editor's deflicker tools. Less perfect, much more accessible for a first attempt.
Knowing how to read the light falloff at twilight is half the technique: the article on natural light and its changes throughout the day gives that context.
Assembly: from the folder to the video
The standard workflow:
Edit one representative shot (balance, contrast, noise reduction) and sync the adjustment to the whole series.
Export the sequence to numbered high-quality JPEG (4K output = export at least 3840 px wide).
Assemble into video: LRTimelapse, DaVinci Resolve (free: it imports image sequences directly) or even ffmpeg on the command line.
Render at 24-25 fps in 4K. Add a gentle digital zoom or pan (the RAW's pixel margin allows it) to bring the still shot to life.
Composition tip: memorable night timelapses have a strong ground anchor (mountain silhouette, building, a still person) that gives scale to the sky's movement. The sky alone, however spectacular, gets tiring in video.
Frequently asked questions
How many hours do I need for a decent night timelapse?
For an 8-12 second Milky Way clip: between 1.5 and 2 hours of continuous shooting. Plan the night for 2 or 3 sequences at most, with different compositions.
Can I make a night timelapse with my camera's built-in intervalometer?
Almost all recent cameras include one and it works perfectly. Check that it allows intervals longer than 30 seconds and series of 400+ shots. If not, an inexpensive external intervalometer solves it.
What do I do about planes and satellites crossing the sequence?
In moving video they barely bother (they appear and disappear in fractions of a second), unlike in a still photo. Only remove frames with extreme flashes if they jump out at you.
JPEG or RAW for timelapse, with so many photos?
RAW if the project matters: series correction and the holy grail demand it. JPEG only for tests or constant-exposure scenes when card space is tight.
Astrophotography with industrial discipline
The night timelapse is astrophotography with industrial discipline: the same exposure as always, multiplied by 250 identical shots and assembled in motion. Master the intervals, lock every automatic function and the whole night will fit into twenty seconds.
Bring the math worked out and the settings fixed before the sun goes down. At Enfogram you will find the 44 photography cards with the exact settings for every situation: print them, carry them with you and shoot with confidence.