Natural Light in Photography: Your Ever-Changing Ally
How to read natural light: golden hour, backlight, overcast and midday, with the settings each of those four lights calls for.
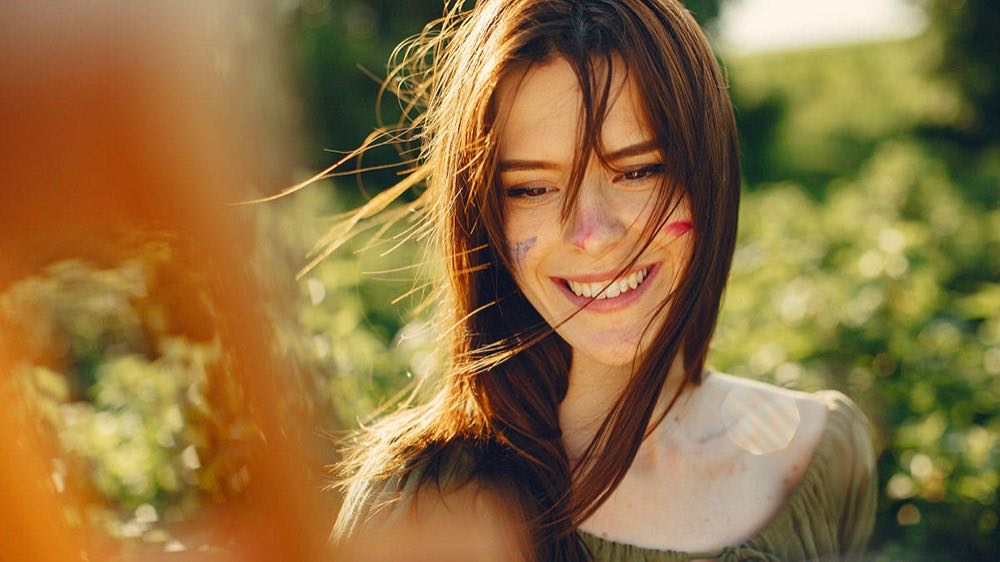
There is no bad light, only light unsuited to the purpose. Hard midday sun gives textures and graphic quality; an overcast day, even skin with no equipment; backlight, silhouettes and halos. Every hour brings a different light and each one serves a specific purpose.
Decide what you want to tell and go out at the hour when that light exists. The guide on mastering the basics of natural light covers the same ground from the fundamentals.
What kind of light is there at each hour of the day?
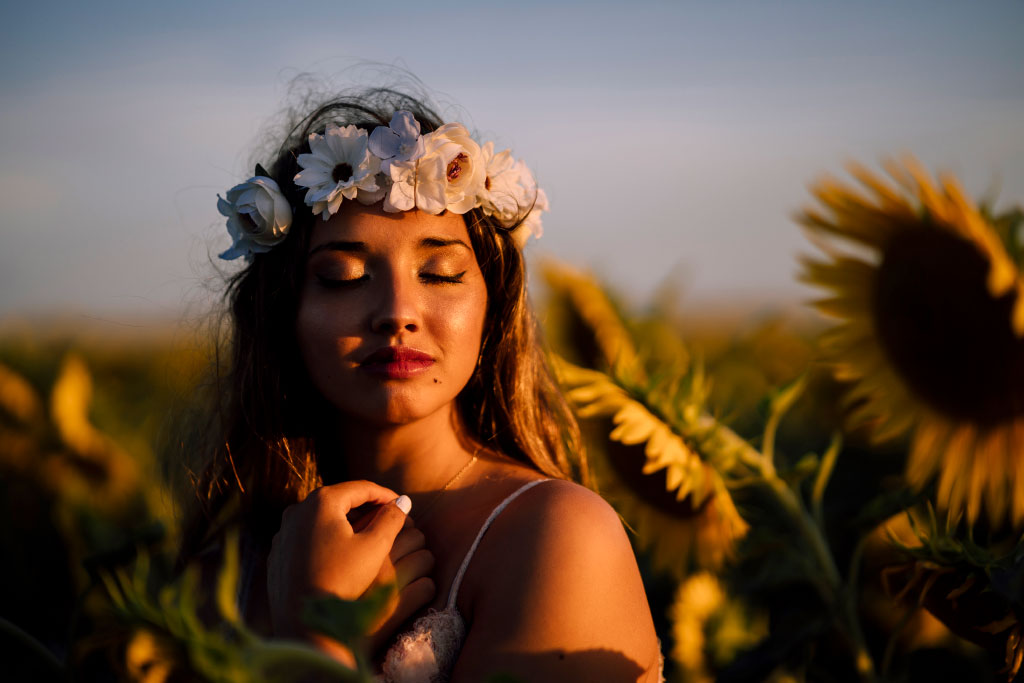
Moment: Golden hour; What the light is like: Warm and enveloping, very lateral; What you use it for: Portraits with life and softness
Moment: Blue hour (20–30 min before sunrise and after sunset); What the light is like: Deep, even blue; What you use it for: Cityscape and architecture
Moment: Overcast day; What the light is like: Giant diffuser: almost no shadows, saturated color; What you use it for: Fashion, beauty, natural portrait
Moment: Clear midday; What the light is like: Hard and overhead, strong shadows; What you use it for: Street and graphic-style architecture
Moment: Backlight; What the light is like: Dark subject, blown background, halo in the hair; What you use it for: Dramatic silhouettes and ethereal backgrounds
Moment: Low-angle light (sunrise or late sunset); What the light is like: Grazing and very lateral; What you use it for: Macro, architecture and nature with texture
Moment: Storm light; What the light is like: Heavy clouds with spot shafts of sunlight; What you use it for: Dramatic, unpredictable landscape
At golden hour, low ISO (100–400) and a slight positive compensation. In backlight, spot meter on the subject and accept that the background will blow out: that also tells a story. At midday, place the subject in open shade or put the strong shadows to work in your favor.
To find out the exact time warm light starts where you are, the golden hour calculator gives the day's window.
How to make the most of natural light in different scenarios
Indoors, a side window becomes a natural studio. Placing the subject at 45° to the light's entry and adding a white reflector lets you shape the face without flashes or lamps. Outdoors, a simple 5-in-1 reflector can work as a "second sun," filling shadows and balancing contrast.
Nature also hands out free modifiers: a white wall that bounces soft light, a puddle that reflects like a mirror or snow that multiplies the ambient illumination. Part of the art is seeing beyond the obvious and recognizing how light interacts with the environment.
Specific techniques to get more out of the available natural light:
Natural snoot effect: a narrow alley or a corridor facing the sun acts like a studio snoot, concentrating the light into a very dramatic narrow beam.
Diffusion with white cloth or wax paper: if the sun is too harsh, placing a translucent cloth between the source and the subject softens the light without eliminating it.
Window as key light: in rooms with a single window, turning the subject so the window sits at 45–90° to the face creates volume and modeling similar to a studio setup.
To see how white balance interacts with the different tones of natural light throughout the day, see our article on white balance as a storytelling tool.
Common mistakes with natural light
Many novice photographers believe you must always avoid direct midday sun. The truth is that hard light can be a resource if you're looking for drama or strong textures. The mistake isn't in the hour, but in ignoring the direction and intensity of the light when positioning the subject.
Another frequent failing is relying on automatic flash, which kills the natural atmosphere instead of complementing it. The value of natural bounces, such as light walls or reflective surfaces, is also often overlooked; they are there for whoever knows how to see them.
More mistakes that limit work with natural light:
Not planning the session around the sun's position: tools like PhotoPills or Sun Surveyor let you know exactly where the sun will be at each hour of the day. An outdoor portrait planned with this information can be very different from an improvised one.
Relying solely on the LCD screen to judge exposure: in bright outdoor light, the screen deceives. Checking the histogram is essential to confirm the exposure is correct.
Ignoring changing color temperature: natural light varies from 2000 K at sunrise to 10000 K in open shade on a clear day. Leaving white balance on auto can produce inconsistencies across a series of photos.
Where do I meter the light before shooting?
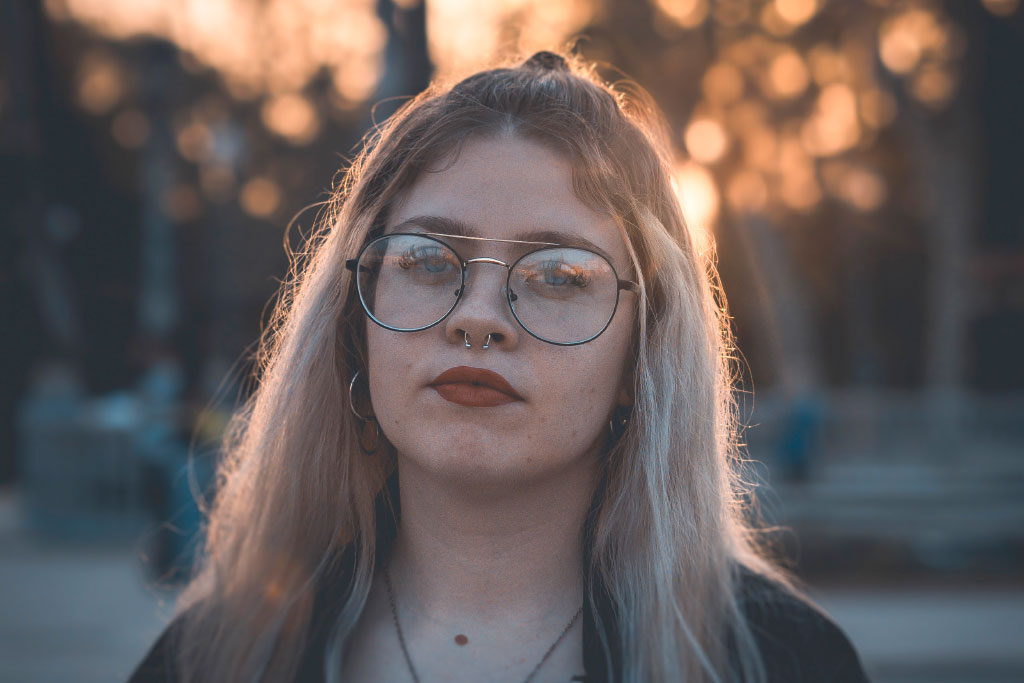
On the area that matters to you, not on the whole frame. Outdoors with backlight or hard sun, spot metering beats evaluative: the average the camera calculates gets confused as soon as there is a bright sky inside the frame.
A useful habit is to first meter the light of the most important area of the scene (generally the subject's face in portraits, or the highlights of the sky in landscapes), lock that reading and then recompose. This ensures the exposure serves your intention and not an average calculated by the camera.
To dig deeper into how metering modes adapt to natural light conditions, see our guide on strategic light metering.
A habit to train your eye with natural light
Next time you go out with your camera, set yourself an exercise: pick one subject and photograph it at different times of day, in shade, backlight, under clouds and with reflections. Then compare the results. You'll see how the character of the image changes radically even though the subject is the same. That training is the best school for mastering natural light.
Keep a photo journal for a full week: note what time you shot, what kind of light there was and what settings you used. When you review the whole week, you'll start to identify patterns and anticipate what kind of light you'll find in each scenario.
Frequently asked questions
What is the best time of day to photograph portraits in natural light? Golden hour (the first hour after sunrise and the last before sunset) is the most flattering. However, an overcast day also produces excellent light for portraits, especially beauty.
How do I keep the eyes from falling into shadow in hard sunlight? Position the subject in open shade, with the open sky as a diffuse source. If you need direct sun, use a reflector below the face to fill the shadows under the eyes and chin.
When should I use a reflector and when flash outdoors? A reflector works well when there is enough sun to bounce. If the ambient light is low or the contrast is too high for the reflector to compensate, fill flash offers more control and power.
Can I do product photography with natural light? Yes. A north-facing window (in the northern hemisphere) offers soft, constant light without direct sun, ideal for artisan product, food and lifestyle photography.
Stop waiting for perfect light
Waiting for golden hour costs photos. The light in front of you is good for something: decide what, adjust the purpose of the shot to that light and shoot. One subject photographed in shade, in backlight, under clouds and with reflections teaches more in an afternoon than a month of tutorials.
At Enfogram you have the 44 photography cards with the exact settings for every lighting situation: print them, carry them with you and shoot with confidence.