Panoramas Without Stitching Errors
Panoramic photography without errors: manual settings, correct overlap, nodal point and a capture workflow for invisible seams.
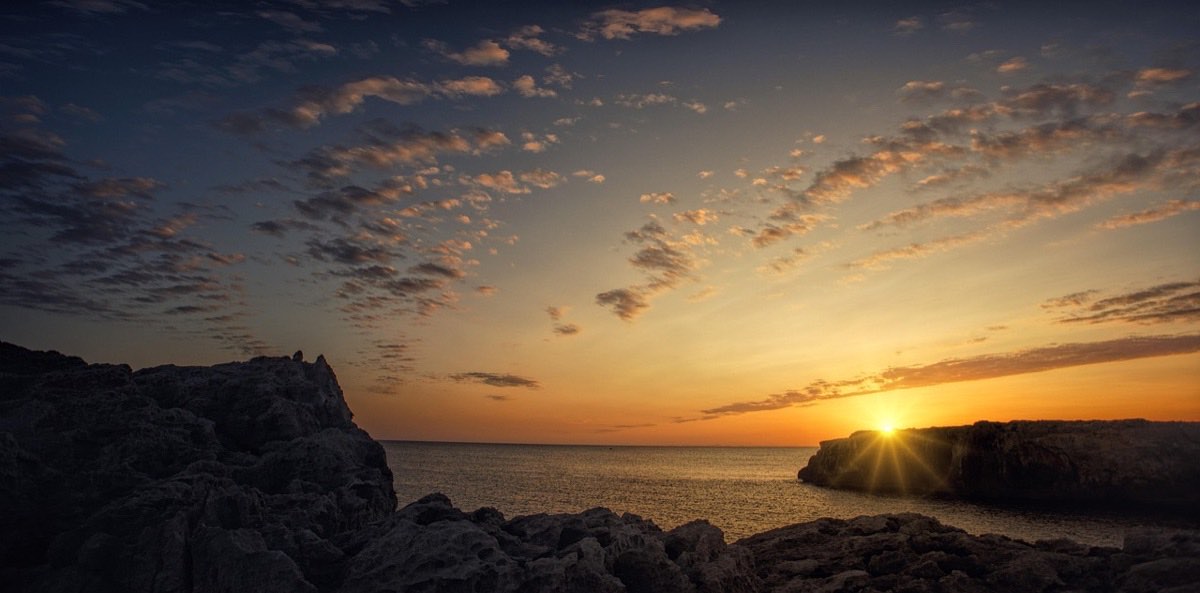
A well-made panorama is indistinguishable from a single photo: the viewer travels across the landscape without ever finding the join between shots. A badly made one gives itself away: skies with bands of different exposure, mountains that don't line up, ghosts of duplicated people. Panoramic photography doesn't fail in the stitching software; it almost always fails at capture.
The good news is that stitching errors are completely avoidable if you follow a fixed protocol. Today's programs (Lightroom, PTGui, Hugin) align with astonishing precision, but only if you give them consistent shots: same exposure, same focus, same white balance and enough overlap.
This article is that protocol: the exact settings, the capture order and the three mistakes that produce most visible seams.
Lock everything: manual mode is not optional
Mistake number one is leaving any setting on auto. If the camera re-meters the light on every shot, each segment will have a different exposure and the sky will show bands when you join them.
Locking protocol before the first shot:
Manual exposure: meter by pointing at the brightest area of the scene (normally where the sun or the lightest sky is), decide on an exposure that doesn't blow out that area and lock it in. Typical landscape setting: f/8, ISO 100 and whatever shutter speed results (for example 1/125 s).
Manual focus: focus once at the hyperfocal distance or on the main subject and turn off AF. If the camera refocuses between shots, the geometry changes and the seam breaks.
Fixed white balance: no AWB. Use "Daylight" or a specific temperature (5200 K for a clear day, 6500 K for overcast).
No polarizer: when you rotate the camera the angle relative to the sun changes and the CPL darkens the sky differently in each segment. It is the hardest mistake to fix afterward.
The guide to panoramas and architectural photography goes deeper into the geometry of these captures and how to keep lines straight when there are buildings in the scene.
Overlap, orientation and capture order
30–40% overlap. Each shot must repeat a third of the previous one. Under 25% and the software can't find enough join points; over 50% only adds files with no benefit. Field trick: locate an element at the right edge of the viewfinder and rotate until that element sits in the left third.
Shoot in portrait orientation. It seems counterintuitive, but holding the camera vertically gives more scene height and spreads the lens distortion over more shots. A 5-shot vertical panorama beats a 3-shot horizontal one in resolution and stitch quality.
Left to right, without pauses. Set a fixed order and shoot the sequence in under 30 seconds: clouds move, the light changes and people walk. If anything moves in the overlap zone between two shots, ghosts will appear.
Mark the start and the end. Photograph your hand before the first shot and after the last. When you have 400 photos from the trip, you'll know exactly where each sequence begins and ends.
The nodal point: when it matters and when it doesn't
Parallax error occurs when the camera doesn't rotate around the lens's nodal point (more precisely, the entrance pupil): nearby objects shift relative to the background between shots and no seam can make them fit.
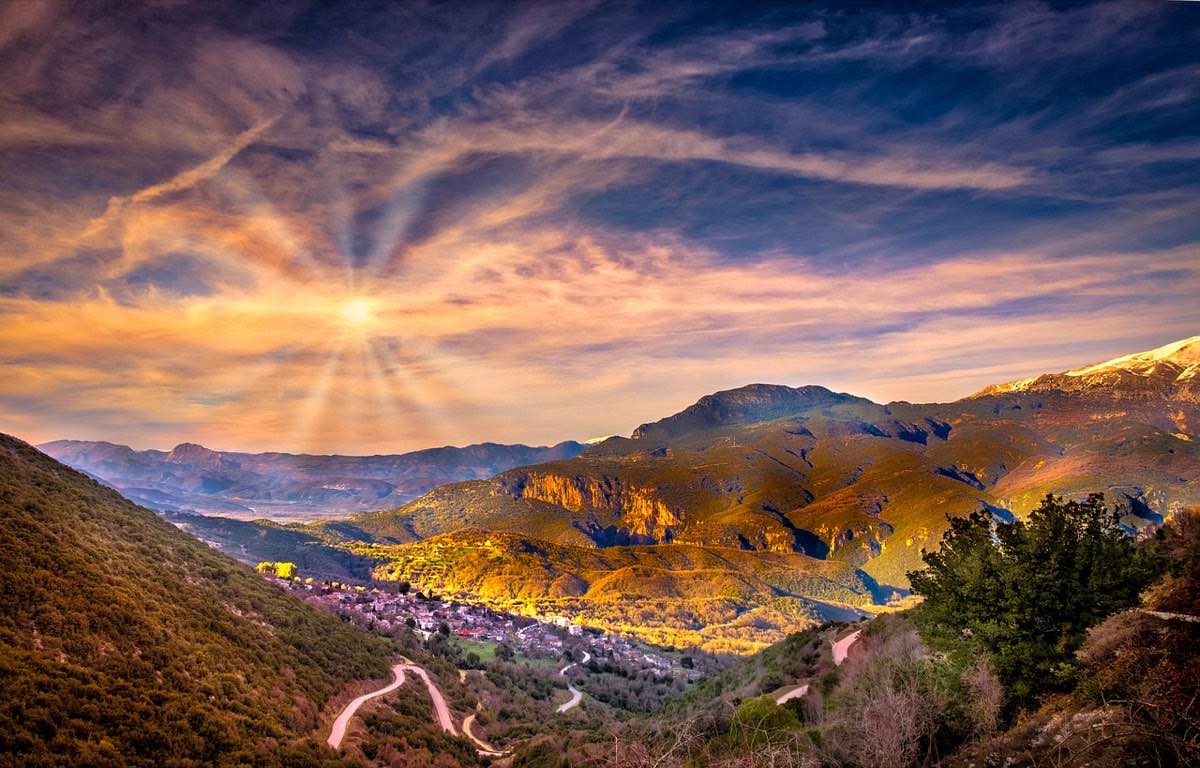
The practical rule: if everything is more than 10 meters away, forget about parallax. You can shoot handheld rotating on your own axis and the seam will come out clean. Parallax only ruins panoramas with nearby elements (a railing 2 meters away, rocks in the foreground, an interior).
If you need a close foreground:
Mount the camera on a tripod with a sliding plate or a nodal adapter.
Align two elements (one near, one far) at the edge of the viewfinder.
Rotate the camera: if the near element "moves" relative to the far one, slide the camera back or forward until they stop moving relative to each other.
Note the position for your lens and focal length: it doesn't change.
What reference settings fit each type of panorama?
Scenario: Open landscape handheld; Focal length: 35–50 mm; Settings: f/8, ISO 100, 1/250 s; Typical shots: 4–6 vertical; Overlap: 30%
Scenario: Landscape with tripod; Focal length: 50–70 mm; Settings: f/8, ISO 100, fully manual; Typical shots: 6–10 vertical; Overlap: 35%
Scenario: Daytime urban panorama; Focal length: 35 mm; Settings: f/8, ISO 100, 1/125 s; Typical shots: 5–8 vertical; Overlap: 40%
Scenario: Interior or close foreground; Focal length: 24–35 mm; Settings: f/11, ISO 400, nodal point; Typical shots: 6–12; Overlap: 40%
Scenario: Night panorama; Focal length: 20–24 mm; Settings: f/2.8, ISO 3200, 15 s; Typical shots: 4–6; Overlap: 40%
Scenario: Multi-row (gigapan); Focal length: 70–100 mm; Settings: f/8, ISO 100, degree-marked panoramic head; Typical shots: 2–3 rows × 8; Overlap: 35%
The three mistakes that give away a seam
Brightness bands in the sky. Cause: automatic exposure or a polarizer. Smooth sky is the hardest area to stitch because it has no reference points; any difference in density shows up as a vertical stripe. Solution: fully manual and no CPL.
Duplicated or cut-off objects. Cause: something moved in the overlap zone (people, cars, branches in the wind). Solution: shoot fast, and in busy places make two complete passes; in editing you choose the clean shot for each segment.
Arched horizon. Cause: camera tilted up or down during rotation. When stitched, the horizon curves like a smile. Solution: level the base of the tripod (not just the head) with the bubble level, or keep the horizon in the center of the frame and crop afterward.
To choose a stable support that makes all this easier, see the guide to tripods and how to choose the right one, and if you're interested in taking seams into architectural territory, the article on architecture and panoramas with invisible seams continues exactly where this one ends.
Frequently asked questions
Can I shoot handheld panoramas without a tripod?
Yes, if there are no elements closer than 10 meters. Keep your elbows against your body, rotate on your hips (don't take side steps) and keep the horizon at the same height in the viewfinder in all shots.
RAW or JPEG for panoramas?
RAW always: when stitching 6 shots, any later exposure or balance adjustment applies identically to all segments. With JPEG, the camera settings are already "baked in" and subtle differences between shots are harder to match.
Why won't my software join the shots?
Almost always because of insufficient overlap (under 25%) or areas without detail at the join (smooth sky, sea, fog). Repeat with 40% overlap and try to make each join fall on textured terrain.
How many megapixels does a final panorama have?
With a 24 MP camera and 6 vertical shots with 35% overlap, you get a file of 80–100 real MP: enough for prints more than 2 meters wide.
Seams are made before you shoot
Invisible seams are made before you shoot: exposure, focus and balance locked, 35% overlap, vertical shooting and a fast left-to-right sequence. The software does the rest without complaint.
Turn the protocol into routine (lock, overlap, shoot, photo of your hand) and panoramas will stop being a lottery. At Enfogram you will find the 44 photography cards with the exact settings for every situation: print them, carry them with you and shoot with confidence.