Architecture and Panorama Photography
Architecture and panorama photography: how to control converging lines, proportions and invisible seams, with examples.
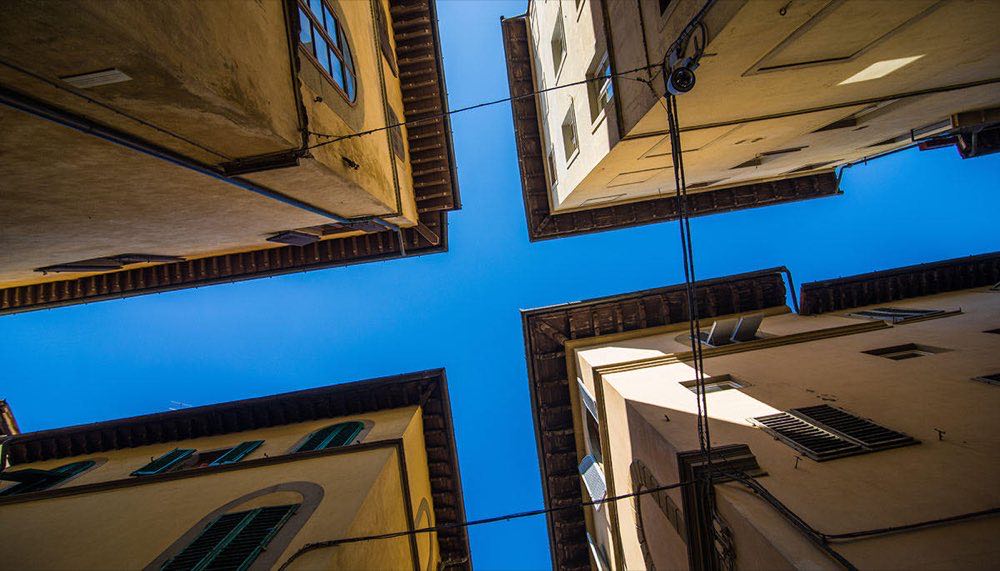
A straight building that comes out leaning and a panorama with the seam showing are the same failure: careless geometry at capture. Level the camera instead of tilting it upward, and shoot the panorama in manual with 25–30% overlap between frames. With that, editing goes from rescue to retouching.
The rest is knowing when the wide angle is distorting your facade and at what time of day the light reveals the texture of the material. The guide to panoramas and architectural photography covers the whole subject.
How do I keep a building's lines from converging?
In architectural photography, lines are the composition. A building that leans through carelessness looks sloppy even when it is perfectly straight, and verticality and horizontality are handled at capture, not afterward.
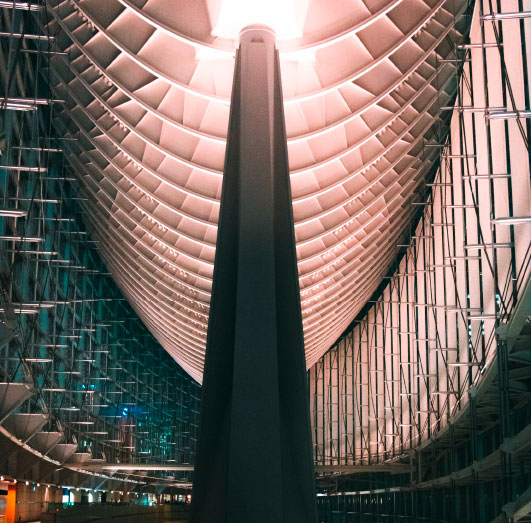
A wide-angle lens helps include more of the scene, but it can also cause distortion. To keep lines from converging too much, the ideal is to use tilt-shift lenses or to correct in post-production with perspective tools. The goal is always for lines to be a narrative resource, not a technical error.
To go deeper into how lens choice affects architectural perspective, see our guide on lens character and how focal length choice transforms your story.
How do I shoot a panorama without visible seams?
Panoramas let you show a space or landscape in its full breadth, but when poorly executed they fill up with cuts and jumps that break continuity. The basic rule is to shoot in manual mode, keeping exposure, aperture, ISO and white balance constant.
A tripod with a panoramic head is the ideal tool: it ensures the rotation axis is aligned and reduces parallax errors. However, you can also get good results handheld if you rotate around your own axis and keep a 30% overlap.
In editing, stitching programs (Lightroom, PTGui, Photoshop) work wonders, but the cleaner the capture, the less you will depend on software to "fix" joins.
The five steps of the sequence
Set all parameters to manual: exposure, ISO, aperture and white balance. Never automatic.
Focus on the main point of interest and turn off AF before starting the sequence.
Rotate the camera from left to right (or vice versa) consistently, with 25–30% overlap between each shot.
Keep the horizon level using the camera's electronic level or a bubble level on the hot shoe.
Don't move your feet: the lens's nodal point must stay on the same axis throughout the sequence.
Proportion and scale: giving the space meaning
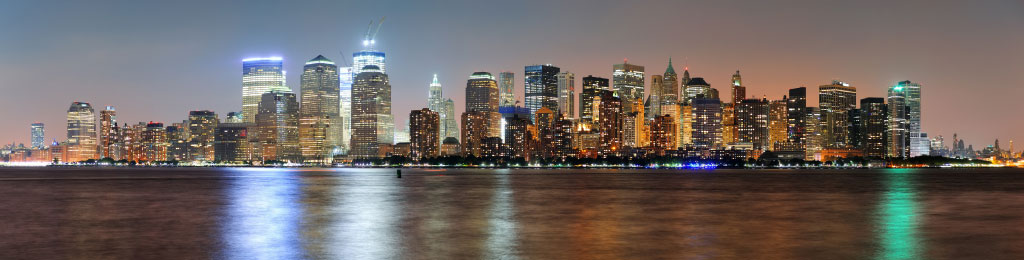
Architecture and panoramas also have to convey scale and proportion. Including people in the scene helps show the magnitude of a building. In urban panoramas, a foreground with detail (a tree, a street lamp, a human figure) can add depth and keep the image from looking flat.
Proportion is also looked after in editing: avoiding extreme distortion, cropping with judgment and keeping a stable horizon are basic steps for the result to have credibility and visual strength.
Dynamic visual composition offers principles that apply directly to architecture: leading lines, negative space and the rule of thirds work just as well on facades as on natural landscapes.
Common mistakes in architectural photography
Trusting automatic and ending up with every photo in the panorama at a different exposure.
Overusing wide angle and not correcting the converging lines.
Not planning the scene and leaving elements cut off at the edge.
Underestimating the horizon: a tilted line, however slight, ruins visual harmony.
Shooting at midday when overhead light eliminates shadows and flattens volumes. Golden hour and blue hour reveal the texture of materials better.
What time of day is best for photographing a building?
The moment of the shot matters as much as the angle. Golden hour (the 30–60 minutes after sunrise or before sunset) produces long shadows that emphasize the texture of facades, brick and concrete structures. Blue hour (the minutes right after sunset) balances the interior light of buildings with the sky outside, a balance that is hard to achieve at any other time.
For interior spaces, controlling reflections on glass and metal surfaces is critical. Our guide to reflection and texture control in photography covers exactly that challenge.
What should I have settled before heading out?
Item: Format; How to set it: RAW, to have room for correction in shadows and highlights
Item: Horizon; How to set it: Camera's electronic level or a horizon app
Item: Overlap; How to set it: 25–30% of each frame in panoramas
Item: Editing order; How to set it: Perspective and proportions first; color and contrast afterward
Item: Structure; How to set it: The panorama as narrative: beginning, development and visual close
Frequently asked questions
Do I need a tilt-shift lens to photograph architecture? It isn't required, but it helps control converging lines. If you don't have one, you can correct in editing with perspective tools in Lightroom or Photoshop.
How many photos do I need for a panorama? It depends on the angle you want to cover. From three to more than ten. The important thing is to keep a 25–30% overlap between each photo.
Can you make panoramas without a tripod? Yes, but you must rotate around your own axis and keep the camera level. A tripod with a panoramic head gives more consistent results.
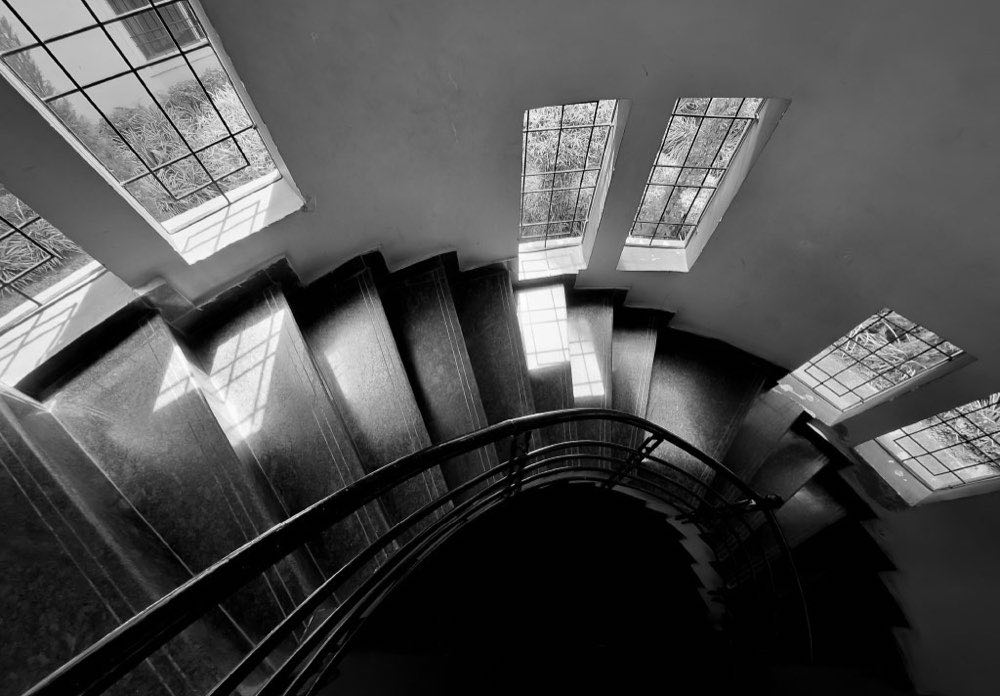
How do I keep a building from coming out "crooked"? Level the camera and avoid tilting it upward. If you need to capture more height, step back and crop in editing, or use a shift lens.
RAW or JPEG for architecture and panoramas? Always RAW: you correct exposure, white balance and perspective without degrading quality as much as with JPEG.
What separates a clean panorama from an obvious montage
Three things, and all three happen before you touch the computer: fixed parameters in manual, 25–30% overlap and a level horizon. Software stitches well what arrives well; it doesn't invent what was missing at capture.
At Enfogram you get the 44 photography cards with the exact settings for every situation: print them, carry them with you and shoot with confidence.