How to Photograph Silhouettes Against the Light
Learn to photograph backlit silhouettes step by step: metering, exposure compensation and exact settings for black figures and colorful skies.

A silhouette is a deliberate underexposure: spot meter on the bright sky, or dial down -1 to -2 EV, and let the subject fall to black. With no extra gear, a "problematic" backlit scene becomes a graphic image in which the luminous background gets all the starring role.
The problem is that the camera is programmed to do exactly the opposite. Its meter will see the person dark against the bright sky and try to "save" them, brightening the scene and ruining both the figure and the sky. The four steps that follow prevent it.
Step 1: find the right backlight
A silhouette needs two ingredients: a background much brighter than the subject and a low point of view that cuts the figure out against that background.
The best scenes:
Sunset or sunrise: the classic. The sky provides color and the low sun lets you frame full-length people against it.
Bright doors and windows: dark interiors with a bright opening behind the subject.
Water and reflective surfaces: wet beach sand or a lake doubles the silhouette with its reflection.
Crouch down: shooting from below separates the figure from the dark ground and cuts it out whole against the sky. A silhouette sliced by the horizon at waist height loses half its strength.
Step 2: meter on the bright background, not on the subject
Here is the heart of the technique. Switch to spot metering and aim the metering point at the bright area of the sky (without including the sun's disc). Lock that exposure with the AE-L button or memorize the values and switch to manual mode.
Typical starting values at a clear sunset:
f/8, 1/250 s, ISO 100 metering the sky next to the sun.
f/8, 1/60 s, ISO 100 if the sun has already set and you meter the glowing clouds.
If you prefer to stay in aperture priority, the quick route is exposure compensation: -1 to -2 EV forces the camera to darken the scene and sinks the subject into black. The whole foundation of this technique is developed in the exposure compensation guide, which I recommend reading to also master the opposite case (bright scenes that come out gray).
Step 3: focus on the edge of the figure
Autofocus can fail on a black figure with no internal contrast. Two solutions:
Focus on the edge of the silhouette, where the figure-sky contrast is greatest.
If that fails, focus manually or focus on the horizon at the same distance and recompose.
At f/8 with the subject more than 3 meters away, depth of field covers small focus errors without a problem.
What makes a silhouette read at first glance?
Since there are no textures or face, all the information comes from the outline:
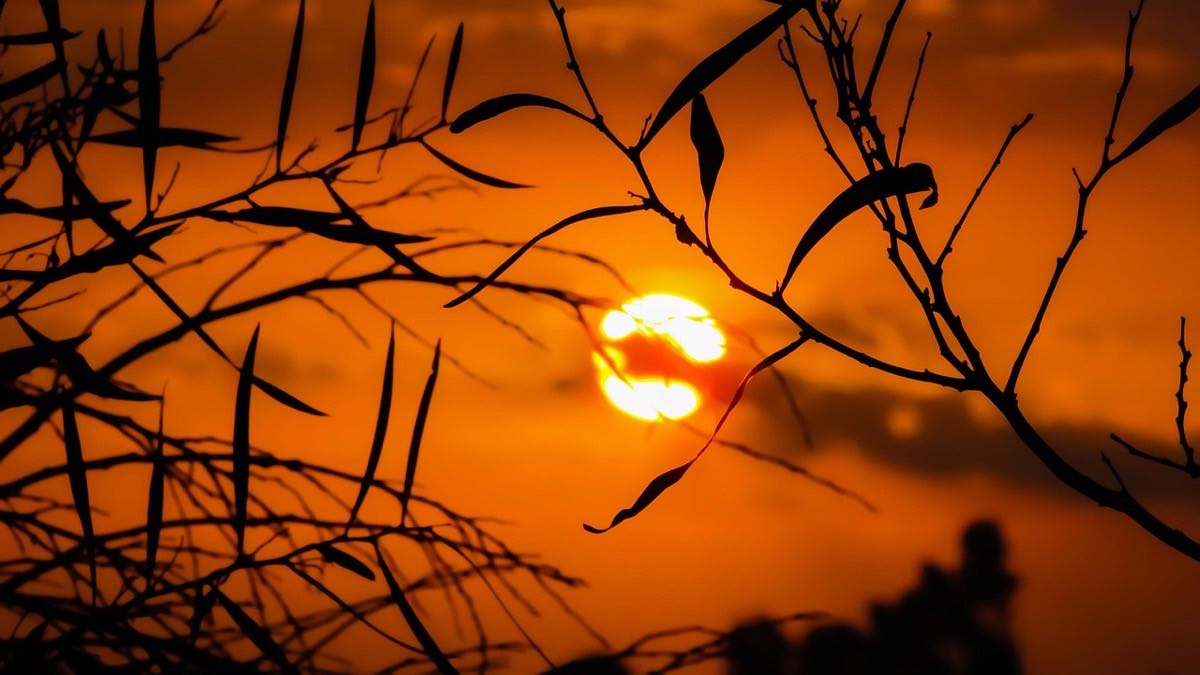
Profile before front view: a face in profile is recognizable; from the front it is a black oval.
Separate the limbs from the body: arms away from the torso, legs in stride. Bodies stuck together become blobs.
One subject or a few, well separated: two overlapping people read as a single confusing lump.
Frozen action: a jump at 1/1000 s produces spectacular silhouettes.
What settings do I use in each scene?
Scene: Sunset, sun visible; Aperture: f/8; Shutter speed: 1/250 s; ISO: 100; Metering/Compensation: Spot on the sky, -1 EV extra
Scene: Sky after sunset; Aperture: f/8; Shutter speed: 1/60 s; ISO: 100; Metering/Compensation: Spot on the clouds
Scene: Jump or backlit action; Aperture: f/5.6; Shutter speed: 1/2000 s; ISO: 200; Metering/Compensation: Manual, metered on the sky
Scene: Indoor window or door; Aperture: f/4; Shutter speed: 1/500 s; ISO: 100; Metering/Compensation: Spot on the bright area
Scene: Silhouette with water reflection; Aperture: f/11; Shutter speed: 1/500 s; ISO: 100; Metering/Compensation: Spot on the sky, -0.7 EV
After each shot, check the histogram: you want a peak pushed against the far left (the black figure) and the rest of the information without clipping in the sky's highlights.
Why doesn't the silhouette come out black?
The silhouette comes out gray, not black: you didn't underexpose enough. Add another -1 EV or meter a brighter area of the sky.
The sky lost its color: you overexposed. The color of sunset lives in well-contained highlights; lower the exposure until the histogram pulls away from the right edge.
There is a halo or flare washing out the image: direct sun inside the frame causes flare. Hide the sun's disc partially behind the subject or wait for it to drop below the horizon.
The figure blends into the dark background: lower your point of view or reposition the subject until the full outline sits against the sky.
For a backlit shot with a detailed figure and a lit edge, rather than a full silhouette, the exposure game is different: the article on strategic light metering explains how to decide which area of the scene rules. And to choose the time of day with the most photogenic sky, see how natural light changes with every moment.
Frequently asked questions
What exposure compensation do I use for silhouettes?
Between -1 and -2 EV starting from the general metering is the usual range. If you use spot metering on the bright sky, you often need no additional compensation, or just -0.3 to -1 EV to make sure of the black.
Can I shoot silhouettes with a phone?
Yes. Tap the screen on the bright area of the sky to meter there, and slide the exposure control down until the figure is black. The principle is identical to a camera's.
Why does my camera insist on brightening the subject?
Because matrix metering averages the whole scene and detects the dark subject as an "error" to correct. Switch to spot metering or apply negative compensation; in manual mode, the problem disappears completely.
Can a silhouette be recovered in editing if I exposed wrong?
If you shot RAW and the sky isn't blown out, you can lower shadows and blacks to reinforce the silhouette. But if you blew out the sky, that color doesn't come back: that's why it always pays to underexpose, never overexpose.
The half-hour exercise that makes it stick
Go out at sunset and shoot only silhouettes for half an hour: spot metering on the sky, negative compensation, focus on the edge and a clean shape. It is the fastest way to internalize that exposing well doesn't mean exposing bright, but deciding for yourself which part of the scene rules.
The 44 printed cards from Enfogram bring the metering and compensation for each situation, so you can solve them in the ten minutes the glowing sky lasts.