Sports Photography: Freezing the Action
Master sports photography: continuous AF, shutter speeds and strategic positioning to capture the decisive moment.
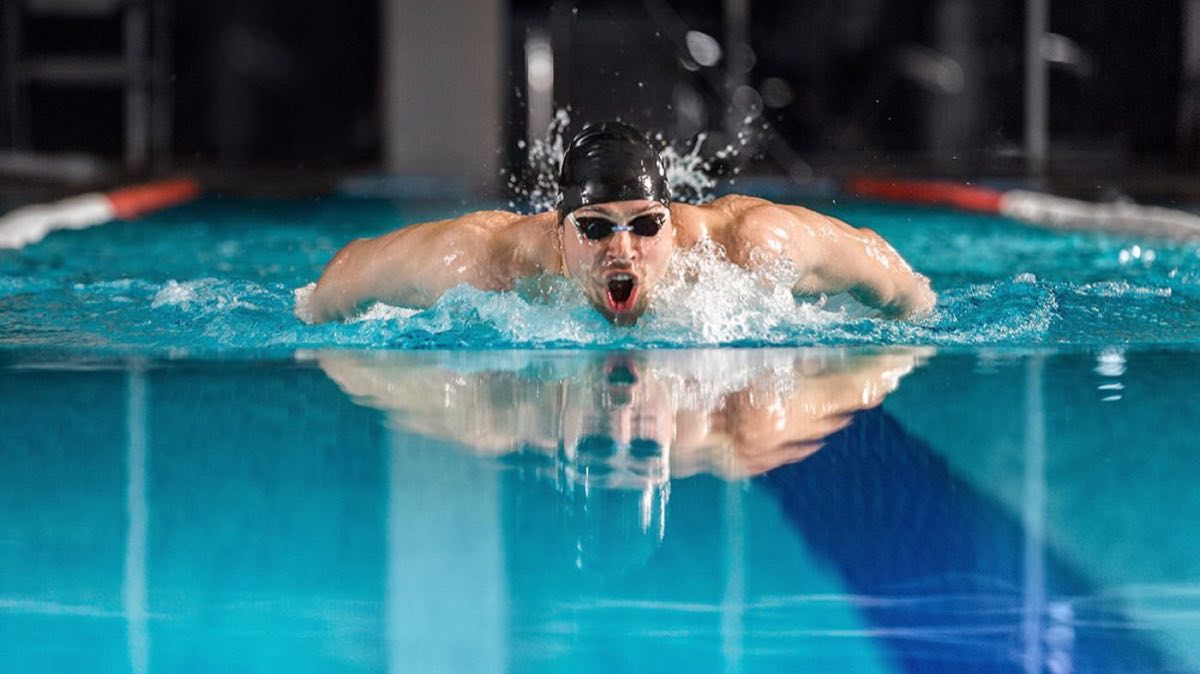
Sports photography is one of the greatest technical and narrative challenges. Having a fast camera is not enough: the real challenge is to anticipate the play, read the dynamics of the sport and be in the exact spot when the moment that sums it all up happens. It is the discipline that combines speed, technical mastery and human sensitivity, because freezing the ball in the air is half the job: the other half is telling stories of effort, triumph and defeat.
Every sport has its own rhythm, and the photographer is not a passive spectator: they are a visual storyteller who needs preparation, strategy and surgical precision in their technical decisions.
What changes depending on the sport?
In fast sports like soccer or basketball, the demands are at their highest. A minimum speed of 1/500s with continuous AF and a wide focus zone ensures the players stay sharp even in unpredictable movements. Continuous burst lets you capture the full sequence of a play so you can choose the exact frame in post-production.
In precision sports like golf or tennis, the story is concentrated in the exact contact with the ball: a swing at just the right point or the impact of the racket. Here perfect timing matters more than an endless burst. Studying the gesture before shooting, by watching several attempts before pressing the button, notably increases the success rate.

Water sports impose an additional challenge: protecting your gear. High speeds let you freeze splashes in the air, but the photographer must be prepared for difficult conditions with protective covers and weather-sealed bodies.
In winter sports, snow fools the light meter. Setting exposure compensation to +1 EV keeps the scene from looking grayish: the meter tends to underexpose predominantly white scenes. Exposure compensation explains how to apply that same correction in other difficult scenes.
What settings do I use in sports photography?
A 200-400 mm telephoto lens is the standard for getting close to the action without interfering with the game. Combined with a burst mode of 10-14 fps, it lets you capture full sequences and then choose the exact frame that tells the story.
Servo/continuous AF with predictive tracking is essential for keeping subjects in focus on fast trajectories. Modern subject detection systems (eyes, body) in mirrorless cameras significantly reduce the percentage of out-of-focus shots, even in high-speed scenes.
On top of that comes the need to raise the ISO without fear: between 800 and 3200 is normal at sporting events, because in this context sharpness is worth more than noise. A technically sharp image with grain is publishable; a clean but blurry image is not.
Situation: Soccer or basketball; Starting setting: 1/500s, continuous AF with wide zone, 10-14 fps burst
Situation: Motocross or surfing; Starting setting: 1/1000s or faster, AF with predictive tracking
Situation: Golf or tennis; Starting setting: Timing over burst: shoot at the moment of contact
Situation: Stadium or gym with low light; Starting setting: ISO 1600-3200 with a 70-200 mm f/2.8
Situation: Snow and winter sports; Starting setting: +1 EV of exposure compensation
Situation: Panning; Starting setting: 1/60-1/125s following the subject
The guide to sports and action photography develops each of these rows with their edge cases.
Where do I position myself so I do not miss the play?
Positioning is the variable that most distinguishes an experienced sports photographer from a beginner. Being in the right place before the play happens is as important as shutter speed.
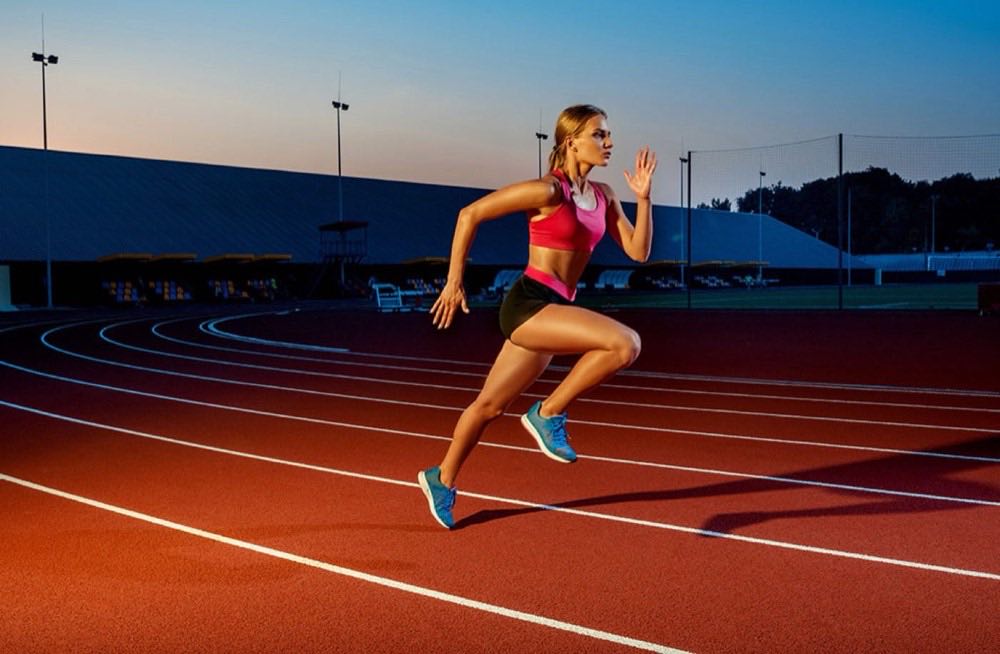
In soccer, the corners and the penalty areas are the points with the greatest density of emotional action. In track and field, the finish line and the throwing spot are the most photogenic moments. In team sports with predictable tactics, studying the pattern of play during the first minutes lets you anticipate where the action will move.
Many professional photographers walk the venue before the game to identify angles with better light and no visual obstacles such as nets or railings. That quiet preparation before shooting makes the difference.
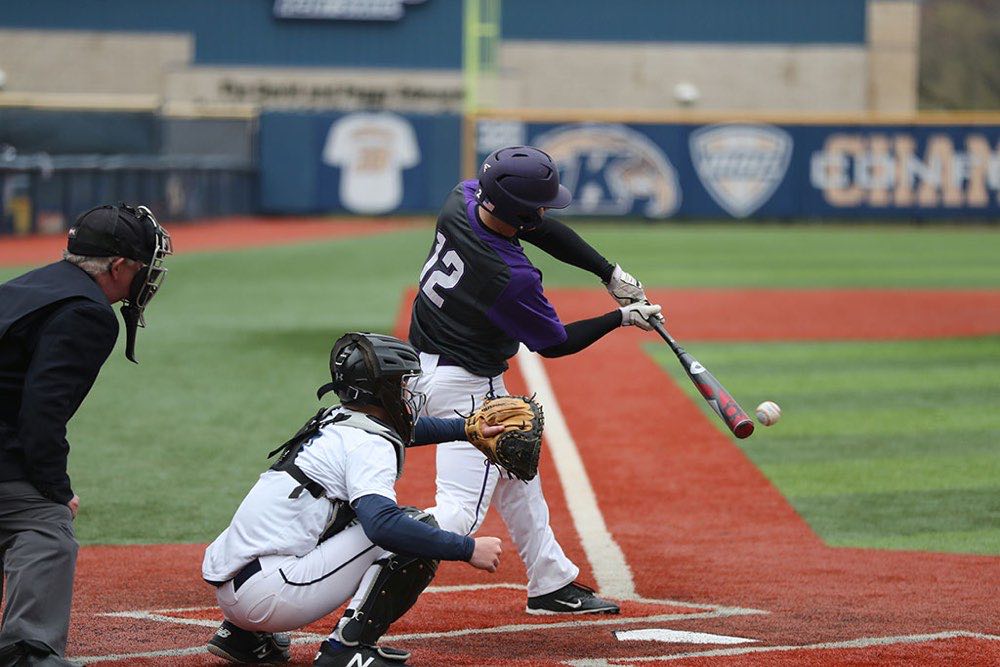
The four mistakes that cost you the play
The most common is poor positioning: being in the wrong place can make you lose the angle of the decisive play even if your technique is perfect. Another mistake is using insufficient speeds, producing blurry images right at the climax.
Many beginner photographers follow only the ball, missing the human expressions that are the true heart of the story. And, perhaps most serious, is not knowing the rules of the sport: without that knowledge, strategic anticipation is impossible. Watching play without shooting, learning the rhythm of the sport before trying to photograph it, is an investment of time that pays off many times over.
Professional techniques and habits
Panning is an indispensable technique: smoothly following the subject before, during and after the shot produces images with a moving background and a sharp protagonist, conveying dynamism. To master it you need speeds between 1/60s and 1/125s and a very fluid, constant camera movement.
Prior study of each discipline is another key tool: knowing the patterns of play or the moments of greatest emotion puts you ahead of the play instead of leaving you reacting late. Watching recordings of the previous event, talking to the coach or simply arriving early for the warm-up provides valuable information.
Setting up back-button focus frees the shutter button from focusing, letting you keep tracking the subject without having to recompose. This small adjustment makes a big difference in fast-paced sports, especially when the subject momentarily leaves the frame and re-enters.
Shutter speed as a creative tool is essential reading for understanding how the same setting can freeze or convey movement depending on narrative intent.
Frequently asked questions
What is the recommended minimum speed for fast sports? Generally 1/500s or faster. For extreme sports like motocross or surfing, 1/1000s or faster is recommended. For creative panning, between 1/60s and 1/125s with synchronized camera movement.
Which lens is best for covering sports? A 200-400 mm telephoto offers reach and versatility. In tight spaces like gyms or swimming pools, a 70-200 mm f/2.8 is the professional standard because of its bright aperture and versatility.
Is it a good idea to always use continuous burst? Yes, but with judgment. Burst lets you capture sequences, but you choose when to start it: it is the support to secure the definitive frame, not a substitute for knowing when something is going to happen.
How do I deal with low light in stadiums or gyms? Raise the ISO without fear (1600-3200). It is better to have a photo with some noise but sharp than a clean image that is blurred by motion. Modern cameras handle high ISO well in sports when sharpness is the absolute priority.
What role does knowledge of the sport play in photography? It is what separates anticipating from reacting. Knowing the rules, strategies and key moments lets you be ready before the decisive play happens. A photographer who does not understand the sport they photograph will always arrive late.
What gets decided before the opening whistle
Arrive early, walk the venue and choose the angle with good light and no nets in front. Set the camera to 1/500s, continuous AF and back-button focus before the game starts: during play there is no time to configure anything.
And watch the play, not just the ball. The expressions after the goal are the photos that get published.
The 44 cards from Enfogram have these speeds and focus modes printed by sport, so you can review them on the sideline while the teams warm up.