Studio Lighting: Building Architecture with Light
Master studio lighting with proven setups, modifiers and configurations for consistent portraits and product photos.
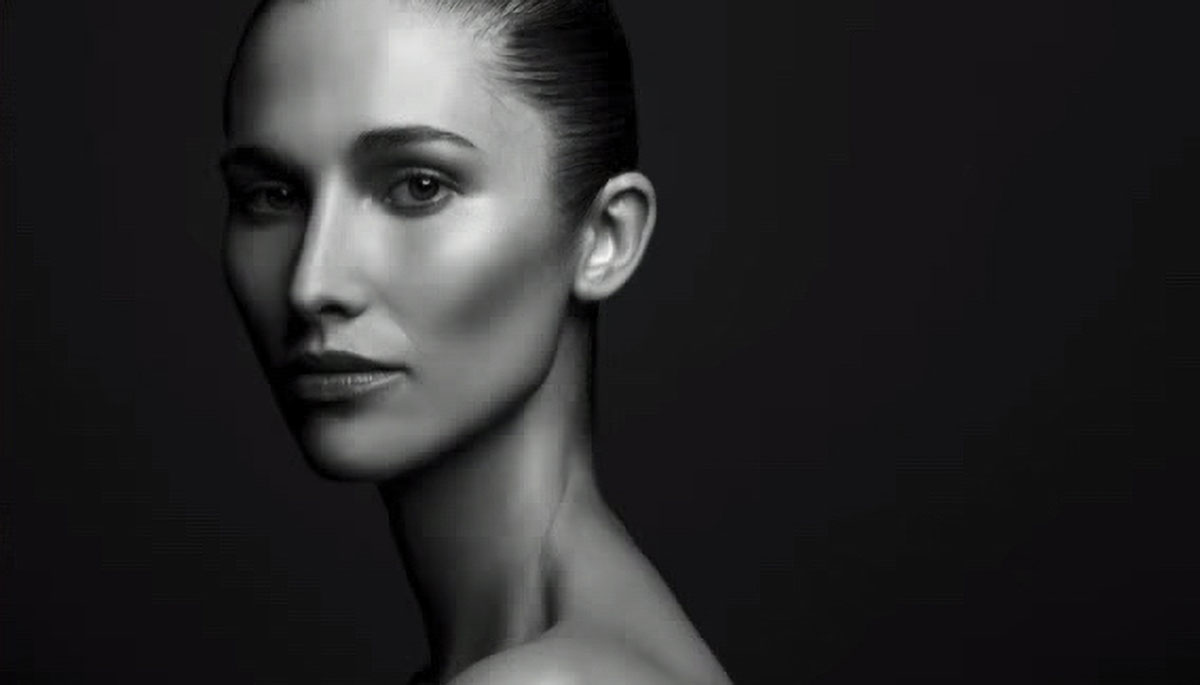
Mastering studio light is like learning to build with invisible bricks. Every source, every angle and every modifier becomes a piece of an architecture of light that defines the character of the image. Unlike natural light, in the studio you have total control: you decide where the shadow is born, how it is softened and how the subject separates from the background.
Studio lighting can be intimidating at first, but it is actually based on clear principles: understanding the roles of the lights, how the relative size of the source affects softness or hardness, and how distance changes the intensity and the falloff of power. Once these fundamentals are mastered, any setup becomes a flexible creative tool.
Beyond technique, the goal is always the same: to convey volume, atmosphere and coherence in the image, avoiding the common mistakes that take away professionalism.
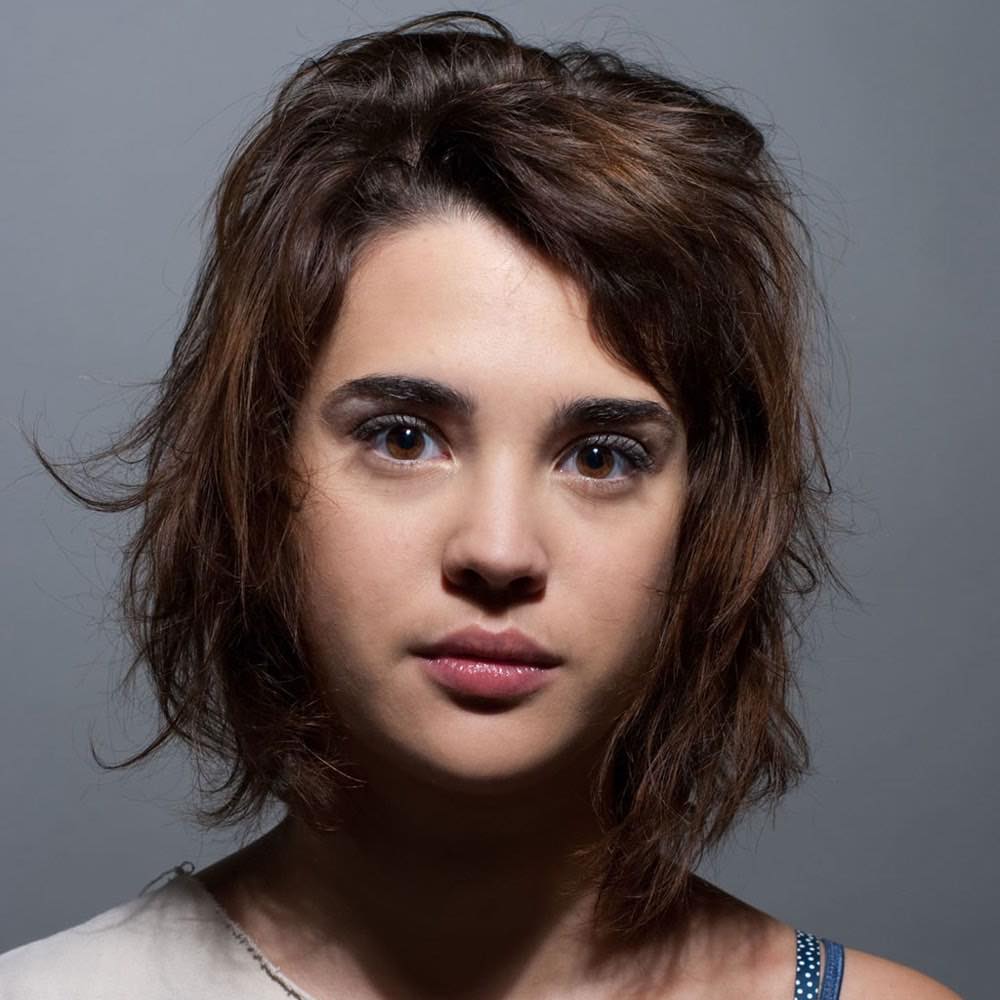
Main roles of light in a photo studio
In any basic set we can identify four main lights:
Key light (main light): the source that gives shape and volume to the subject. It determines the direction of the shadow and defines the character of the lighting.
Fill light: softens the shadows without eliminating them completely. It controls the overall contrast of the image.
Rim light (hair or separation light): creates a luminous edge that separates the subject from the background, adding dimension and depth.
Background light: controls the tone and texture of the background, from neutral to dramatic.
The balance between these lights defines the overall atmosphere: from a flat portrait to an image with great drama.
The inverse square law is fundamental in the studio: the intensity of light is inversely proportional to the square of the distance. This means that if you double the distance, the light drops to one quarter (−2 stops), and if you halve it, the light quadruples, which gives you precise control without changing the flash power.
Studio lighting setups that never fail
Basic 45° + reflector: a key light at 45° to the face combined with a silver reflector on the opposite side. Versatile and natural. Ideal for getting started and for most editorial portraits.
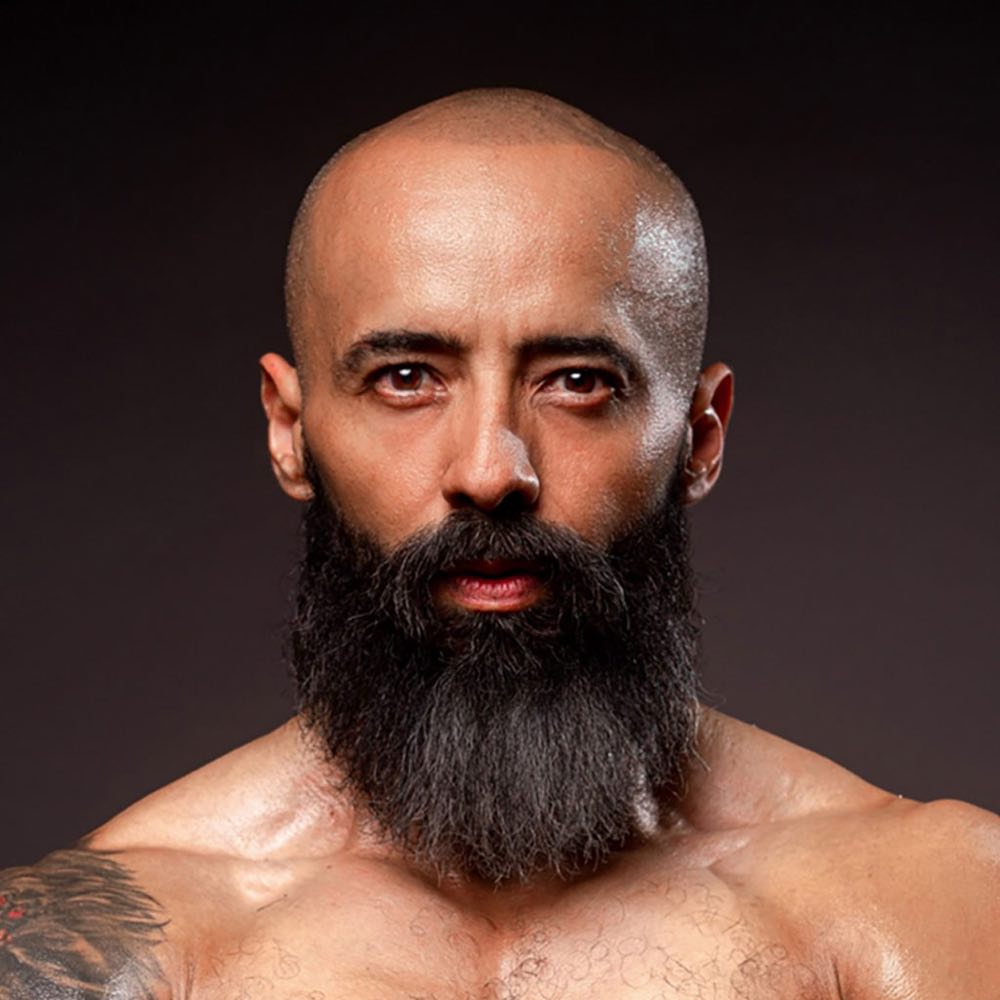
Dramatic portrait: intense side light, black background and a hair light to separate. Deep shadows, strong character. It works very well for male portraits or conceptual projects.
High key: multiple soft sources, overexposed white background. Ideal for editorial fashion or bright portraits. It requires controlling the light spill from the background so it does not affect the subject.
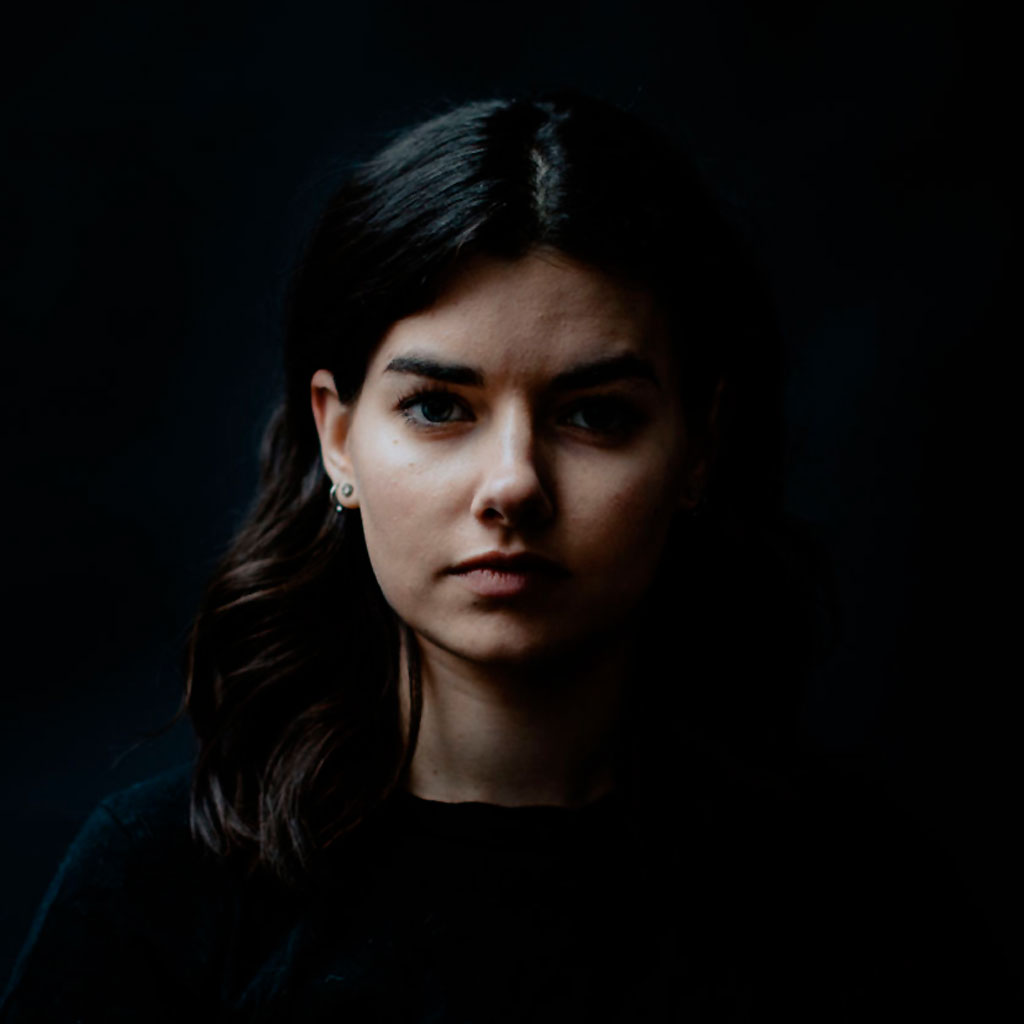
Low key: controlled main light, dark background and a predominance of shadows. It creates intimacy and mystery. A single side softbox is usually enough.
These setups are starting points: the key is to adjust proportions and modifiers to your style.
What setup do I use in each scene?
Start with an initial power of 1/4 on the main light and adjust according to the subject and the modifier. Keep a 2:1 or 3:1 ratio relative to the fill to preserve volume without losing detail.
Modifiers are your brushes: a 90 cm octa softbox generates soft, wrapping light; a beauty dish adds contrast and detail in portraits; umbrellas offer practicality and broad diffusion. For precision, use a handheld light meter: measuring is faster and more reliable than trial and error.
Recommended starting setup for portraits:
ISO 100, f/8, sync speed (1/160s or the one indicated by your camera)
Key light at 1/4 power, 1 meter from the subject
Fill light at 1/8 power, on the opposite side
Rim light at 1/8 power, behind and to the side
From here you can adjust distances and power levels according to the result you want. To go deeper into how aperture affects exposure in the studio, see our guide to exposure compensation with real examples.
Studio light modifiers: a selection guide
Choosing the right modifier is as important as the position of the source. Each one produces a different quality of light:
Rectangular softbox: directional, soft light, ideal for portraits and fashion. The rectangular shape creates natural catchlights in the eyes.
Octagonal softbox (octabox): wrapping, very soft light. The circular catchlight in the eye is flattering for beauty and fashion portraits.
Beauty dish: produces light with more contrast than a softbox but softer than direct flash. It highlights textures and defines features. Popular in beauty and high fashion.
White umbrella: broad, inexpensive diffusion. It works well for group portraits or when you need to cover a large area.
Silver umbrella: more intense light and slightly harder than white. It amplifies the flash power.
Snoot: concentrates the light into a narrow beam. Ideal for lighting only the hair, adding an accent of light or creating dramatic effects.
Grid or honeycomb: reduces the spread angle of the softbox. It keeps the light from spilling into unwanted areas.
Common mistakes in studio lighting
Among the most common failures are placing the main light too frontal, which eliminates volume; using several sources without order, creating confusing multiple shadows; letting shadows fall on the background because of poor separation; and not controlling spill (light leakage) that contaminates the scene.
Other mistakes that affect the consistency of professional work:
Not locking exposure in manual mode: TTL works poorly in the studio because conditions do not change. Manual mode guarantees that every shot has the same exposure.
Not using a handheld light meter: relying only on the histogram can lead to small inconsistencies. The light meter eliminates the variable of visual interpretation.
Ignoring the color of the studio walls: colored walls can tint the bounced light. A studio painted neutral gray is the most versatile.
Pro tips for consistent results in the studio
A simple but effective setup is to use a 90 cm octa softbox at 45° to the face together with a silver reflector on the opposite side: a classic for editorial portraits. If you are learning, try continuous lights: seeing in real time how the lighting changes as you move the source speeds up learning significantly.
In product photography, the key is to multiply soft sources to eliminate hard shadows and highlight textures evenly. For that we normally position the main light at the back or to the side. The secret is not in the number of lights, but in the quality and control of each one.
For fashion sessions in the studio, the use of tethering (connecting the camera to the computer) lets you review every shot on a large screen alongside the creative team. This speeds up decisions about lighting, poses and wardrobe in real time.
To complement studio work with portable flash techniques outdoors, see our guide to flash lighting without the complications.
Frequently asked questions
What modifier is best for starting in the studio? A medium softbox (octabox or rectangular) is versatile and allows everything from portraits to products with consistent results. It is the smartest investment for someone starting out.
Do I need four lights in every session? No. With a single well-placed source and a reflector you can achieve professional results. The rest are resources to expand your options once you have mastered the basics.
How do I know if the light ratio is right? Look at the shadows: if they are too flat, you lack contrast; if they are too dark, the fill is insufficient. A handheld light meter makes exact control easier without depending on visual interpretation.
Is it better to start with studio flash or continuous light? Continuous light has the advantage of showing the result in real time, which speeds up learning. Studio flashes offer more power, more stable colors and less heat. For beginners, a quality continuous LED light is an excellent first investment.
Start with one light and one cloth
Studio lighting is an art of balance between technique and creativity. Knowing the role of each light, practicing classic setups and learning to control intensity, softness and directionality lets you build consistent, intentional images.
More than filling the set with flashes, what matters is understanding how each source contributes volume, atmosphere and narrative. Practice, observation and moderation turn any setup into a powerful tool in the service of your vision.
At Enfogram we believe light is the fundamental language of photography. That is why we have designed educational cards and practical guides that will help you master the studio from the ground up to the most creative setups.
Do you want to learn to build your own lighting set step by step? Explore the resources at Enfogram and transform the way you work with light.