Night Portraits with Flash and Ambient Light
Night portrait with flash: balance ambient light and flash with exact settings, rear-curtain sync, gels and a well-used guide number.
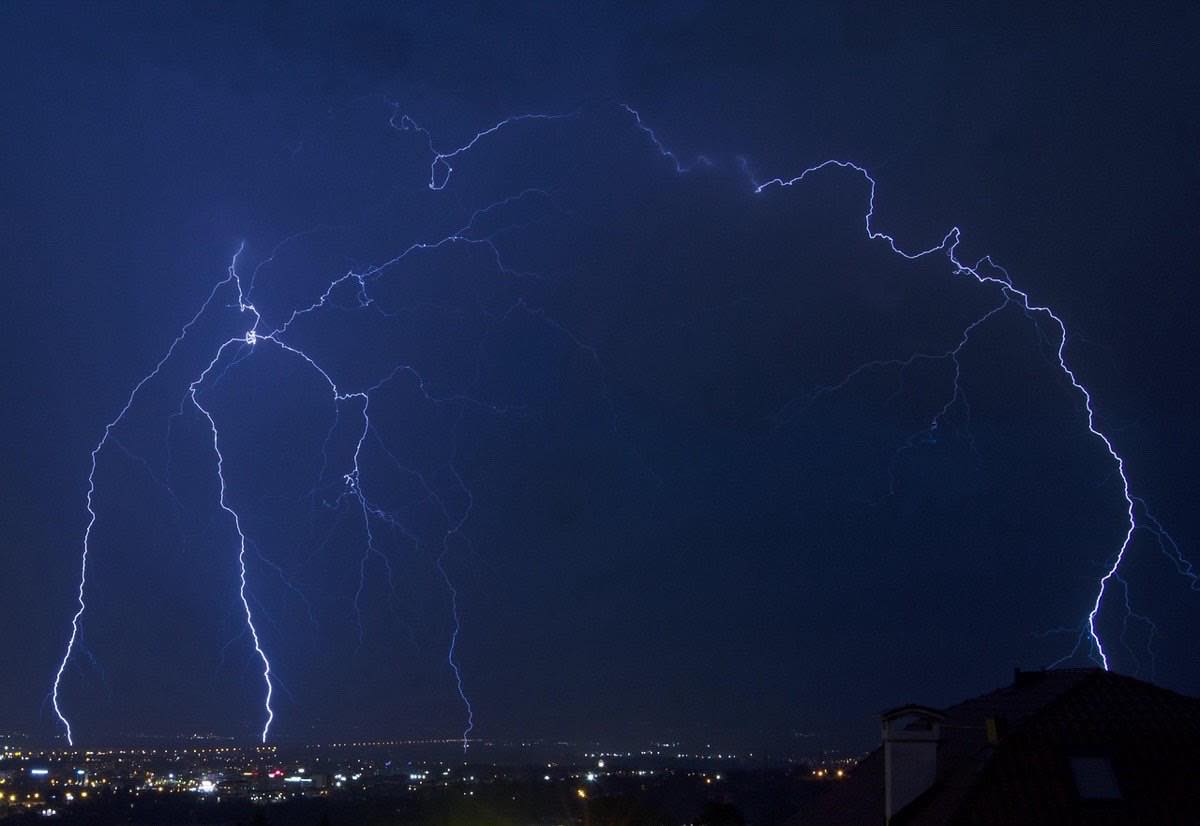
There are two ways to make a night portrait with flash: the one that switches the night off and the one that lights it up. The first is the direct flash blast of automatic mode: a blown-out white subject floating over an absolute black background, with no trace of the city lights that justified the photo. The second is the technique this article teaches: mixing the flash with ambient light so the subject glows and the night still exists behind them.
The principle that changes everything is understanding that in a flash photo there are two simultaneous, independent exposures: shutter speed controls the ambient light (the background), and flash power together with aperture and ISO controls the subject. Once you master that separation, the night portrait becomes a game of two sliders.
Here is the complete method with concrete values. For the fundamentals of flash (modes, TTL vs manual, modifiers), the flash lighting guide is the ideal starting point.
The two-exposure method, step by step
Work in manual and solve the two exposures in order:
Background first, without flash: frame the night scene (city lights, signs, streetlamps) and expose so it looks the way you want. Starting point: f/2.8, 1/30 s, ISO 800. Shoot without flash and adjust until the background has the desired density, usually between -0.5 and -1 EV to keep the night character.
Then the subject, with flash: turn the flash on in manual at low power (1/32), shoot and evaluate only the subject. Too dark? Go up to 1/16. Blown out? Drop to 1/64 or move the flash away. Shutter speed doesn't touch this part: within the sync range, the flash burst is so brief that it ignores it.
In four or five test shots you have both exposures nailed and all the following photos come out consistent: the big advantage of manual flash over TTL in stable night scenes.
Night setting: Street with neon signs in the background; Ambient (f / speed / ISO): f/2.8, 1/30 s, 800; Flash power (approx.): 1/32 with diffuser; Modifier: Small softbox or umbrella
Night setting: Portrait with car light trails; Ambient (f / speed / ISO): f/8, 2 s, 100 (tripod); Flash power (approx.): 1/8; Modifier: Bare flash from the side
Night setting: Fair or lit plaza; Ambient (f / speed / ISO): f/2, 1/60 s, 1600; Flash power (approx.): 1/64; Modifier: Bounce off a light wall
Night setting: Urban blue hour; Ambient (f / speed / ISO): f/4, 1/15 s, 400; Flash power (approx.): 1/16; Modifier: Softbox at 45°
Night setting: Bokeh streetlamp background; Ambient (f / speed / ISO): f/1.8, 1/60 s, 800; Flash power (approx.): 1/64 - 1/32; Modifier: Minimal diffuser
Take the flash off the camera
The biggest quality leap in night portraiture costs an inexpensive radio trigger or your gear's optical mode: separating the flash from the camera.
At 45° to the subject and slightly raised: the face gains volume and shadows fall naturally, like a well-placed streetlamp.
Backlit behind the subject: it creates a rim of light that separates them from the black background; combined with fog or rain, it draws the whole beam.
With a modifier: a folding 60 cm softbox or a white umbrella turns the harsh burst into window light. Lacking a modifier, bounce off a nearby light wall.
The logic of light direction and quality is the same as in the studio, only your "room" is the street: the principles of studio lighting: architecture with light apply word for word with a single hot-shoe flash.
Power and distance: the guide number working for you
How do you know what power you need before shooting? With the guide number (GN): the correct aperture is GN ÷ distance. A flash with GN 36 (at ISO 100) at 3 meters calls for f/12 at full power; at 1/16 power (effective GN ÷ 4, about 9), it calls for f/3 at that same distance.
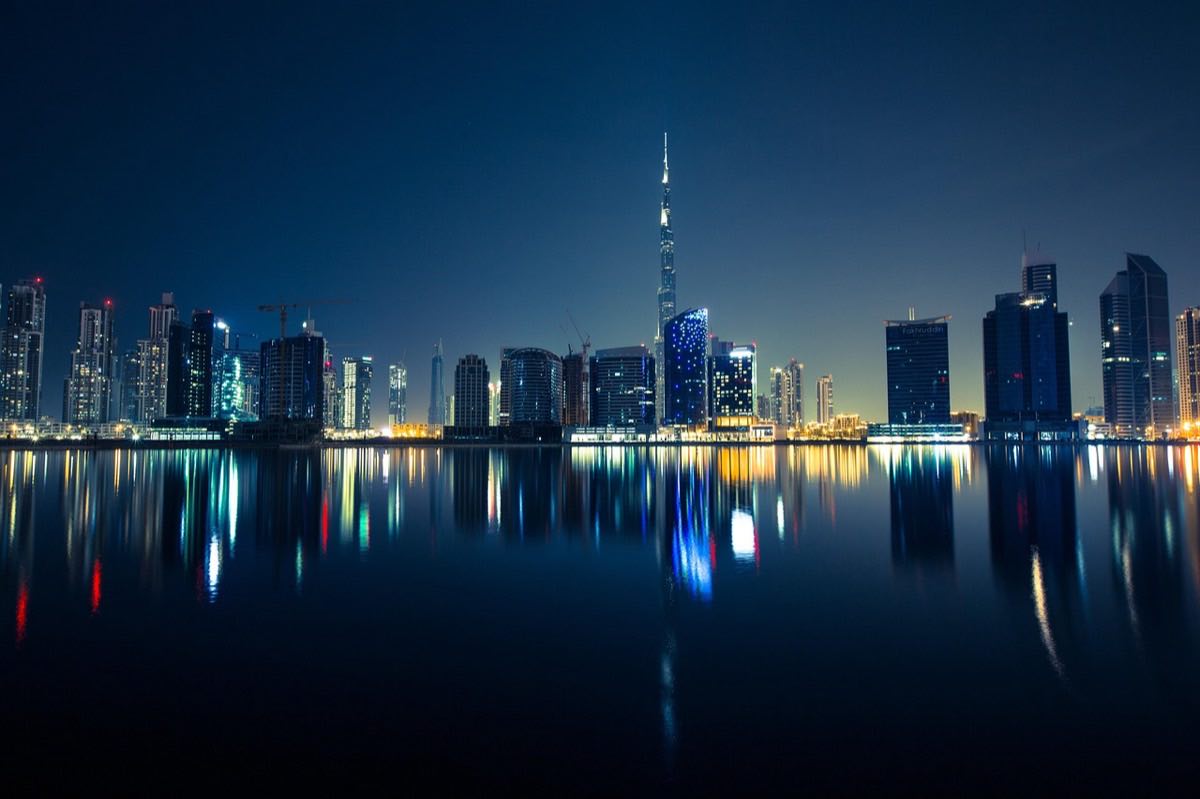
In night practice you almost always work backward: you already chose f/2.8 for the background, so you solve for distance or power. You can calculate the exact combination of power, distance and aperture with the flash guide number calculator and arrive at the session with the numbers worked out.
Two essential refinements:
CTO gel (orange): bare flash is daylight (5500 K) and gives away its artificiality against warm lighting. A half or full CTO gel matches the flash to the streetlamps; then you set the global balance to 3200-3800 K and everything blends.
High-speed sync (HSS): if you need f/1.4 with the ambient still bright and your speed goes above standard sync (normally 1/200-1/250 s), turn on HSS. It loses power, but frees up the shutter speed.
Rear-curtain sync: motion and sharpness at once
The signature technique of creative night portraiture: slow speeds (1/8 to 2 s) that record the moving lights in the background, with a burst that freezes the subject sharp.
Recipe: tripod or a very steady hand, f/5.6-f/8, 1 second, ISO 100-400, flash in rear-curtain sync (the burst happens at the end of the exposure, so the trails end up behind the subject and not in front). Ask the subject for relative stillness: the flash will freeze them, but a large movement leaves a ghost.
Dynamic variant: you move the camera during the exposure (zoom, twist, sweep) and let the flash rescue the subject from the chaos: every shot is unique. Fine control of these speeds is pure shutter mastery, as developed in shutter speed: control exposure and motion.
Frequently asked questions
Why do my backgrounds come out black if the place had lights?
Because your shutter speed is too fast for the ambient light (typical of auto mode with flash: 1/200 s). Drop to 1/30-1/15 s with ISO 800 and the background will appear. The flash will keep freezing the subject.
TTL or manual for night portraits?
Manual, as soon as the scene is stable: TTL recalculates on every shot and varies power with each reframe. Manual gives you absolute consistency between photos, key for batch editing.
What do I do if the subject comes out with a shiny red-eye glare or plastic skin?
That is direct frontal flash. Take it off the camera axis (45° up and to one side), add diffusion and lower the power. The skin regains texture and shadows with volume appear.
Can I do this with the camera's built-in flash?
You can get started: lower its compensation to -1/-2 EV, diffuse it with translucent paper and use slow speeds for the ambient light. But a detached hot-shoe flash costs little and multiplies the possibilities tenfold.
Two exposures in a single shot
The night portrait with flash comes down to one idea: two exposures in one: speed for the night, power and aperture for the face. Add the off-camera flash, a warm gel and rear-curtain sync, and your one-flash kit covers everything from editorial portraits to creative chaos.
It pays to bring the ambient and guide number figures worked out from home. At Enfogram you will find the 44 photography cards with the exact settings for every situation: print them, carry them with you and shoot with confidence.