Summer Golden Hour: Exact Times and Settings
Learn to calculate the summer golden hour and which settings to use: exact apertures, ISO and shutter speeds for warm-light portraits and landscapes.
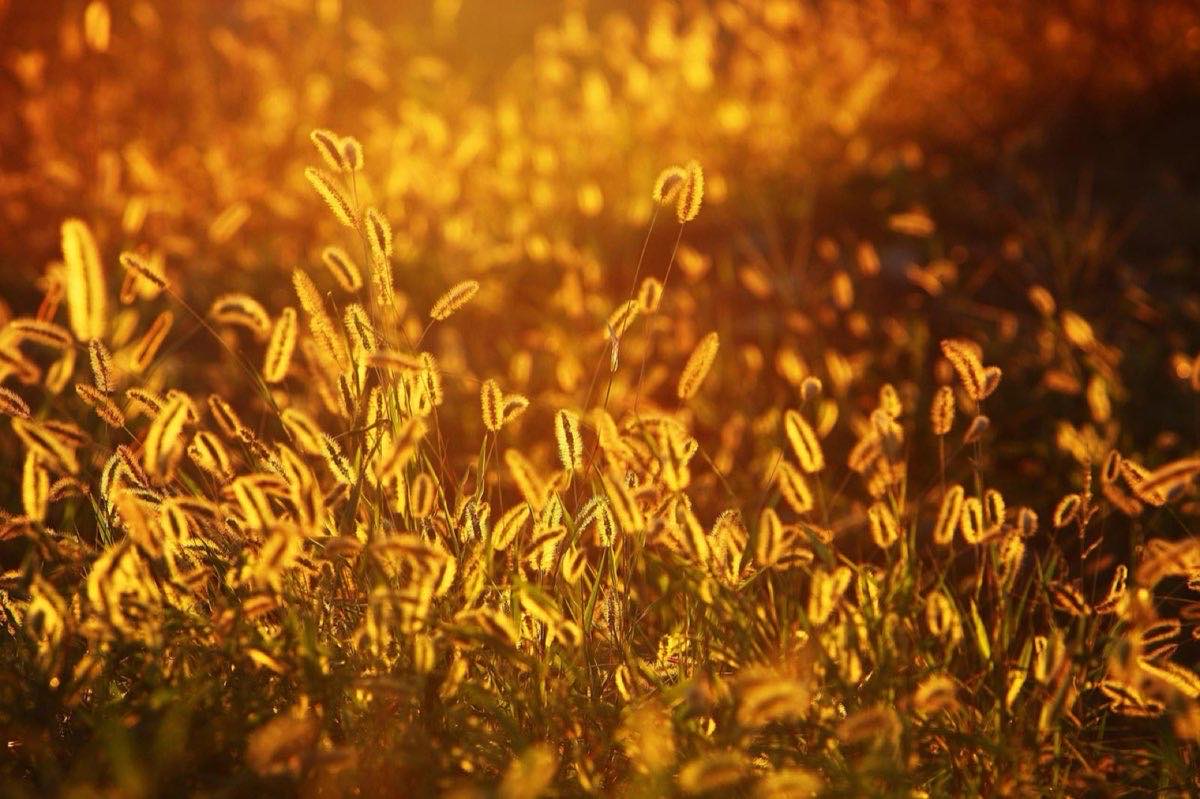
In summer, set up your camera 60 minutes before the official sunset and stay 20 minutes after it disappears. The golden hour doesn't begin when the sun touches the horizon, but well before, and the blue hour that follows gives you equally good photos.
That interval (low sun, warm light, long shadows without harshness) behaves differently in summer: the sun rises earlier, sets later and the golden window lasts longer or shorter depending on your latitude. If you ever arrived at your location "at sunset time" and found white, flat light, you already know how fast it vanishes.
Why does the golden hour last longer in summer?
Technically, the golden hour occurs when the sun is between 6° above the horizon and -4° below it. In that band, the light passes through more atmosphere, the blue is filtered out and warm tones dominate: oranges, amber and pinks.
In summer, the sun rises and sets at a more oblique angle to the horizon (especially far from the equator), so it takes longer to cross that 6° band. Practical result:
Near the equator (Mexico City, Bogotá, Quito): the golden hour lasts between 30 and 45 minutes, all year.
Mid latitudes (Buenos Aires, Santiago, Madrid): in summer it can last between 50 and 80 minutes.
High latitudes: it can extend more than an hour and a half.
That is where the 60-minutes-before rule comes from: at mid latitudes it covers the full window with margin. To avoid relying on estimates, you can calculate the exact golden hour for your city and date with this free tool.
If you want to understand how natural light behaves throughout the day, the guide to basic mastery of natural light is the best starting point.
What settings do I use in each phase of the light?
The golden hour is not a single light: it is a descending ramp of intensity. These are the reference settings for each phase, starting from a typical portrait or landscape scene.
Phase 1: sun at 6° (start of the golden hour)
There is still quite a lot of light. For portraits with a blurred background: f/2.8, 1/1000 s, ISO 100. For landscapes with everything sharp: f/8, 1/250 s, ISO 100.
Phase 2: sun at 2–3° (the golden peak)
The light drops by roughly one full stop. Portrait: f/2.8, 1/500 s, ISO 100. Landscape: f/8, 1/125 s, ISO 100. It is the moment for backlight with flares and rim light in the hair.
Phase 3: sun touching the horizon
Another stop less light, and it changes fast. Portrait: f/2.8, 1/250 s, ISO 100. Landscape: f/8, 1/60 s, ISO 100 (start considering the tripod).
Quick reference table for the summer golden hour
Scenario: Portrait with the light behind you; Aperture: f/2.8; Shutter speed: 1/500 s; ISO: 100; Note: Meter on the face
Scenario: Backlit portrait; Aperture: f/2.8; Shutter speed: 1/250 s; ISO: 200; Note: +1 EV compensation
Scenario: Landscape with the sun in frame; Aperture: f/11; Shutter speed: 1/125 s; ISO: 100; Note: Stop down to f/16 for a sunstar
Scenario: Sunset silhouette; Aperture: f/8; Shutter speed: 1/1000 s; ISO: 100; Note: Meter on the sky
Scenario: Blue hour (post-sunset); Aperture: f/5.6; Shutter speed: 1/15 s; ISO: 400; Note: Tripod recommended
These values are starting points: check the histogram after every change in light, because in the golden hour the correct exposure expires every five minutes.
Which white balance preserves the gold?
Auto white balance detects the warm cast and tries to neutralize it, robbing you of exactly what you went looking for. Set white balance to Shade (~7000 K) or Cloudy (~6000 K) to preserve and enhance golden tones. If you shoot RAW you can adjust it later, but setting it in camera lets you judge on screen the color you are going to deliver.
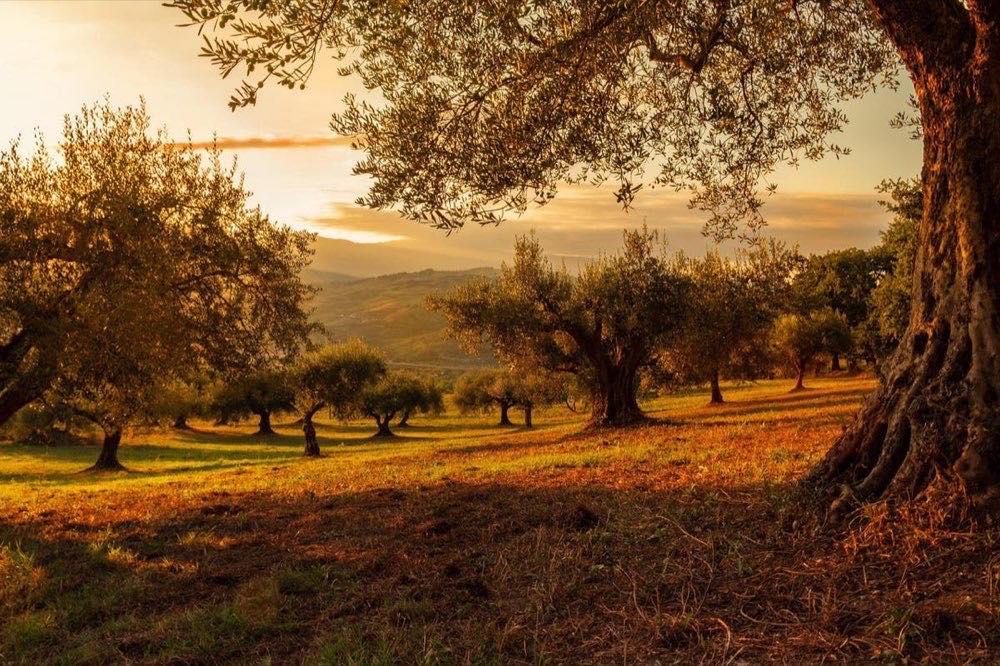
For skin tones in portraits, 5600–6000 K usually gives pleasant warmth without turning anyone carrot-colored.
Session strategy: plan backward
Since the light will only go down, order your shots from most to least need for light:
First 20 minutes: moving shots, action photos, groups (they need high shutter speeds and depth).
Golden peak: individual portraits, backlights, flares through the hair.
Sun on the horizon: silhouettes and landscapes with the sun in frame.
Blue hour: cities lighting up, long exposure, gradient skies.
This order avoids the classic mistake of spending the golden peak doing test shots. If you want to dig into the final phase of the day, see the article on natural light and how it changes with every instant, and to master changing exposure the practical guide to the exposure triangle with real examples will help.
Frequently asked questions
At exactly what time does the golden hour begin in summer?
It depends on your latitude and date. As a general reference, it begins about 50–70 minutes before sunset at mid latitudes during summer. The most reliable approach is to calculate it for your exact location with a golden hour calculator.
Is the morning or the afternoon golden hour better?
The light is physically similar, but the morning usually has cleaner air and fewer people at locations. The afternoon offers a warmer atmosphere because of accumulated dust and humidity, with often more intense colors.
What do I do if there are clouds during the golden hour?
High clouds are your allies: they light up orange and pink and act as giant reflectors. A completely overcast sky switches off the effect, but leaves excellent soft light for portraits: open up to f/2, raise to ISO 400 and take advantage.
Do I need filters for the golden hour?
They aren't essential. A neutral graduated filter (2–3 stop GND) helps balance sky and ground in landscapes, and a polarizer can saturate the sky at 90° to the sun, but you can achieve great results without either.
How to arrive prepared for the next sunset
Calculate the time for your city, arrive 60 minutes before sunset and order your shots from most to least light: action and groups first, portraits and backlights at the peak, silhouettes when the sun touches the horizon, blue hour at the end. The mistake that ruins the most sessions isn't technical: it is spending the golden peak doing test shots.
Save the table and compare it with your real results; in two or three outings you will have your own fine-tuned values. The 44 printed Enfogram cards come with these settings by situation, so you can consult them as the sun goes down instead of looking them up on your phone.