Aurora Photography: Settings for When Luck Shows Up
How to photograph the northern and southern lights: camera settings, KP index, forecasting and composition for when the sky lights up green.
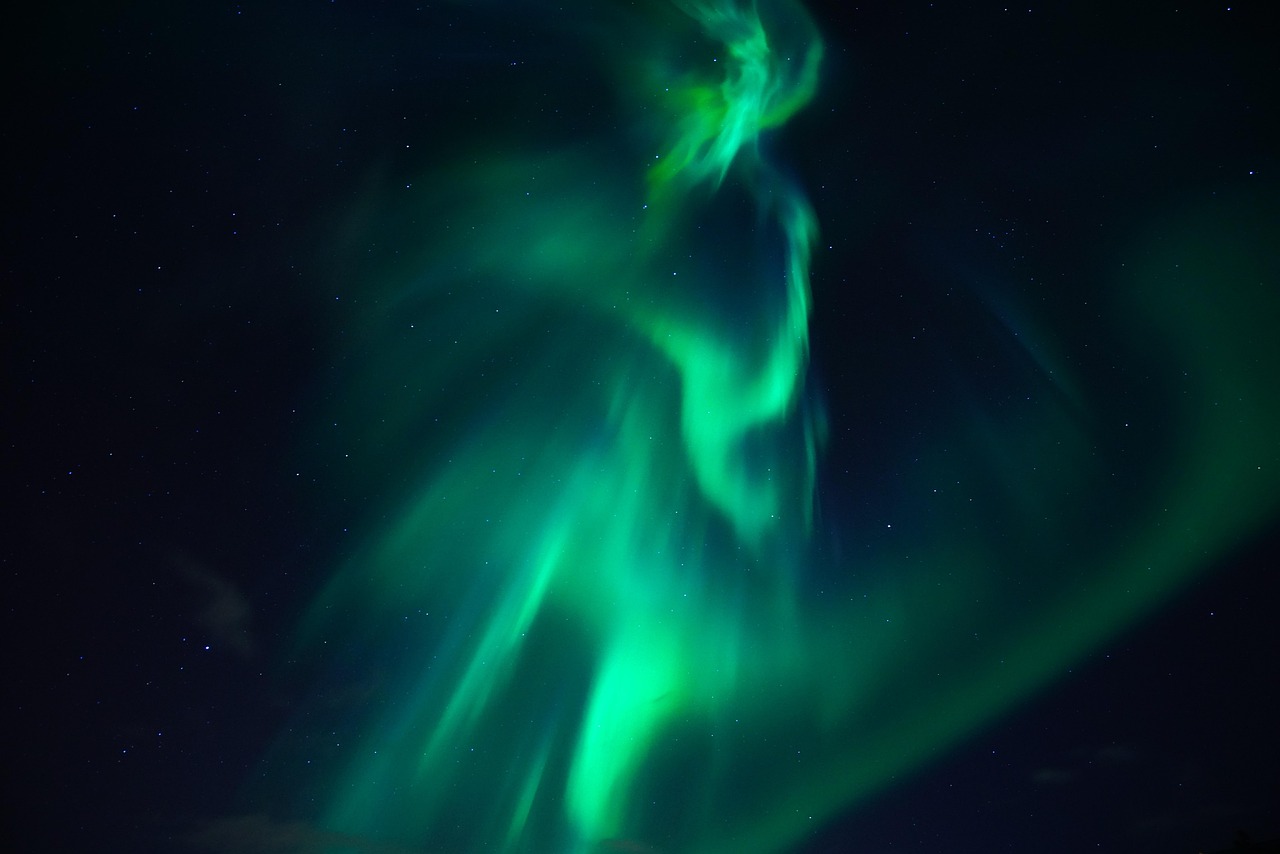
No other night image combines so much preparation with so much chance. Photographing auroras demands that you have your gear ready, your technique mastered and your settings memorized in advance, because when the sky lights up green there is no time to read manuals: the aurora can appear, move and vanish within minutes, and only those who were already prepared before the show began capture it well.
The encouraging part is that, unlike other astronomical phenomena, there are now reasonably reliable forecasting tools that give you hours of notice. The demanding part is that, even with a good forecast, the real intensity varies in real time and your camera has to react quickly to those changes.
This article covers forecasting, camera settings for weak and strong auroras, and composition. The rest of the night technique this genre shares with others (focusing, tripod, base exposure) is in the night photography and astrophotography guide.
How do you forecast it? The KP index and what it means for you
The KP index measures global geomagnetic activity on a scale from 0 to 9. As a practical reference:
KP 2-3: aurora visible only at high latitudes (the Arctic Circle and nearby).
KP 4-5: aurora visible at subpolar latitudes, already a good show.
KP 6-7: aurora visible considerably farther south (or north, in the Southern Hemisphere) than usual.
KP 8-9: severe geomagnetic storm, aurora visible at latitudes normally outside its reach.
But KP is only one piece: the Bz component of the solar wind (the orientation of the magnetic field) determines whether that activity actually translates into a visible aurora from your location. A high KP with an unfavorable Bz may produce nothing visible; watch both values on space weather apps and websites, and combine them with the cloud forecast for your area, exactly the same habit described in apps for planning astrophotography.
Camera settings: from faint aurora to explosive
The aurora changes intensity within seconds, so you need to move quickly between settings. The general rule: the brighter and faster the movement, the shorter the exposure (to preserve the structure of the bands instead of smearing them into a uniform green halo).
Aurora intensity: Weak, faint static arc; Aperture: f/2.8; Shutter speed: 15-20 s; ISO: 3200-6400; Note: Prioritize capturing some signal
Aurora intensity: Moderate, visible bands; Aperture: f/2.8; Shutter speed: 8-13 s; ISO: 1600-3200; Note: Good balance of detail and brightness
Aurora intensity: Strong, fast movement; Aperture: f/2.8; Shutter speed: 2-5 s; ISO: 1600-3200; Note: Freezes the structure of the bands
Aurora intensity: Explosive (corona, multiple colors); Aperture: f/2.8; Shutter speed: 1-2 s; ISO: 800-1600; Note: Continuous burst, changes quickly
Aurora intensity: With the moon present (lit landscape); Aperture: f/4; Shutter speed: 6-10 s; ISO: 800; Note: Free foreground
The ideal lens is a fast wide-angle (14-24 mm, f/1.8-f/2.8): you need to capture a broad stretch of sky and maximum light at the same time. Focus in advance using live view on a bright star, exactly as in any other night sky session; check the full methods in focusing in the dark: 4 proven methods.
Composition: the aurora needs ground, just like the Milky Way
An aurora with no earthly reference loses scale and impact. Scout ahead of time (in daylight if possible) for a foreground with character: a lake that reflects the green bands, mountains, a lone tree, a cabin.
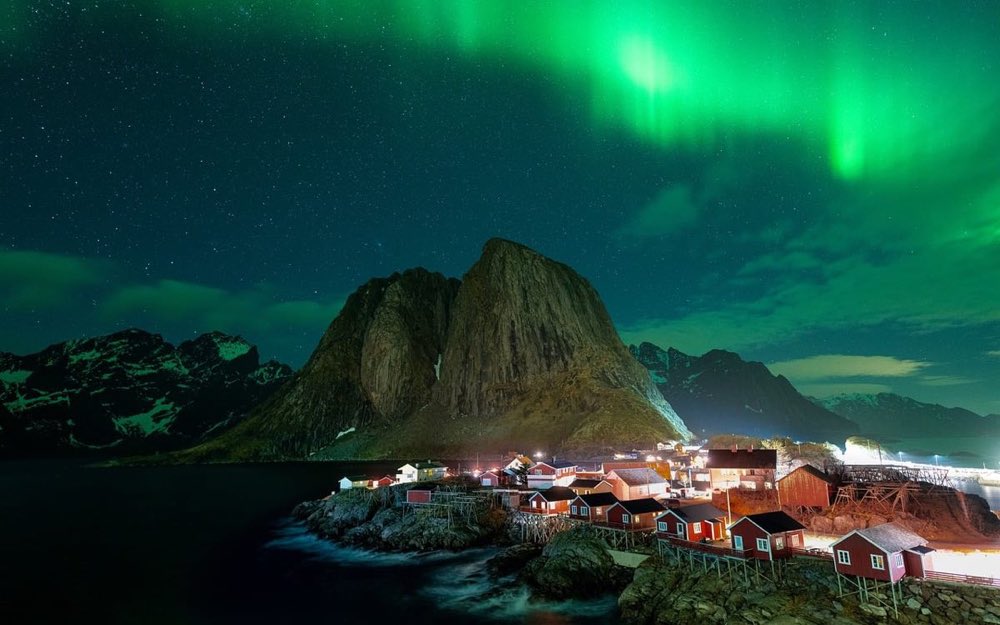
Framing tips:
Vertical or panoramic orientation depending on the shape of the aurora: wide arcs call for horizontal; coronas overhead (very intense auroras) call for an extreme wide-angle or even a fisheye pointed up.
Reflections in water double the visual impact: a lake that is perfectly calm on aurora night is the most sought-after setting for photographers of the genre.
Don't sacrifice the foreground for the sky: expose so both coexist; if the aurora is very bright, a shorter exposure (2-5 s) also benefits the foreground by keeping it from being overexposed by comparison.
What to carry in your backpack
Aurora sessions involve waiting, sometimes for hours, in extreme cold:
Battery: cold drains batteries fast; carry two or three spares in an inside pocket, close to your body.
Sturdy tripod: although wind is the usual enemy, in arctic climates so is ice building up on the legs; check that it is stable in those conditions, a criterion we already covered in tripods: how to choose the right one.
Continuous shooting ready: set up the intervalometer or simply shoot constant short bursts during the activity; many of the best aurora shots appear in seconds of peak that never repeat.
Layered clothing and warmth for your hands: thin touchscreen gloves under mittens let you adjust the camera without exposing your fingers to the extreme cold.
Frequently asked questions
Do I need to travel to the Arctic Circle to photograph auroras?
Not always: during strong geomagnetic storms (KP 6 or higher), the aurora becomes visible at considerably lower latitudes than usual. Keep an eye on elevated solar activity alerts even if you live far from the classic polar regions.
Why does my camera capture color when I can barely see it with my eyes?
The human eye is less sensitive to color in low light than a digital sensor with accumulated exposure. It is normal to see the aurora as a grayish glow with the naked eye while the camera reveals intense greens and purples: it does not mean your gear is poorly calibrated.
What do I do if the aurora moves very fast and my photos come out blurry?
Shorten the shutter speed (from 15 s to 3-5 s, or even less in explosive activity) and compensate by raising the ISO. Prioritize capturing the structure of the bands over a "cleaner" sky from a long exposure.
Is my phone's night mode useful for auroras?
On a stable support, recent computational night modes capture moderate auroras with surprising results. For weak activity or fast movement, they still fall behind a dedicated camera with full manual control.
What to carry in your memory
Photographing auroras is the night discipline that most rewards advance preparation: forecasting with the KP index and Bz, memorized settings for each intensity level, and a composition with the foreground decided beforehand. When the sky finally lights up, all that is left is to execute without hesitation.
Keep your reference values ready, because the aurora waits for no one. At Enfogram you will find the 44 photography cards with the exact settings for every situation: print them, carry them with you and shoot with confidence.