Bounce Flash: Using Ceilings and Walls as a Softbox
Master bounce flash: how to use ceilings and walls as a giant softbox, with exact power levels, angles and settings for soft light indoors.
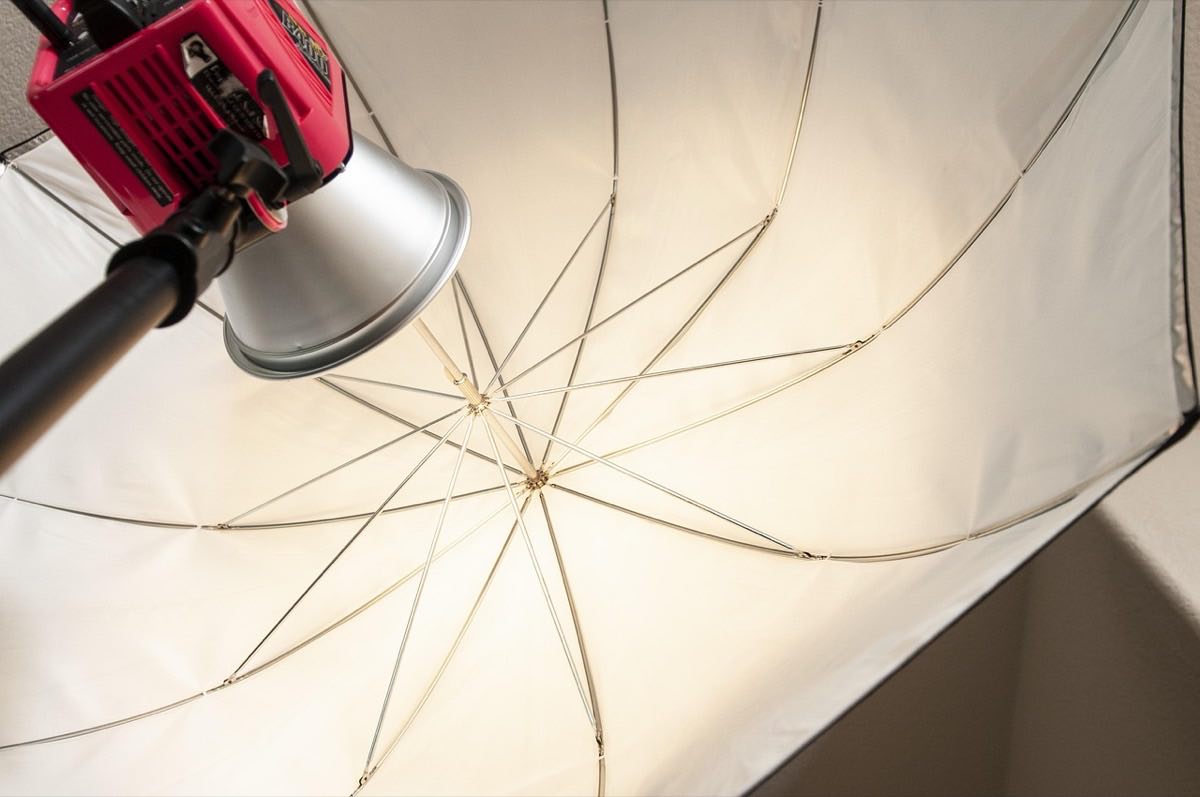
There is a huge difference between photos with direct flash (blown-out skin, hard shadows stuck to the wall, red eyes) and photos where you do not even notice the flash. The secret is almost always the same: bounce flash. Instead of aiming the burst at the subject's face, you direct it at the ceiling or a wall, and that surface becomes a huge, soft light source, a free softbox of several square meters.
The physics is simple: the larger the light source relative to the subject, the softer the shadow. A hot-shoe flash measures a few centimeters; a white ceiling lit by that flash measures meters. Bouncing multiplies the apparent size of your source many times over.
You pay for it in power: a white ceiling at 2.5 meters costs between 2 and 3 stops compared with direct flash. From there it is all about where you aim the head, how much power you recover and what you do when the ceiling is high, dark or colored.
How much light do you lose when bouncing?
When the flash travels to the ceiling and back to the subject, it covers a lot more distance than in a direct shot, and the surface absorbs part of the light. In practice, bouncing off a white ceiling at 2.5 meters costs between 2 and 3 stops of light compared with direct flash. That means if direct flash was well exposed at 1/64 power, bounced you will need 1/16 or 1/8.
The total distance of the path (flash → ceiling → subject) is what rules the exposure. If you work in manual, you can calculate the power you need with the guide number calculator using that total distance as a reference, and adjust from there.
For the full context of TTL modes, manual and synchronization, the guide to flash lighting covers the basics that this whole article rests on.
Where do I aim the head?
Ceiling, 45–60 degrees forward: the classic bounce. The light falls on the subject from above and slightly from the front, like a soft overhead window. It works with ceilings of 2.4–3 meters, white or nearly white.
Ceiling straight up (90 degrees): avoid it with people: it produces shadows in the eye sockets, the famous "raccoon effect." Save it for objects or food seen from above.
Side wall: aim the head at a white wall to the left or right of the subject and you get side window light, with volume and direction. It is the most flattering bounce for portraits.
Rear bounce (over your shoulder): aim the head backward and up, toward the wall and ceiling behind you. The light comes back broad and frontal, very wrapping. It costs one more stop of power, but it is the most natural look of all.
What settings do I use in a normal room?
Base setup for a home room with a 2.5 m white ceiling, hot-shoe flash in manual:
Camera mode: manual, f/4, 1/125 s (or your sync speed minus a third), ISO 400–800.
Flash power: 1/16 as a starting point; raise to 1/8 if the photo comes out dark.
Head zoom: 24–35mm so the beam covers a wide area of the ceiling.
White balance: flash (5500 K) if the bounce is off a white surface.
ISO 400–800 is not laziness: it lets the flash work at low power, recycle faster and keep some of the ambient light so the background does not go black.
Reference table: power by surface and distance
Situation: Portrait in a room; Bounce surface: White ceiling 2.5 m; Flash-to-surface distance: 1.5 m; Starting power (ISO 400, f/4): 1/16
Situation: Side portrait; Bounce surface: White wall; Flash-to-surface distance: 2 m; Starting power (ISO 400, f/4): 1/8
Situation: Event in a high-ceilinged hall; Bounce surface: 4 m ceiling; Flash-to-surface distance: 3 m; Starting power (ISO 400, f/4): 1/2 – 1/1
Situation: Rear bounce; Bounce surface: Wall + ceiling behind the photographer; Flash-to-surface distance: 2.5 m; Starting power (ISO 400, f/4): 1/4
Situation: Product close-up; Bounce surface: White A3 card; Flash-to-surface distance: 0.5 m; Starting power (ISO 400, f/4): 1/64
These values are starting points: shoot, check the histogram and adjust in third-stop or full-stop steps.
What if the ceiling is high, dark or colored?
High ceilings (over 4 m): the bounce arrives weak and cold. Options: go up to full power and ISO 1600, use a bounce card on the head, or bounce off a nearby wall instead of the ceiling.
Colored ceilings or walls: the bounced light takes on the color of the surface. A cream ceiling gives a pleasant warm tone; a green wall ruins skin tones. If there is no neutral surface, bounce off a white card or off an assistant wearing a white shirt (it really works).
Outdoors or huge halls: with no surface, there is no bounce. There you have to modify the flash with real diffusers or accept direct flash with the right technique, as explained in flash lighting without the complications.
When you control the bounce and want to shape the light with dedicated modifiers, the next step is the studio: build architecture with light for portraits and products.
Frequently asked questions
Does bounce flash work in TTL mode or do I have to use manual?
TTL works and is useful at events where distances change constantly; use flash compensation of +1/3 to +1 EV because TTL tends to underexpose bounces. Manual gives more consistent results when the scene does not change, as in sessions at home.
Can the camera's built-in flash be used to bounce?
No: it points fixed forward and cannot be rotated. At most you can put a tilted white card in front of it to deflect some light to the ceiling, but an inexpensive hot-shoe flash with a swiveling head completely changes your results.
Why do my bounced photos come out with a yellow cast?
Almost always the bounce surface was not white (cream ceiling, wood, beige wall) or the white balance was on auto, mixing flash with incandescent light. Set the white balance to 5500 K, check the color of the ceiling and correct the rest in RAW.
What shutter speed should I use with bounce flash?
Any speed equal to or below your sync speed (typically 1/200–1/250 s). Dropping to 1/60–1/125 s lets in more ambient light and makes the background look natural; the flash freezes the subject anyway.
What you gain by turning the head
Bounce flash is the biggest lighting improvement you can get without buying modifiers: turn the head, pay two or three stops of power and get giant-softbox light in return. Ceiling at 45 degrees to start, side wall for portraits with character and rear bounce when you want the flash to be invisible.
Practice in your living room with a fixed object until the power levels come to you by instinct. At Enfogram you will find the 44 photography cards with the exact settings for every situation: print them, carry them with you and shoot with confidence.