Manual Mode vs Aperture Priority: Which Should You Use?
Manual mode or aperture priority: when each makes sense, with real scenarios, concrete settings and the myth of manual as the pro's mode, debunked.
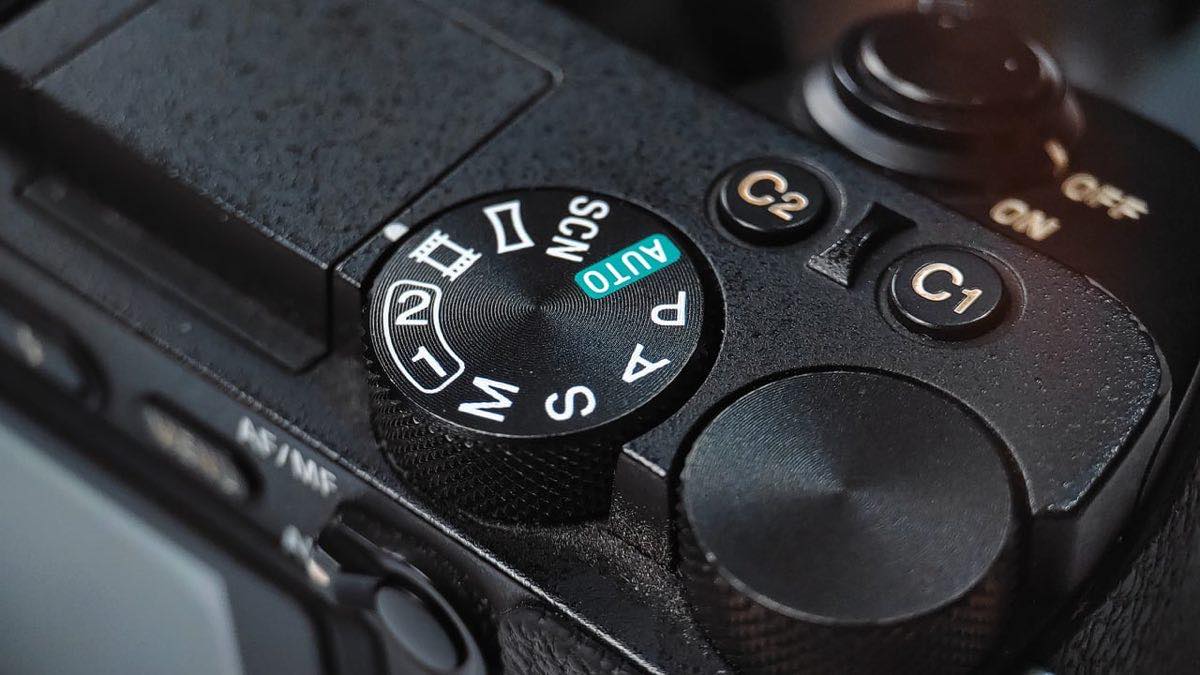
There is a persistent myth: that manual camera mode is the mode of professionals and the semi-automatic modes are the training wheels of beginners. The reality is more interesting: most professional photographers alternate between manual and aperture priority depending on the situation, and choosing the wrong mode costs you photos, not status.
The right question is not "which is better?" but "who controls this scene better: me or the light meter?" When the light is stable or hard to meter, you. When the light changes faster than you can turn dials, the meter with your supervision.
Let's define exactly when to use each mode, with scenarios and concrete settings.
What each mode does, in one sentence
Manual (M): you set aperture, shutter speed and ISO. The camera only shows you its opinion on the exposure indicator.
Aperture priority (A/Av): you set aperture and ISO; the camera picks the shutter speed to expose "correctly." Your steering wheel is exposure compensation.
Shutter priority (S/Tv): the same but the other way around; useful when shutter speed is non-negotiable (sports, panning).
All three modes handle the same triangle; the difference is who moves each side. If that mechanic does not yet feel natural, the exposure triangle guide is the starting point, and you can experiment with the interactive exposure triangle simulator to see live how each dial affects the image.
When manual mode wins
Constant light and a long session
Studio, portraits in open shade, tripod landscapes: the light does not change, so you meter once and shoot a hundred times with identical exposure. In semi-automatic, every recomposition would alter the metering and you would end up with a hundred slightly different exposures. Example: portrait in shade, f/2.8, 1/500 s, ISO 200, fixed for the whole session.
Scenes that fool the meter
Backlighting, silhouettes, snow, night scenes, concerts with spotlights. The meter fails systematically; in manual you meter the zone that matters and lock it in.
Manual flash and long exposure
With manual flashes, ambient exposure and flash exposure are controlled separately: you need M. And in night exposures of seconds, the meter is no longer reliable: f/2.8, 30 s, ISO 3200 for the Milky Way is decided with tables and tests, not with the needle.
Manual + Auto ISO: the modern hybrid
You fix aperture and shutter speed (the two creative decisions) and let the ISO float. Excellent for indoor events: f/2.8, 1/250 s, Auto ISO capped at 6400. You get full creative control with automatic adaptation to the light.
When aperture priority wins
Changing light and unpredictable subjects
Street photography between sun and shade, travel, outdoor events, kids running between trees. The light changes two stops in three seconds; no human adjusts manually that fast. With A: f/5.6, ISO 400, and the camera follows the light while you follow the scene.
When depth of field is the only decision
Casual portraits (f/2), handheld landscapes (f/8), family photos (f/4). If the resulting shutter speed is reasonable, why manage it by hand?
Reportage and unrepeatable moments
When the moment does not repeat, a semi-automatic mode with compensation is insurance: better a photo at 90% than a perfect shot that arrived late. Street photographers know this well, as seen in the article on street photography and anticipation.
Quick decision table
Scenario: Portrait with stable light; Recommended mode: Manual; Starting settings: f/2.8, 1/500 s, ISO 100-400
Scenario: Tripod landscape; Recommended mode: Manual; Starting settings: f/8, whatever shutter speed it asks for, ISO 100
Scenario: Street and travel; Recommended mode: Aperture priority; Starting settings: f/5.6, ISO 400, ±EV depending on the scene
Scenario: Indoor event; Recommended mode: Manual + Auto ISO; Starting settings: f/2.8, 1/250 s, auto ISO max 6400
Scenario: Daytime sports; Recommended mode: Shutter priority; Starting settings: 1/1000 s, auto ISO
Scenario: Night and astro; Recommended mode: Manual; Starting settings: f/2.8, 15-30 s, ISO 3200
Scenario: Backlight/silhouette; Recommended mode: Manual; Starting settings: Spot metering on the background
The workflow used by people who master both
Before heading out, decide the mode according to the type of light you expect, not out of habit.
In aperture priority, always work with exposure compensation at hand: +1 EV in bright scenes, -1 EV in dark ones. Semi-automatic without compensation really is "luck mode."
In manual, check the histogram every time the light changes, not every 200 photos.
Switch modes without guilt: going from M to A when the light starts to move is judgment, not surrender.
To go deeper into how the meter makes its decisions (and when to distrust it), read strategic light metering.
Frequently asked questions
Do professionals always shoot in manual?
No. Studio and landscape photographers, almost always; wedding, street and documentary photographers constantly alternate between aperture priority and manual with Auto ISO. The mode is a tool, not a badge.
Should I learn manual first as a beginner?
It is worth practicing manual at the start because it forces you to understand the relationship between the three parameters. But once understood, using semi-automatic modes is not a step backward: it is delegating the mechanical so you can concentrate on the photo.
Which is better for video?
Manual, almost without exception. In video, automatic exposure jumps in the middle of a clip are very visible, and shutter speed must stay fixed (180° rule: 1/50 s for 25 fps).
Aperture priority or shutter priority?
Aperture for 80% of cases: it controls the aesthetic (depth of field) and shutter speed usually takes care of itself with a good ISO. Shutter priority only when freezing or dragging motion is the reason for the photo.
Each mode has its turn
Manual and aperture priority do not compete: they share the work. Manual when the light is stable, deceptive or extreme; aperture priority (with compensation active) when the light changes faster than your fingers. The complete photographer is not the one who never leaves M, but the one who picks the right mode without thinking twice.
This week, force yourself to use the opposite of your usual mode for an entire outing: you will discover exactly what each one gives you. At Enfogram you will find the 44 photography cards with the exact settings for every situation: print them, carry them with you and shoot with confidence.