HDR Photography: Capture the Full Range of Light
Learn to use HDR photography to capture high-contrast scenes naturally. Bracketing techniques, luminosity masks and mistakes to avoid.
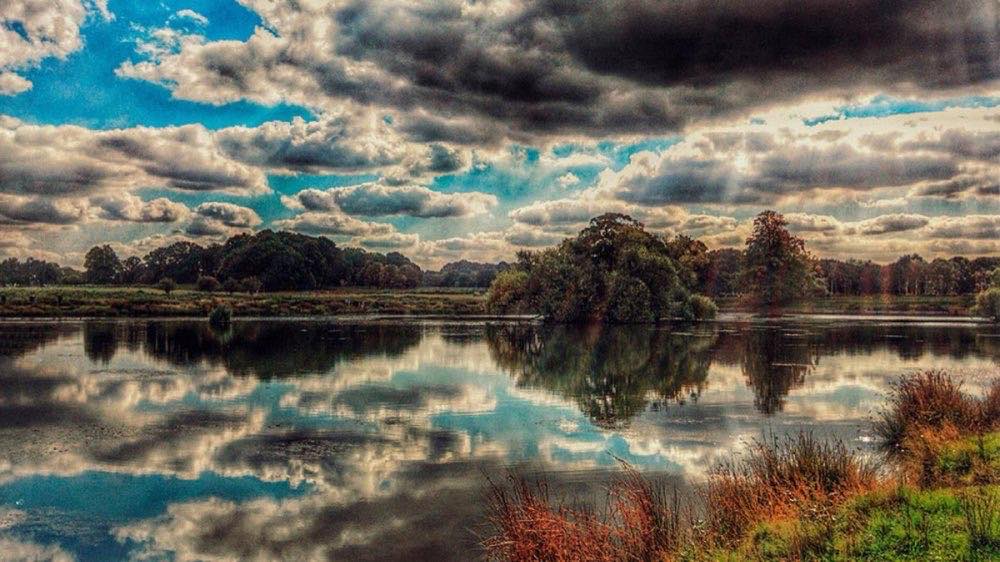
When we start out in photography, we soon discover that the camera doesn't see light the way our eyes do. What looks to us like a balanced landscape can be a dilemma for the sensor: if we expose for the sky, the shadows go black; if we expose for the shadows, the sky blows out. This is where HDR (High Dynamic Range) comes in: a technique for capturing the full range of highlights and shadows, merging several exposures into an image that comes closer to what we perceive.
We shouldn't confuse it with the "HDR effect", that filter that produces unreal, oversaturated images full of halos. The high dynamic range technique doesn't seek artifice: it seeks naturalness, detail and fidelity to the real atmosphere. The key is doing it with intention and control.
What HDR photography is and what it's for
HDR is born from a technical limitation: the sensor's dynamic range. No current sensor can capture, at the same time, detail in very dark and very bright areas of a scene with extreme contrast. While the human eye continuously adapts its perception, the sensor records a fixed exposure.
The solution is to take several exposures of the same scene (normally between 3 and 5 photos with different shutter speeds) and merge them in editing to recover the detail lost at each tonal extreme. The result, done well, looks like a single, perfectly exposed photograph.
To better understand how dynamic range affects your exposure decisions in complex situations, read our article on exposure in complex landscapes and dynamic range control.
Practical applications of HDR in photography
HDR is especially useful in scenes with extreme contrast. In interiors with windows, three exposures (-2, 0, and +2 EV) let you show both the interior and exterior detail without one overshadowing the other. In landscapes at sunrise or sunset, a bracket of different exposures captures the smooth transitions between deep shadows and bright skies.
In backlit architecture, a wide dynamic range ensures that facades and sky keep their texture. And even in difficult portraits, where the face is in shadow and the background is overexposed, a merge of two exposures solves the balance without the need for harsh flashes.
Other scenarios where HDR is especially valuable:
Real estate photography: showing the interior of a room with a bright window in the background without sacrificing any area.
Product photography in shop windows: when there are reflections and bright backgrounds that can't be fully controlled.
Wedding photography: halls with large windows and dark areas at the same time in the same frame.
Recommended settings for natural HDR
For the technique to work, consistency is vital. That's why using a tripod is recommended, to avoid variations between shots and ensure perfect alignment when merging them. Set the camera to manual mode, keeping aperture and ISO constant and varying only the shutter speed.
Auto bracketing is your best ally: 3 to 5 exposures with 1 or 2 stops of difference are usually enough to cover the scene. Always shoot RAW, because the extra range in editing makes the merge more flexible and with less risk of quality loss.
A typical setup for landscape or architecture:
Shot 1 (base): correct exposure according to the meter
Shot 2 (underexposed): –2 EV to recover highlights
Shot 3 (overexposed): +2 EV to recover shadows
If the scene has extreme contrast, widen the range to –3 and +3 EV, or add a fourth and fifth intermediate shot.
To better understand how exposure compensation works in this context, see our guide on exposure compensation with real examples.
What mistakes ruin an HDR?
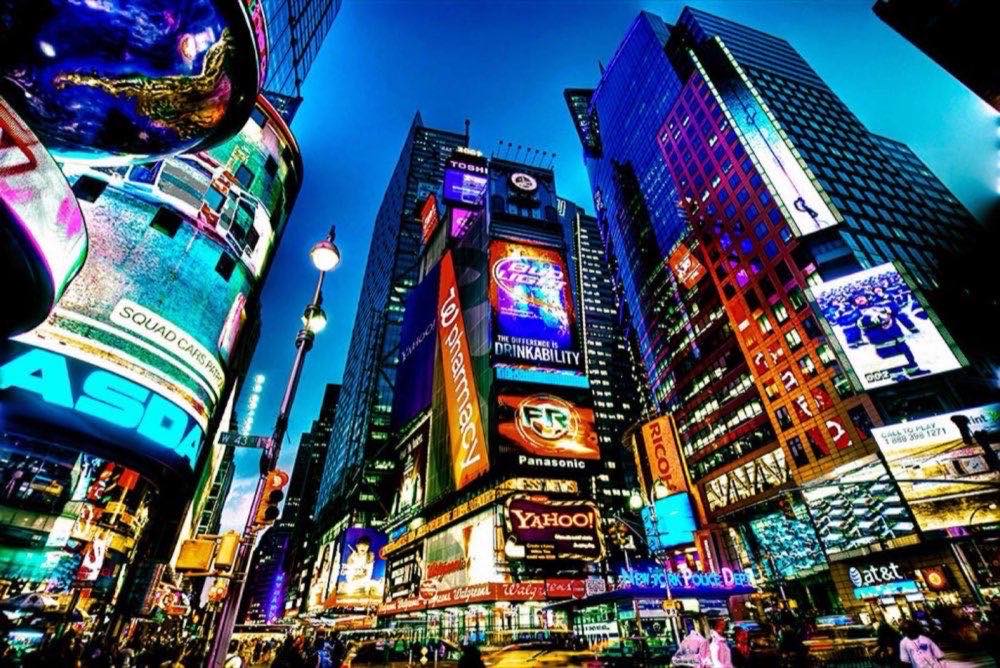
The most common mistake is chasing the exaggerated "HDR effect": fluorescent colors, halos around buildings and an unreal look that pushes the viewer away instead of drawing them in. Another problem is not capturing enough tonal range, which leaves parts blown out or muddy.
You also have to be careful with moving elements: people, branches shaken by the wind or water in waterfalls. If several exposures are used, the movement causes duplicates or "ghosts". In those cases, it's better to work with a single base exposure and recover shadows and highlights selectively in post-processing.
Other frequent mistakes:
Not using a tripod: even the slightest movement between shots creates halos and blurred areas that the merging software can't correct well.
Varying the aperture between shots: it changes the depth of field and makes the merge inconsistent. Always change only the shutter speed.
Merging automatically without checking: HDR merging programs make mistakes with skies and high-frequency areas. Always review the result and correct manually if necessary.
Pro tips for realistic HDR
A simple formula is to take three exposures: a base, one underexposed for the sky and one overexposed for the shadows. In editing, instead of using programs that "blend everything", you can apply luminosity masks that let you merge only what's necessary and keep it natural.
When there is movement, a useful strategy is to work on the base exposure and use local adjustments (brushes, gradients or layers) instead of attempting a complex merge. The result is cleaner and free of artifice.
Tools like Lightroom, Photoshop or Aurora HDR allow different levels of control. For a natural workflow, the combination of Lightroom for the overall balance and Photoshop with luminosity masks for the final merge offers the best results.
Frequently asked questions
Do I always need HDR in high-contrast scenes? Not always. Many modern cameras have good dynamic range and let you recover highlights and shadows from a single RAW. HDR is useful when the range exceeds what the sensor can handle in a single exposure.
How many exposures should I take for an HDR? It depends on the scene. Three are usually enough (-2, 0, and +2 EV), but in landscapes with extreme contrast you can take five or more. What matters is covering both the darkest and the lightest tones without leaving gaps.
Does HDR mean oversaturated, unnatural images? No. That's a common mistake associated with exaggerated tone mapping. True HDR seeks naturalness, expanding the tonal range without the process being noticeable.
What happens if there is movement in the scene? Movement between exposures can generate "ghosts" or duplicates. In those cases, it's better to work with a single base exposure in RAW and use local adjustments to balance highlights and shadows.
Is it better to use HDR software or manual masks? Automatic programs are fast, but they can create halos or an artificial look. Using luminosity masks in Photoshop or local adjustments in Lightroom gives more control and more natural results.
Can I do HDR handheld without a tripod? Yes, many cameras and editors align the exposures automatically. But for maximum sharpness and consistency, especially in architecture or landscape, a tripod is most recommended.
How not to give away that you used HDR
HDR photography shouldn't be synonymous with unreal images. Well applied, it's a tool for extending what the camera records and getting closer to the human visual experience. It's about capturing details in extreme highlights and shadows and combining them with subtlety, without the viewer thinking about the technique.
At Enfogram, we believe HDR is an essential skill for anyone looking to master light in its full extent. Our educational cards explain step by step how to meter, expose and merge naturally, so your photography keeps its impact without falling into excess.
Do you want your images to reflect the full richness of light and shadow without losing realism? Discover at Enfogram how to apply HDR creatively and naturally.