Improving Photo Quality (and When You Can't)
What you can truly recover (exposure, color, noise, framing) and what is beyond repair: motion blur, missed focus and highlights with no information.
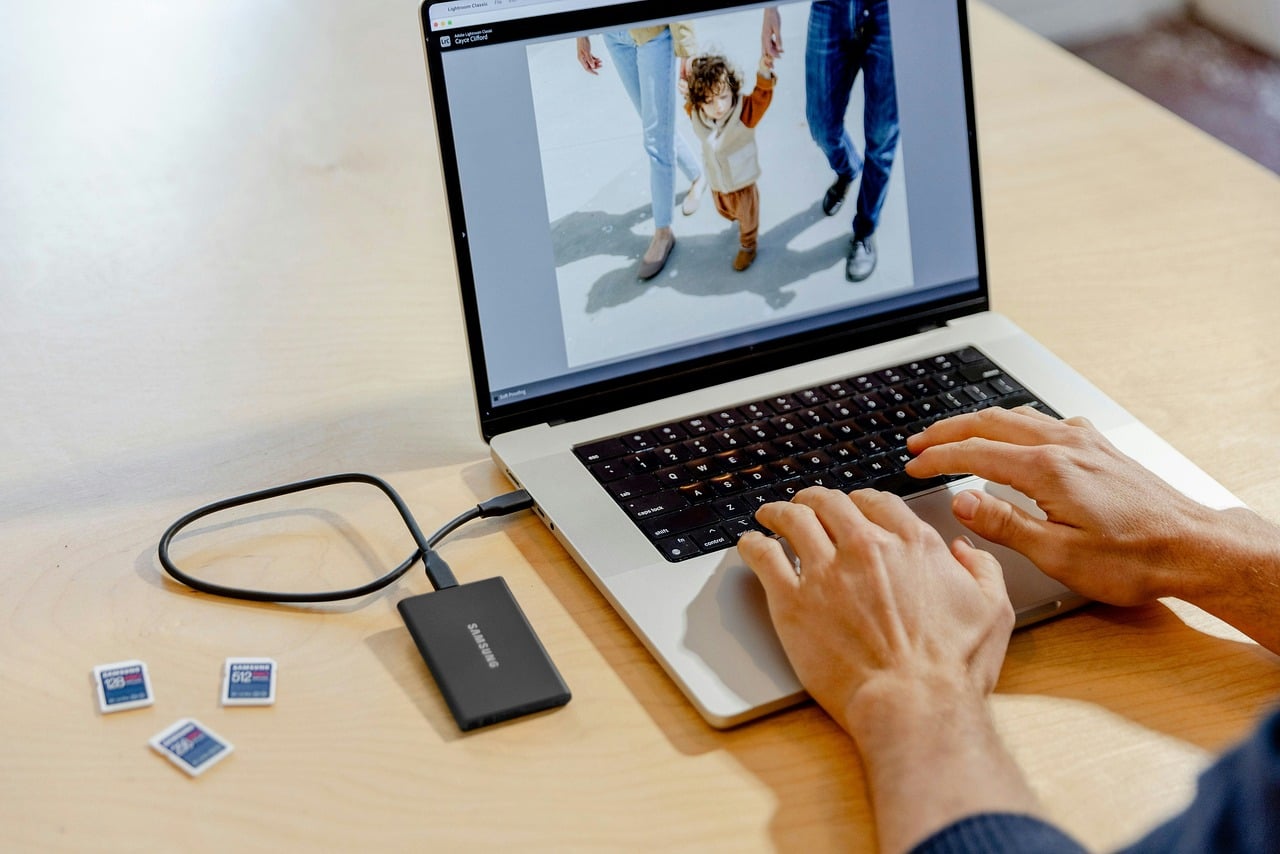
Before opening any program, it is worth knowing which of the two groups your photo falls into. What can be recovered: exposure within a couple of stops in RAW, white balance, contrast, tilt, moderate noise and haze. What cannot: motion blur, missed focus, blown highlights with no information behind them and detail that was never recorded.
That boundary is almost the whole article. Half of the hours people lose in an editor go into trying to fix things from the second group, and no number of sliders will change them: the information is not in the file.
What can be recovered and what can't?
Problem: Underexposure; What it looks like: Dark, with dirty shadows when lifted; What to do: Raise exposure in RAW; How far it recovers: 2 stops with good quality, 3 with noise; How to avoid it next time: Expose to the right without clipping
Problem: Blown highlights; What it looks like: Flat white, no texture; What to do: Recover highlights; How far it recovers: Less than 1 stop, and only if a channel remains; How to avoid it next time: Watch the histogram while shooting
Problem: Color cast; What it looks like: Everything green, orange or blue; What to do: White balance with the eyedropper; How far it recovers: Almost entirely in RAW; How to avoid it next time: Set white balance according to the light source
Problem: Noise; What it looks like: Color grain in the shadows; What to do: Luminance and color reduction separately; How far it recovers: A lot, if the detail is there; How to avoid it next time: Lower the ISO or open the aperture
Problem: Low contrast / haze; What it looks like: Gray, dull; What to do: Curves and moderate dehaze; How far it recovers: Almost entirely; How to avoid it next time: Lens hood and avoid front lighting
Problem: Crooked; What it looks like: Tilted horizon; What to do: Straighten and crop; How far it recovers: Entirely, at the cost of pixels; How to avoid it next time: Electronic level turned on
Problem: Motion blur; What it looks like: Streaks everywhere; What to do: Nothing; How far it recovers: Not recoverable; How to avoid it next time: Minimum safe shutter speed
Problem: Out of focus; What it looks like: Uniformly soft; What to do: Nothing useful; How far it recovers: Not recoverable; How to avoid it next time: Confirm the focus point
The last two rows are the important ones, and they are the ones no website promises. They deserve an explanation.
Why can't motion blur and missed focus be fixed?
Because they are not a contrast defect, they are information loss.
When the camera moves during the exposure, each point of the subject is recorded spread along a trajectory. A point becomes a streak, and that streak no longer holds the information about what exactly was at each position. The mix cannot be undone because the mixing already happened on the sensor.
The same goes for focus: an out-of-focus point is recorded as a small disc. Many overlapping discs make a soft image, and there is no way of knowing which part of each disc came from where.
Sharpening is not the same as focusing. The sharpening slider does not recover focus: it increases contrast at edges that already exist. At screen size that reads as sharper and works quite well. At 100% what it really did shows up: light and dark halos on the sides of every edge, and amplified noise. It is useful makeup, not reconstruction. The eight real causes of a soft photo are in sharp photos.
Exposure: how far RAW goes
A RAW file stores quite a bit more information than you see in the preview, and that is where the margin comes from. But the margin is not symmetrical, and this is the asymmetry worth internalizing:
Shadows forgive; highlights don't. Lifting a shadow by two stops brings out noise but brings out image. Pulling a blown area down by two stops brings out nothing, because when all three channels reach the maximum the sensor stopped recording differences: everything that was there was recorded as the same white.
Sometimes something can be recovered when only one or two channels are saturated (usually red in a sunset, or blue in a sky) and the editor reconstructs from the ones that survived. It is half a stop, with luck.
Hence the practical rule when shooting: expose as far to the right as you can without touching the edge, and check the histogram rather than the screen, because the screen lies with the brightness of your surroundings. How to read it while shooting is covered in the histogram, and what exactly that edge means, in clipping.
Noise: reducing it without erasing texture
Noise has two components and it is worth treating them separately, because they cost different things.
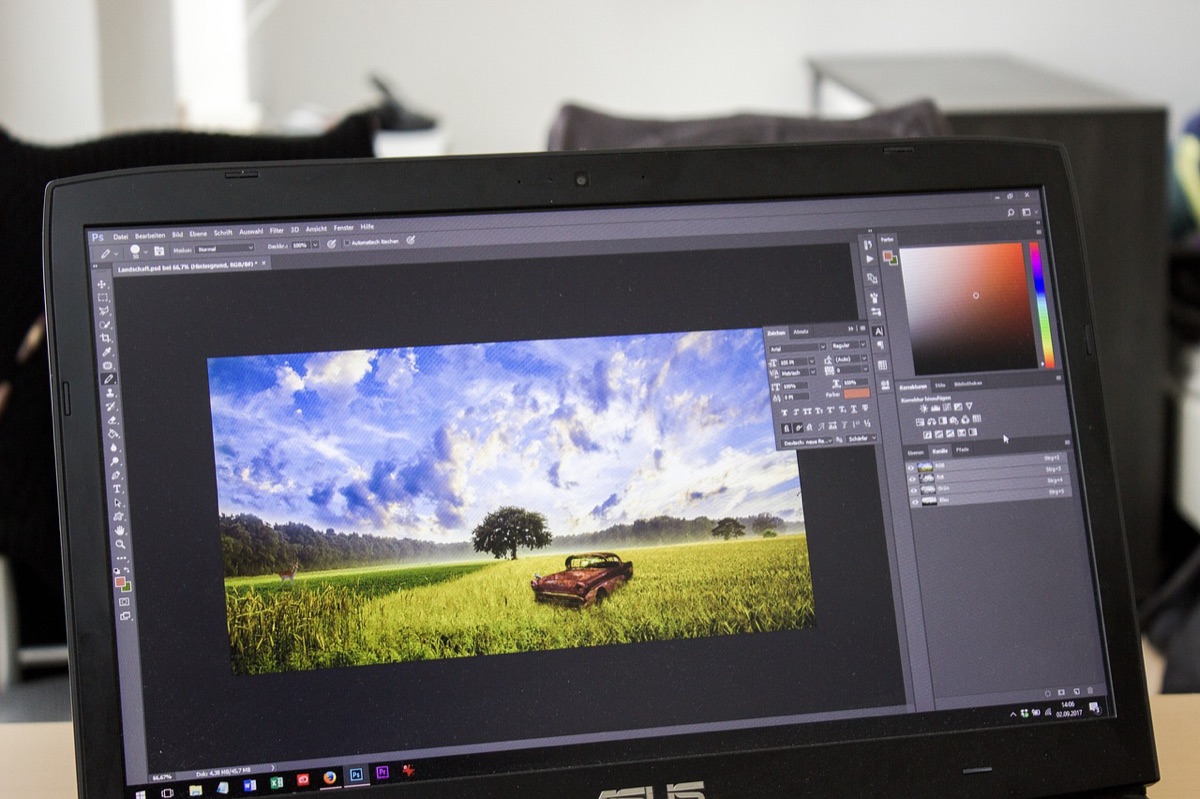
Color noise, those red and green specks in the shadows, is the ugliest and the cheapest to remove. It can be eliminated almost completely without losing appreciable detail, because the real detail in a photo lives mostly in luminance.
Luminance noise is the black-and-white grain, and there you do pay a toll: every point of reduction takes microtexture with it. Past a certain point faces look waxy and grass turns into a green smear. It is best to stop short: a little grain reads as texture, and an over-processed photo reads as plastic.
Two nuances that save headaches. Noise reduction is judged at 100%, but decided with the final size in mind: what stands out on screen can be invisible printed at 4 × 6 inches. And apply it before sharpening, not after, or you amplify exactly what you wanted to remove. The full treatment is in night noise reduction and in the entry on digital noise.
Does AI upscaling help?
Yes for some things, and it is worth being precise about which.
Enlarging an image always invents pixels: classic methods invent them by averaging neighbors, which gives a soft result. Current models invent them far more convincingly, because they have seen millions of photos and know what an eyelash, a leaf or a letter usually looks like. The result is often noticeably better.
But the key word is invent. AI upscaling does not recover information that was not recorded: it produces a plausible hypothesis about what might have been there. For printing a family keepsake larger, it is an excellent tool. For reading a license plate, identifying someone or documenting an event, it is not proof of anything, and that distinction matters more and more.
The practical recommendation: always keep the original file next to the upscaled one, and don't present one as the other.
Frequently asked questions
Can you improve the quality of a JPEG photo or do you need RAW?
You can, with much less margin. A JPEG already has white balance, contrast and noise reduction applied and baked into 8 bits, so every adjustment stretches 256 levels and banding appears sooner. Fix the obvious, do it in a single pass and save at maximum quality so you don't chain recompressions.
How many stops of underexposure can be recovered?
With a modern RAW, two stops come out clean on almost any camera and three are usable with noise reduction. It depends on the original ISO: recovering two stops from a shot at ISO 100 is almost free, and doing it from ISO 6400 brings out considerable noise. Test it with your own gear and note your real limit.
What do I do first, noise or sharpening?
Noise first, then sharpening, and always resizing or cropping for the output size at the end. In the reverse order, sharpening amplifies the grain you then try to erase and you end up overdoing both.
Does improving a blurry photo with AI really work?
For very slight blur, some models improve the sense of sharpness convincingly. For clear motion blur or focus in the wrong place, what they do is invent a believable detail that wasn't there, and it is usually noticeable in the eyes and in text. It works for a keepsake copy; not for anything that has to be exact.
How to never need this page again
The four things in this list are decided at the moment of shooting and prevent almost everything above: minimum safe shutter speed so you don't get motion blur, confirm where the focus point is before shooting, histogram to the right without touching the edge, and RAW if the scene has contrast. The rest is editing, and orderly editing is covered in the guide to post-processing.
The 44 Enfogram cards have the settings for every scenario printed in A4 and A5, so you get it right in the shot and don't have to rescue it afterward.