How to Photograph Fireworks
A complete guide to photographing fireworks: exact settings, Bulb mode, focusing in the dark and tricks for clean trails and vivid colors.
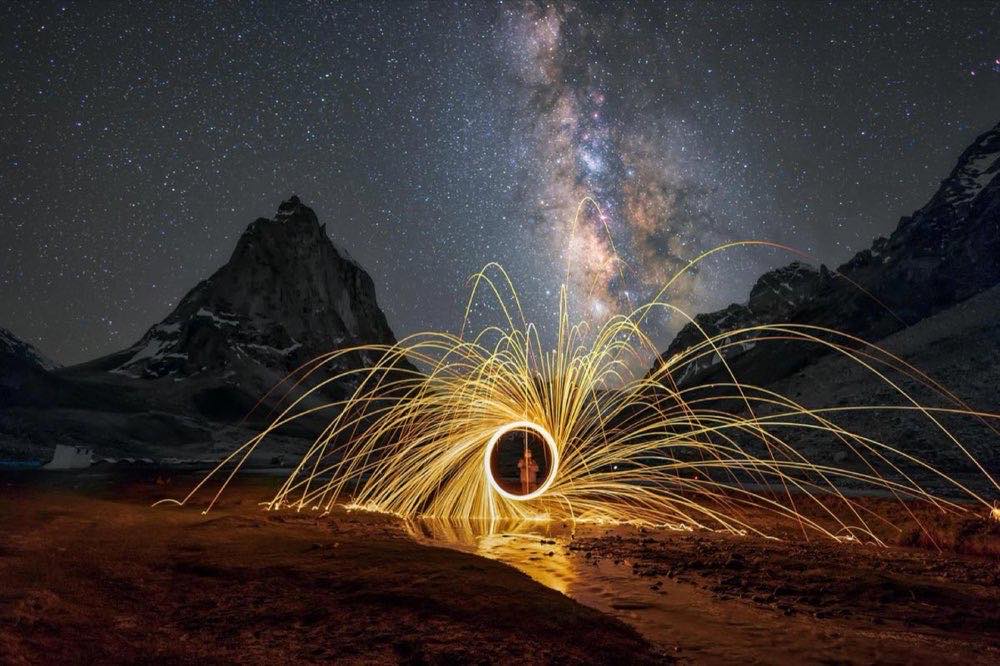
Photographing fireworks is intimidating the first time: total darkness, unpredictable bursts of intense light and barely fifteen or twenty minutes of show to get it right. But it's easier than it looks, because fireworks have a technical secret: they are bright lights against a black background, and that simplifies exposure enormously.
In fact, the right settings barely vary from one show to another. What separates mediocre photos from spectacular ones isn't exposure: it's preparation, framing and control of the shutter time to capture complete trails.
Here is the complete method, from choosing your spot to shooting in Bulb.
What to prepare beforehand? The photo is decided before the first rocket
Location and framing
Arrive while there's still light so you can choose your position. Look for: a tailwind or crosswind (accumulated smoke ruins the second half of every show; stand with the wind at your back or to your side), a context element (skyline, bridge, reflective water) and a clear line of sight with no cables or heads.
Frame wider than you think you need to: you don't know how high the first ones will burst. After two or three explosions you adjust the framing precisely and, if there's extra sky, you crop in editing.
Essential gear
Tripod: non-negotiable; we're talking about exposures of 2 to 10 seconds.
Remote release or intervalometer: for Bulb mode without touching the camera. Alternative: a 2 s timer, although you lose control of the moment.
Headlamp and an empty memory card: obvious things that get forgotten.
The base settings (they work in 90% of cases)
Manual mode. The light meter is useless here: the scene goes from black to explosion in a second.
ISO 100: fireworks are very bright; a low ISO keeps the color saturated and the sky black.
f/8 to f/11: controls the intensity of the trails. If they come out blown out (white instead of colorful), stop down to f/13.
Shutter speed: 2 to 8 seconds, or Bulb to control it by hand.
Locked manual focus: focus on the first bursts by magnifying on the screen, or on a distant lit building, and don't touch it again. Turn off autofocus.
Stabilization off, RAW on, long-exposure noise reduction off (that process doubles the time between photos and makes you miss bursts).
The night exposure logic behind these values is explained in depth in the night and astrophotography guide, which applies to cities, stars and fireworks shows.
The Bulb technique: complete trails on demand
The problem with fixed shutter speeds is timing: the rocket goes up when it wants to, not when you open the shutter. Bulb mode solves it:
Set Bulb (B), f/10, ISO 100, remote release in hand.
When you hear or see the rocket go up, open the shutter.
Keep it open through the entire burst (typically 2-6 seconds).
Close it when the trails fade out.
An advanced trick: keep the shutter open and cover the lens with a black card between bursts; uncover it at each explosion. That way you accumulate two or three bursts in a single frame without overexposing the sky.
What settings do I use for each type of shot?
Shot type: Single burst with trails; Aperture: f/10; Shutter speed: Bulb (2-5 s); ISO: 100; Note: Open as the rocket rises
Shot type: Several bursts stacked; Aperture: f/11; Shutter speed: Bulb (8-15 s); ISO: 100; Note: Cover the lens between bursts
Shot type: Fireworks + lit skyline; Aperture: f/8; Shutter speed: 4 s; ISO: 200; Note: Balances city and sky
Shot type: Show finale (lots of light); Aperture: f/13; Shutter speed: 2 s; ISO: 100; Note: Stop down: there's much more light
Shot type: With audience in the foreground; Aperture: f/5.6; Shutter speed: 2 s; ISO: 400; Note: Silhouettes against the burst
Important: in the grand finale, the density of explosions multiplies the light. If you keep the settings from the start, everything will come out blown out: stop down one or two stops (f/13-f/16) or shorten to 1-2 seconds.
What mistakes should you avoid?
White trails with no color: overexposure. Stop down the aperture; the color of fireworks lives one or two stops below where you think.
Shaky photos despite the tripod: you're pressing the button directly. Use a remote or timer, and hang your backpack from the center hook if it's windy.
Cut-off bursts: you opened late or closed early. Open when the rocket rises, not when it explodes.
Lit-up smoke instead of a black sky: that's a headwind. Change position if you can; if not, make the most of the first bursts, which are always the cleanest.
Focusing in total darkness has its own tricks, from hyperfocal distance to using distant lights, and the article on focusing in the dark with proven methods goes over them one by one. If you want more night sky, the practical guide to night photography for clean skies and sharp stars is the natural next step.
Frequently asked questions
Can I photograph fireworks without a tripod?
It's very limiting, but there's a plan B: ISO 1600-3200, f/2.8, 1/30-1/60 s, braced on a railing or wall. You freeze the moment of the burst without long trails. The classic silky trails require exposures of seconds on a stable support, no way around it.
What lens should I use for fireworks?
It depends on the distance: a 16-35 mm if you're close or want to include the urban setting; a 70-200 mm if you're far away and want to fill the frame with the bursts. A standard 24-70 mm or 24-105 mm zoom is the most flexible when you don't know the venue.
Why do my fireworks come out blown out and without color?
Too much exposure: they are very intense light sources. Drop to ISO 100, stop down to f/11-f/13 and avoid stacking too many bursts in one shot. Color appears when you stop treating the scene as a "dark night."
Flash: yes or no?
For fireworks, never: they are hundreds of meters away and you would only light up the audience's heads. The one exception: a touch of low-power flash (1/16) if you want to reveal people in the foreground during a long exposure.
The recipe that works almost every time
Fireworks are one of the few night scenes with an almost universal recipe: tripod, manual, ISO 100, f/10, Bulb and locked focus. With the technique sorted from the first minute, your attention is free for what really makes the difference: framing, timing and making the most of the first half of the show before the smoke.
Save this article's table on your phone for the next holiday: the fifteen minutes of show fly by and there's no time to experiment from scratch. At Enfogram you have the 44 photography cards with the exact settings for every situation, fireworks included: print them, carry them with you and shoot with confidence.