How to Overcome the Fear of Photographing Strangers
Beat street photography fear with progressive exercises, approach phrases and camera settings that give you technical confidence in seconds.
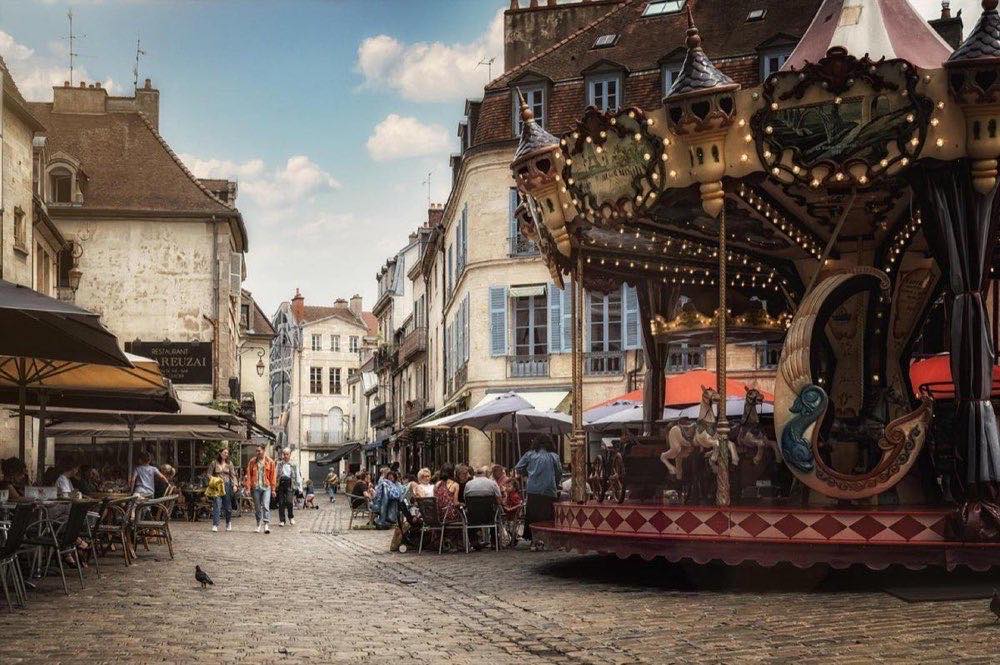
Almost every street photographer remembers their first week: camera around the neck, finger on the shutter button, and an endless list of reasons not to raise the viewfinder toward a stranger. Street photography fear is not a personal quirk; it is a normal social response to breaking an unwritten rule: you don't point at people without permission. Overcoming it is a process, not a switch.
The good news is that this fear almost always eases with gradual exposure, not "willpower." Nobody is born photographing strangers with ease; it is trained, step by step, with exercises designed to lower the real difficulty of each attempt, supported by the technical and approach fundamentals in the street photography guide.
This article gives you that progression: why the fear exists, exercises in order of difficulty, phrases and body language that work, and camera settings that take one worry off your plate while you work on the emotional side.
What are you really afraid of (and how unlikely is it)?
The fear usually boils down to three scenarios: that the person gets angry, that they ask you to delete the photo, or that you look "weird" photographing. In practice, the vast majority of people don't even notice they were photographed, and of those who do, almost all react with indifference or curiosity, not hostility.
Separating real fear from imagined fear helps: knowing your rights in public space (covered in street photography: rights and ethics) reduces legal uncertainty (rules vary by country), which is often a big part of the anxiety. What remains is purely social, and that is trained through gradual exposure, like any other social discomfort.
What progression of exercises should I follow, from zero risk to the direct photo?
Don't start with the hardest. Follow this order for two or three weeks:
Photograph without people: geometry, shadows, reflections. Zero interaction, pure observation.
Distant people (8-10 meters): silhouettes, figures in the urban landscape. Nobody notices.
People from behind or in profile, up close: you practice physical proximity without direct eye contact.
People facing you at 3-5 meters, without them seeing you: the classic "shot from the hip" or quick framing. Here the first real adrenaline spike appears.
Eye contact after the shot: take the photo, and if they see you, smile and nod. Don't run away or apologize.
Asking a stranger for permission: the hardest and the most rewarding. One person per outing is an honest goal.
Each step feels less terrifying when the previous one is already routine. Jumping straight to step 6 on day one is the most common recipe for quitting the genre within a week.
Body language matters more than words
How you move communicates more than what you say:
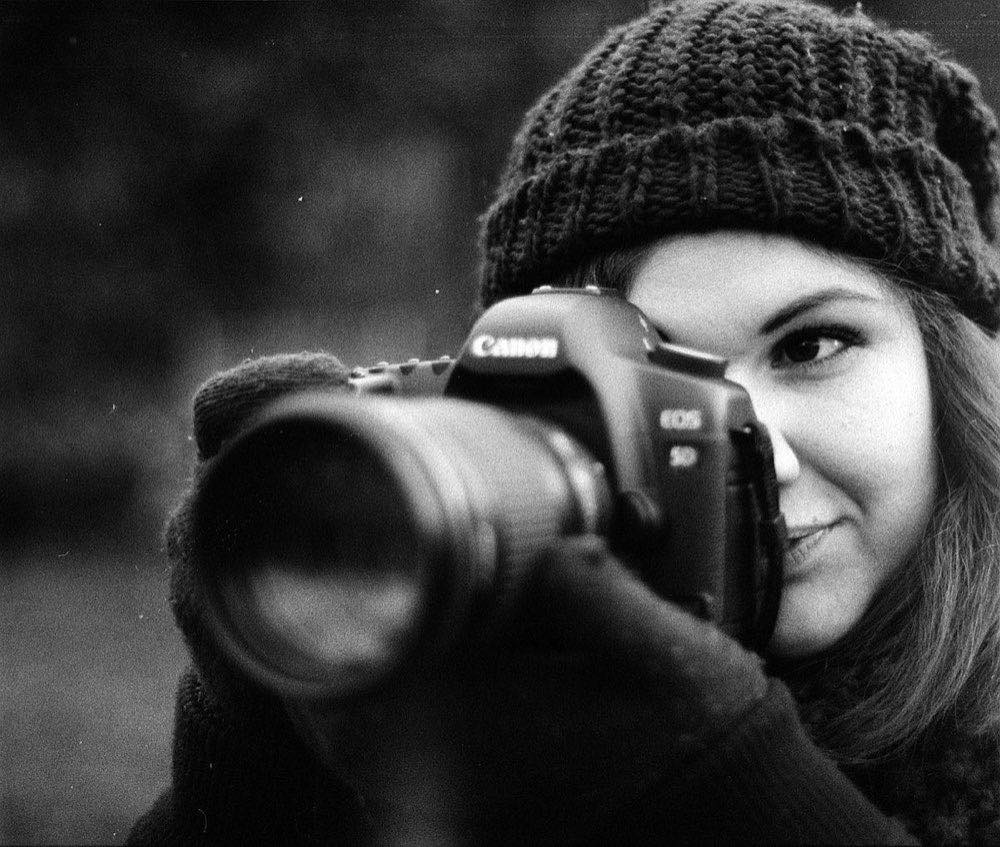
Camera visible, not hidden: wear it around your neck or in your hand, not hidden under your jacket. Discretion is not the same as secrecy; secrecy breeds suspicion.
Fluid movements, no hesitation: raise, frame, shoot, lower, in one continuous gesture. Doubt shows in the body before it shows on the face.
Open posture and relaxed pace: walk like someone out for a stroll, not someone stalking.
After the shot, smile: it is the universal signal for "this is friendly, not a threat."
Phrases that work if someone asks or if you decide to ask permission:
"I'm an amateur photographer and I loved this scene/light. Do you mind if I take a photo?"
"I'm working on a project about [your neighborhood / afternoon light / trades]; may I take a photo of you?"
If someone gets upset: "Sorry, I didn't mean to bother you, I'll delete it if you prefer" — said calmly, without defensiveness.
Camera settings that reduce mental load
Part of the fear comes from overload: if on top of social anxiety you have to think about aperture and shutter speed, the brain collapses. Settle the technique in advance so only the human part remains:
Situation: General street outing; Setting: f/8, 1/500 s, auto ISO (cap 3200), zone focusing at 3 m; Why it helps: Zero technical decisions in the moment
Situation: Direct approach with permission; Setting: f/2.8, AF-C + Eye-AF, 1/250 s; Why it helps: Fast and reliable, lets you look at the eyes, not the dial
Situation: Low light / sunset; Setting: f/4, 1/250 s, auto ISO (cap 6400); Why it helps: Avoids rushed setting changes
Situation: First contact (discreet photo); Setting: Silent mode or sound off; Why it helps: Reduces the feeling of "exposure" from the shot
Zone focusing is especially useful for beginners: by prefocusing at 3 meters with f/8 (see zone focusing: focus at f/8 without looking), you don't need to look through the viewfinder precisely or wait for the AF; you raise the camera, shoot and keep walking, which dramatically reduces the feeling of "aiming" at someone.
What else helps lower anxiety?
Go out with someone the first few times: a photographer friend normalizes the activity and shares the social attention.
Choose high-tolerance settings: markets, festivals, tourist areas. People expect cameras there; it is friendlier practice ground than a quiet residential street.
Set a time limit, not a results limit: "today I'm going out for 20 minutes" removes the pressure of "getting the shot."
Review your photos, not your anxiety: when you get home, evaluate the image, not how much you sweated getting it. Photographic judgment is trained separately from fear.
Accumulate repetitions: confidence on the street is, above all, an exposure curve. Outing number 30 feels radically different from number 3.
A structured daily practice project speeds this process up a lot; the article on the 30-day street photography project lays out exactly this progression in a calendar.
Frequently asked questions
Is it normal to feel a racing heart before every photo, even after months?
Yes, to a lesser degree. Adrenaline drops with practice but rarely disappears entirely, and many experienced photographers describe it as part of the enjoyment of the genre, not an obstacle to eliminate.
Should I apologize if someone notices I photographed them?
Not excessively. A smile and a brief acknowledgment ("the light was so good there, thanks!") are usually enough. Over-apologizing communicates that you did something wrong, which is generally not the case in public space.
What do I do if I freeze and don't shoot?
It is the most common reaction when starting out. Lower the demand: the goal of the day is just to raise the camera ten times, regardless of the result. Repeated physical action breaks the block faster than any mental analysis.
Does a telephoto lens help overcome the fear?
It helps in the short term but slows learning: photographing from far away avoids the discomfort instead of resolving it, and it tends to produce less intimate photos. Use it as a bridge, not a permanent solution.
The progression that works, from far to near
Fear of photographing strangers is overcome with progressive exposure, not pure determination: start far away, move toward closeness, settle the technique in advance to free up mental attention, and accumulate repetitions. The discomfort of week one is, almost always, a distant memory by week eight.
Go out today with a single small goal: ten photos of people more than five meters away, with no other pressure. At Enfogram you will find the 44 photography cards with the exact settings for every situation: print them, carry them with you and shoot with confidence.