How to Photograph Sunsets: Step-by-Step Settings
Learn how to photograph sunsets step by step: apertures, shutter speeds, ISO and metering for skies with real color and no blown highlights.
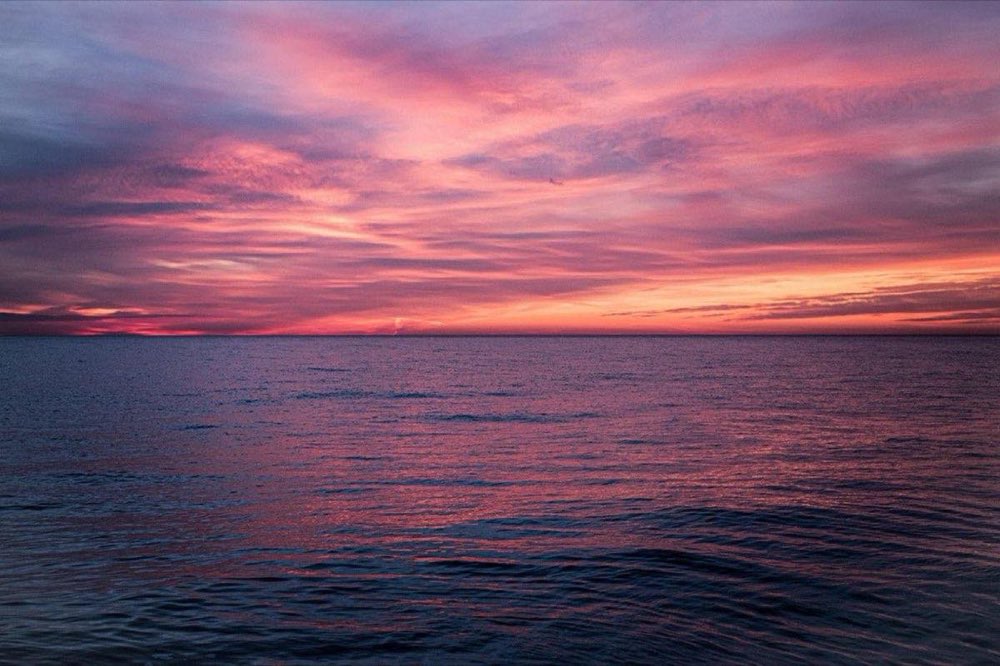
Learning how to photograph sunsets seems easy until you review the photos at home: blown-out skies, black foregrounds and colors that look nothing like what you saw. The problem is almost never the camera; it's that a sunset is one of the highest-contrast scenes there is, and automatic mode doesn't know which part of the scene matters to you.
The good news: with a five-step workflow and three or four memorized combinations of settings, you can handle practically any sunset, from a clear sky to a show of blazing clouds.
Here is the complete process, with concrete values you can copy this very afternoon.
Step 1: Arrive early and choose your composition in the light
The number one mistake is arriving when the sun is already touching the horizon. The best colors usually appear between 20 minutes before and 25 minutes after the official sunset, and you need those earlier minutes to compose calmly: find an interesting foreground (rocks, a pier, tree silhouettes), clean your lens and set up the tripod.
To find the exact time of sunset and golden hour at your location, use the golden hour and sunset calculator before heading out. And if you want to understand why the light at the end of the day behaves the way it does, the guide to basic mastery of natural light gives you the full context.
Step 2: Set up the basics before the show starts
Set this up from the start and forget the menus:
RAW format: a sunset is the situation where you'll appreciate it most, for the dynamic range and color control.
White balance on Cloudy (6000 K) or Shade (7000 K): keeps auto from cooling the oranges.
ISO 100 as a base: there is enough light and you want maximum dynamic range.
Spot or center-weighted metering: you're going to meter the sky, not the average.
Manual mode or aperture priority with compensation: pure auto will fail.
Step 3: Expose for the sky (almost always)
The golden rule of sunsets: the sky rules. A blown sky is unrecoverable; a dark shadow can almost always be lifted in processing, especially in RAW.
Point the metering at a bright area of the sky without including the solar disk, lock that exposure and recompose. Typical starting values:
Sun still visible above the horizon: f/11, 1/250 s, ISO 100.
Sun touching the horizon: f/11, 1/125 s, ISO 100.
10 minutes after sunset: f/8, 1/30 s, ISO 100 (tripod).
Blue hour: f/8, 2 s, ISO 100 (tripod required).
Check the histogram: you want the data loaded toward the right without touching the edge. If you're torn between two exposures, choose the darker one.
Which settings do I use for each type of sunset?
Situation: Clear sky, sun visible; Aperture: f/11; Shutter speed: 1/250 s; ISO: 100; Key technique: Meter the sky, not the sun
Situation: Clouds lit up after sunset; Aperture: f/8; Shutter speed: 1/60 s; ISO: 100; Key technique: Wait for the color peak
Situation: Silhouette of people; Aperture: f/8; Shutter speed: 1/500 s; ISO: 100; Key technique: Meter the sky, an extra -1 EV
Situation: Sunset over water; Aperture: f/11; Shutter speed: 1/8 s; ISO: 100; Key technique: Tripod, silky reflection
Situation: Sunburst; Aperture: f/16; Shutter speed: 1/125 s; ISO: 100; Key technique: Sun half-hidden behind an edge
Situation: Portrait with sunset background; Aperture: f/2.8; Shutter speed: 1/200 s; ISO: 100; Key technique: Fill flash at 1/16
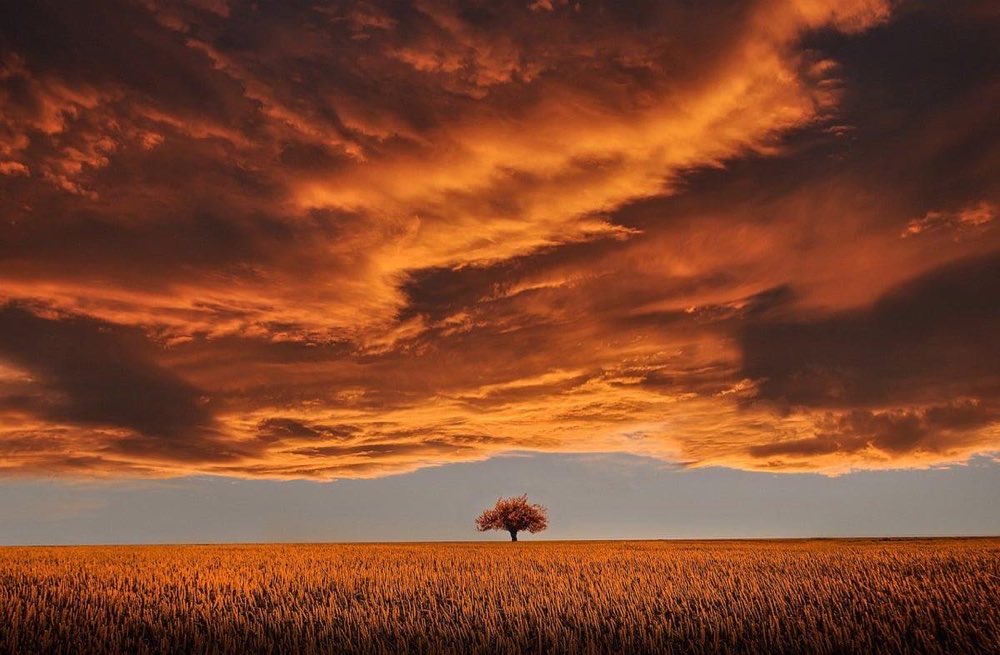
Step 4: Solve the contrast (three paths)
When the foreground matters as much as the sky, you have three options:
Option A: graduated neutral density filter
A 3-stop GND darkens only the sky. It works wonderfully with clean horizons (sea, plains), worse with mountains or buildings that cross the line.
Option B: bracketing and blending
Shoot three exposures at -2, 0 and +2 EV on a tripod and blend them afterward. It is the most flexible option; the article on photographic HDR without losing naturalness explains how to do it without it looking like a fake postcard.
Option C: embrace the silhouette
Sometimes the best solution is not to fight: expose for the sky, leave the foreground black and look for recognizable, clean shapes. It costs zero gear and produces powerful images.
Step 5: Don't put the camera away after sunset
The 20-30 minutes after sunset often give the best color of the day: the famous "second sunset," when high clouds light up magenta and the sky runs through the whole range of blues. The light drops fast: switch to the tripod, drop to ISO 100, stop down to f/8 and let the shutter speed lengthen (1-10 seconds). If there is water in the scene, those long exposures turn it to silk.
To master the relationship between aperture, shutter speed and ISO during these quick light transitions, the article on the exposure triangle with real examples is a perfect refresher.
Frequently asked questions
Why do my sunsets come out with a white sky?
Because the camera is metering the average of the scene, and the dark foreground forces it to overexpose. Meter directly on the sky with spot metering or apply exposure compensation of -1 to -2 EV.
Do I need a tripod to photograph sunsets?
While the sun is above the horizon, no: shutter speeds are fast enough. After sunset, yes: speeds quickly fall below 1/30 s and the tripod makes the difference between sharp photos and blurred ones.
Is it bad to point the camera directly at the sun?
With the sun low and dimmed by the atmosphere, taking photos is usually safe for the sensor at normal exposures. Avoid looking at the sun through an optical viewfinder with a telephoto lens, and don't leave the lens pointed at the high sun for minutes.
What is the best lens for sunsets?
A wide-angle (16-35 mm) for landscapes with a foreground, and a telephoto (70-200 mm or longer) to compress the huge sun against silhouettes. Both approaches work: they are two different photos of the same sunset.
The order of the process, from arriving to packing up
Photographing sunsets well is a matter of process: arrive early, expose for the sky, solve the contrast with a filter, bracketing or silhouette, and stay until blue hour. The settings in the table cover 90% of situations; the remaining 10% your histogram resolves.
Practice the whole workflow two or three afternoons in a row and it will become automatic. At Enfogram you have the 44 photography cards with the exact settings for every situation: print them, carry them in your backpack and shoot with confidence.