Landscape Focus Stacking, Step by Step
Focus stacking for landscapes: when you need it, how many shots to take, where to focus each one and how to blend them without artifacts.

Physics does not allow some compositions to be solved with a single shot: a flower 40 centimeters from the lens and a mountain range in the background, both perfectly sharp. Neither f/16 nor the hyperfocal distance reaches that far. The solution is focus stacking: capture several shots focused at different distances and blend the sharp zones of each in editing.
Done well, the result is an image with front-to-back sharpness that no single setting can give, and at the lens's optimal aperture (f/8), without the diffraction loss of f/16–f/22.
This guide takes you step by step: when you truly need it, how to capture the sequence without errors and how to blend it cleanly.
When you need to stack (and when you don't)
Focus stacking adds work in the field and in editing, so rule out the alternatives first. You don't need it if:
The foreground is more than 1.5–2 meters away with a wide angle: the hyperfocal distance at f/11 covers the entire scene. You can calculate your exact hyperfocal distance and check whether a single shot is enough.
You accept a slightly soft foreground as an aesthetic choice.
You need it when:
The foreground is very close (less than 1 meter with a wide angle, any short distance with a telephoto).
You use long focal lengths for compressed landscapes with elements at several distances.
You want critical sharpness for large prints, shooting at f/8 instead of f/16.
You shoot landscape macro (lichens, ice, textures) where depth of field is measured in millimeters.
The principle that governs all of this (what controls the sharp zone and how it is distributed) is developed in the depth of field guide; stacking is its practical extension when a single shot falls short.
What to prepare beforehand: settings and full lock-down
As with any blending technique, consistency between shots is sacred:
Tripod required and a well-tightened head: a shift of millimeters complicates alignment.
Full manual mode: f/8, ISO 100 and whatever shutter speed the scene gives (for example 1/60 s). Exposure can't vary between shots.
Fixed white balance (not AWB) and RAW.
Turn off the stabilizer on a tripod.
Vibration-free release: 2 s timer or remote release; electronic shutter if your camera allows it.
A moment without wind: vegetation moving between shots is enemy number one of stacking. Wait for calm or shoot the sequence in the gap between gusts.
Why f/8 and not f/16? Because at f/8 almost all lenses are at their sharpest sweet spot, and since you are going to cover the depth by stacking, you don't need to sacrifice quality for coverage. Each shot will be sharper and so will the final result.
The focus sequence: how many shots and where
The classic manual method, from near to far:
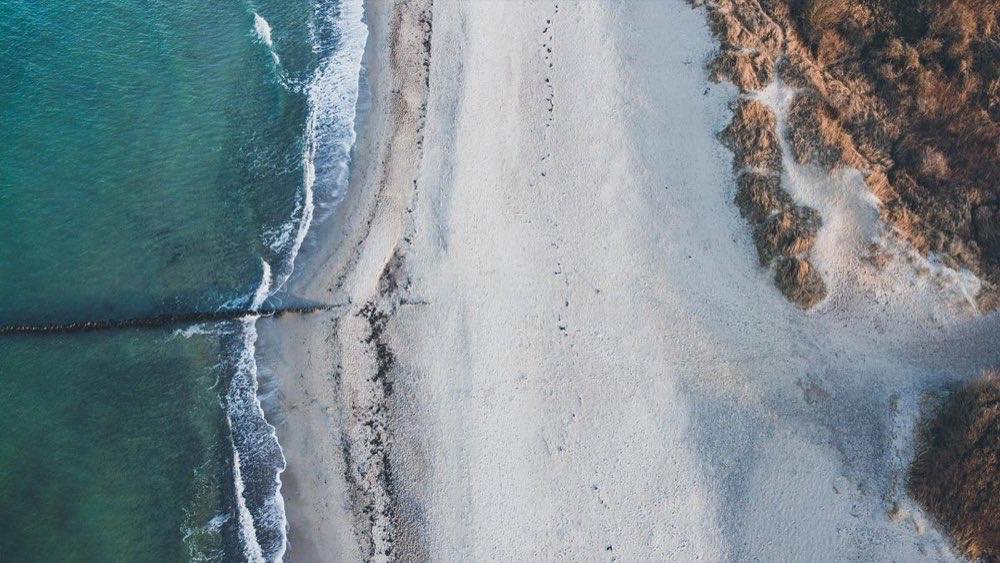
Shot 1: focus on the nearest point that must come out sharp (the flower, the edge of the rock).
Intermediate shots: refocus a little farther each time, so the sharp zone of each shot overlaps with the previous one. With live view magnified, turn the focus ring until what was at the edge of sharpness is clearly sharp.
Last shot: focused on the background (mountain, horizon).
How many shots? It depends on how close the foreground is:
Scene: Rocks + mountain; Foreground distance: 1–2 m; Focal length: 16–24 mm; Recommended shots: 2–3
Scene: Flowers + lake; Foreground distance: 0.4–0.8 m; Focal length: 16–24 mm; Recommended shots: 3–5
Scene: Texture + background; Foreground distance: 0.3 m; Focal length: 24–35 mm; Recommended shots: 5–7
Scene: Compressed landscape; Foreground distance: 5 m to infinity; Focal length: 70–200 mm; Recommended shots: 3–4
Scene: Landscape macro; Foreground distance: under 0.3 m; Focal length: 90–105 mm; Recommended shots: 8–15
Safety rule: better one shot too many than one too few. A blur "gap" between two sharp zones is unrecoverable; a redundant shot only costs a click. Many modern cameras include automatic focus bracketing: set 5–10 shots with a medium focus step (5/10) and let the camera run the sequence.
Blending in editing without artifacts
The standard workflow with Photoshop:
Develop one shot in RAW and sync the settings to all of them (identical white balance, exposure and lens corrections).
Open them as layers in a single document (from Lightroom: Edit In > Open as Layers).
Select all layers: Edit > Auto-Align Layers (Auto projection).
Edit > Auto-Blend Layers > Stack Images, with "Seamless Tones and Colors" turned on.
Check the resulting mask at 100% zoom: typical errors show up at the edges of the subject against the blurred background ("ghost" halos). Fix them by painting on the mask of the correct layer.
Alternatives: Helicon Focus (more control and better with long macro sequences) or the stack-blending features of other raw developers. Whatever the tool, checking at 100% along the transition edges is the step that separates an invisible stack from one that gives itself away.
If the scene also has an extreme light range (sun in the frame), you can combine focus stacking with exposure bracketing: solve the focus first, then the light, as explained in dynamic range control in complex landscapes. And to make each individual shot as sharp as possible, review the advanced focus techniques.
Common mistakes and how to avoid them
Wind between shots: leaves or grasses in different positions create ghosts that are impossible to blend. Solution: fast sequences with automatic bracketing, or exclude the moving vegetation from the overlap zone.
Touching the zoom between shots: it changes the framing and size; alignment fails. Only the focus ring moves.
Light changes during the sequence: a cloud moving in halfway through creates jumps in density. Shoot the full series in under 30 seconds when the light is stable.
Ignored focus breathing: when refocusing, many lenses slightly change their angle of view. Auto-alignment corrects it, but leave margin at the edges: frame 5% wider than you want.
Frequently asked questions
Isn't it easier to stop down to f/22?
At f/22 diffraction softens the entire image: you gain coverage but lose overall sharpness. Besides, with foregrounds closer than a meter, not even f/22 reaches. Stacking at f/8 gives more sharpness everywhere.
Can I do focus stacking handheld?
For landscapes, with fast automatic bracketing and good light, it sometimes works (auto-alignment corrects small shifts). But the failure rate is high; the tripod makes the technique reliable.
How many shots are too many?
More than needed doesn't harm the result, only your disk space and your time. The real problem is the opposite: focus gaps between shots. When in doubt, add an intermediate one.
Does it work with moving water or clouds?
Yes, with a trick: the software takes the water/sky from just one of the layers. Make sure the shot focused at that distance has the water look you want, and review the blend mask in that area.
When optics can give no more
Focus stacking is the answer when the scene asks for more depth than the optics can give: lock everything down, focus from near to far with generous overlap, shoot fast and blend while checking the edges. Three well-made shots solve most landscape cases.
Before stacking, check with the hyperfocal distance whether a single shot is enough: the most elegant technique is always the simplest one that works. At Enfogram you will find the 44 photography cards with the exact settings for every situation: print them, carry them with you and shoot with confidence.