ND1000 Filter: How to Meter and Calculate Exposure
ND1000 filter without mistakes: how to meter the scene, convert 10 stops to seconds, full settings and a step-by-step field workflow.
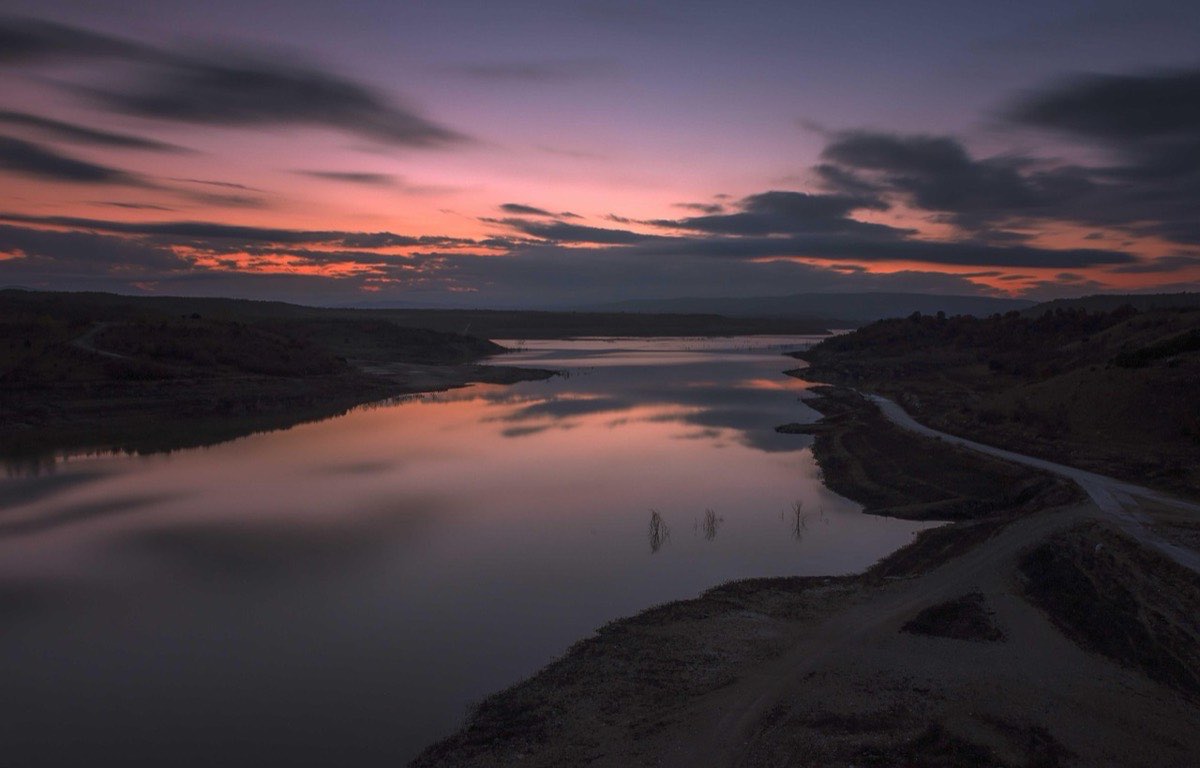
Meter without the glass on and multiply the time by 1000: 1/500 of a second becomes 2 seconds, and a choppy sea becomes a sheet of mercury. Those are the ten stops of light of the ND1000 filter, and they are also the reason so many shots are ruined with it: once it is mounted you see nothing through the viewfinder, autofocus gives up and any calculation error is multiplied by a thousand.
The right order is always the same: meter without the filter, calculate the conversion, lock everything, mount and shoot. Five steps that, done in that order, get it right the first time.
What exactly is an ND1000 (and the naming mess)
An ND1000 lets through one thousandth of the light: it reduces exposure by 10 stops (2¹⁰ = 1024, rounded to 1000). The same filter appears under three names depending on the manufacturer:
ND1000 (filter factor ×1000)
3.0 (optical density)
10 stops (stops of light)
All three are the same piece of glass. Its usual siblings: ND8 = 0.9 = 3 stops; ND64 = 1.8 = 6 stops. With 10 stops, every exposure time is multiplied by ~1000: what was 1/1000 s becomes 1 s; 1/60 s becomes 16 s; 1/15 s becomes a little over a minute.
This range makes the ND1000 the filter for extreme effects: glassy sea, streaked clouds, people who vanish from squares and monuments. For gentle effects (waterfall silk at 1/4 s), it is too much: that is ND64 territory.
How do I meter and shoot with the ND1000 on?
1. Compose and focus without the filter. With the ND1000 mounted, the viewfinder and AF go blind (modern mirrorless cameras get some visibility, but do not rely on it). Frame, focus on the desired point and switch to manual focus so nothing moves.
2. Meter the base exposure. In manual mode or aperture priority: for example, f/11, ISO 100 → the camera reads 1/125 s. Write that value down: it is your starting point.
3. Calculate the exposure with the filter. 1/125 s + 10 stops = 8 seconds. Doubling ten times in your head is a classic source of errors; you can calculate the exact conversion for your ND filter in seconds and without doubt, even when combining ND1000 + polarizer.
4. Switch to full manual and mount the filter. Set f/11, ISO 100, 8 s (or Bulb mode if it exceeds 30 s). Check that AF is still on manual and the stabilizer is off (you are on a tripod).
5. Shoot without vibration and check the histogram. Use a 2 s timer or a remote release. After the shot, check the histogram: if it is off by more than half a stop, correct the time and repeat (real ND1000 filters vary between 9.5 and 10.5 stops depending on the unit).
Conversion table: 10 stops in practice
Metering without filter: 1/1000 s; With ND1000: 1 s; Typical scene: Full sun, f/8
Metering without filter: 1/500 s; With ND1000: 2 s; Typical scene: Sun, f/11
Metering without filter: 1/250 s; With ND1000: 4 s; Typical scene: Soft sun, f/11
Metering without filter: 1/125 s; With ND1000: 8 s; Typical scene: Bright overcast, f/11
Metering without filter: 1/60 s; With ND1000: 16 s; Typical scene: Overcast, f/11
Metering without filter: 1/30 s; With ND1000: 32 s (Bulb); Typical scene: Dark overcast / shade
Metering without filter: 1/15 s; With ND1000: ~1 min (Bulb); Typical scene: Late golden hour
Metering without filter: 1/8 s; With ND1000: ~2 min (Bulb); Typical scene: Blue hour
Quick rule to memorize: with an ND1000, the seconds of exposure are approximately 1000 divided by the denominator of your shutter speed: 1/125 s → 8 s, 1/60 s → 16 s, 1/30 s → 32 s. Or better: use the calculator and save your head for the composition.
How much time does each scene need?
Silky sea: 30 s to 2 min flattens the water completely; 1-4 s keeps traces of the swell (often more interesting). f/11, ISO 100, and watch out for waves on the tripod legs: every micro-sinking moves the camera.
Moving clouds: you need wind and clouds with texture. 30 s-2 min depending on the speed of the sky; clouds moving toward the camera create dramatic leading lines. f/11, ISO 100.
Erasing people from a monument: exposures of 1-4 minutes make anyone who walks disappear. Those who stand still leave a ghost: wait for your moment or make two shots.
Rivers and large waterfalls: the ND1000 is usually too much (the water loses all structure); try 1-2 s with an ND64 first. Save the 10 stops for when you want absolute mist in the water.
Two technical precautions for exposures longer than 30 seconds: cover the viewfinder on a DSLR (light entering from behind fogs the shot) and consider turning on long-exposure noise reduction if your sensor generates hot pixels (it doubles the total time of each shot). The foundation of all this (how time draws movement) is developed in the guide to exposure in complex landscapes, along with contrast control in difficult scenes.
Typical ND1000 problems and their solutions
Color cast: many cheap ND1000 filters tint magenta or blue. In RAW it is corrected with white balance and HSL; if the tint is strong and uneven, the filter is no good for serious work.
Light leaks: in long exposures, light sneaks in through the viewfinder or the edges of the filter holder and creates purple veils. Cover the viewfinder and shade the edges of the filter.
Vignetting: with stacked screw-in filters (CPL + ND1000) on a wide-angle, dark corners. Solution: slim filters, or use only the ND and polarize in another shot.
Black photo: you forgot you metered in shade and a cloud uncovered the sun, or you calculated one stop too many. Always check the histogram after the first shot; the screen deceives at night and in full light.
The stable shooting technique shares foundations with night photography and astrophotography, and reading the base exposure with strategic light metering.
Frequently asked questions
Fixed ND1000 or variable ND?
Fixed. Variable filters (two opposing polarizers) produce a dark "X" on wide-angle lenses at high densities and their real density is imprecise. Variable ND is for video; for landscapes, quality fixed NDs.
Screw-in or plate filter holder?
Screw-in is cheaper and more compact; plates (100 mm system) let you combine ND + graduated filters and mount/unmount without unscrewing. If you will only use an ND1000 and a CPL, screw-in works; if you grow toward graduated filters, plates.
How do I focus if I already mounted the filter and moved?
Remove it, refocus and mount it again. With mirrorless you can try temporarily raising ISO to 25600 so live view "sees" through the filter, focus, and return the ISO to 100 before shooting.
My exposure came out right but the photo is blurry, why?
Vibration: wind on the tripod, a flapping strap, soft ground or the swell itself. Hang weight from the center hook, remove the strap and wait between gusts. In exposures of minutes, stability is everything.
Start on a windy day
The ND1000 rewards method: meter cleanly, convert precisely, lock focus and exposure, and check the histogram. Ten stops do not forgive improvisation, but with the five-step workflow the first shot already comes out exposed correctly.
Start with the sea or moving clouds on a windy day, note the base exposure and let time paint. At Enfogram you will find the 44 photography cards with the exact settings for every situation: print them, carry them with you and shoot with confidence.