Outdoor Fill Flash Step by Step
Master outdoor fill flash: expose for the background, add flash at -1 EV and remove harsh midday shadows step by step.
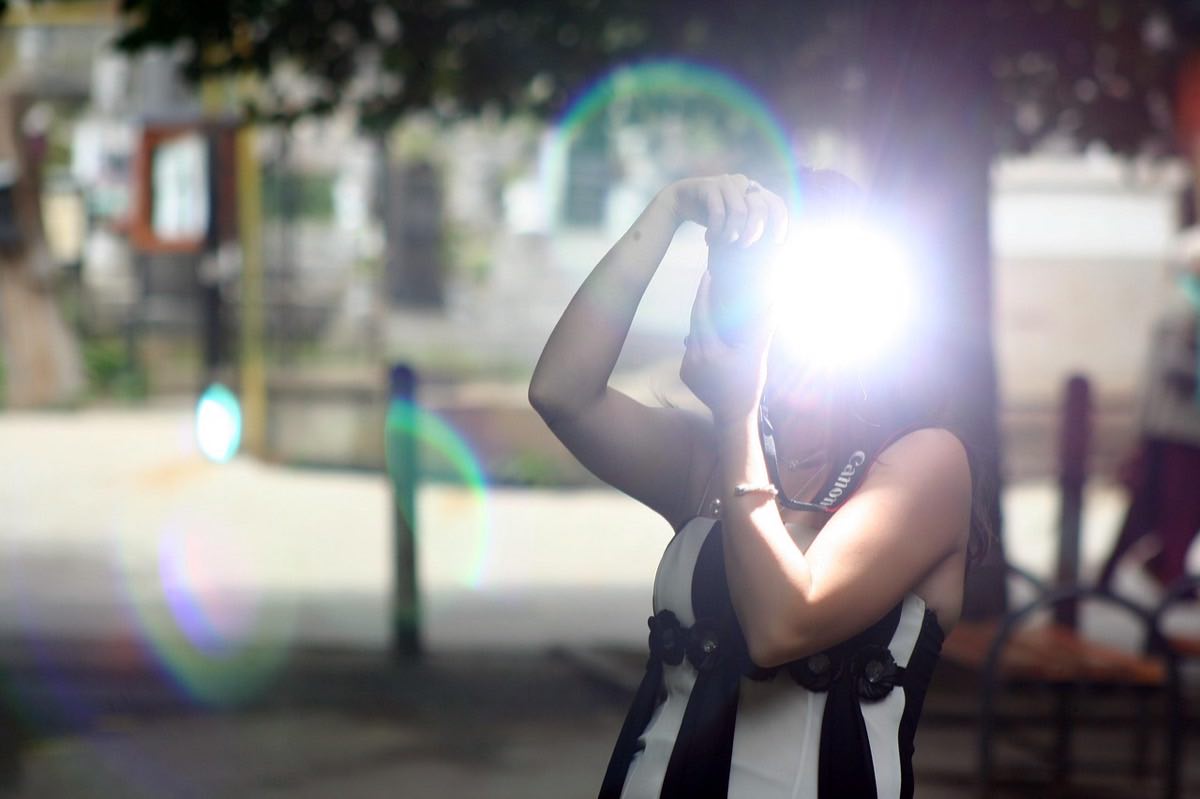
Midday sun carves black shadows under the eyes; a beautiful backlight leaves the face two stops underexposed. For both problems there is the same elegant solution: fill flash, the technique where the flash is not the main light but a discreet support that lifts the shadows without giving itself away.
Well-done fill flash is invisible: whoever sees the photo only perceives a luminous face and a sky with color. Done badly, it screams "flash photo": blown-out face, black background, plastic highlights on the skin.
The difference between the two results is a four-step method you can run with any hot-shoe flash, even in manual. Let's go step by step.
Step 1: expose for the background, not the subject
The number one mistake is letting the camera expose the face and then adding flash on top. The correct order is the reverse: first decide how you want the background and sky, then fill the subject.
In manual, point at the background (without the subject) and adjust until the sky has the tone you want. Starting point on a sunny day: ISO 100, f/11, 1/200 s (or your maximum sync speed, typically 1/200–1/250 s). For a more dramatic sky, underexpose the background by -0.7 to -1 EV: the blue saturates and the flash will do the rest.
Watch the sync speed: if you need more than 1/250 s so you don't blow out the background at wide apertures, you will have to turn on HSS (high-speed sync) or stop down. The full theoretical basis is in the flash lighting guide, worth refreshing before continuing.
Step 2: calculate the flash power
With the background settled, turn on the flash. Two paths:
TTL with compensation: leave the flash on TTL and apply compensation of -1 to -1.7 EV. The system meters and you tell it "stay below the ambient light." It is the quick method for changing situations.
Manual with guide number: divide your flash's guide number by the distance to the subject to get the correct aperture, or the other way around: GN ÷ aperture = distance. A flash with GN 36 (ISO 100, in meters) at f/5.6 delivers full power at ~6.4 m; for fill at 2–3 m, 1/16 – 1/32 power will be enough. You can calculate the exact power with the flash guide number calculator and arrive at the location with the numbers already done.
The golden rule of fill: the flash should sit between 1 and 2 stops below the ambient exposure. If the face looks "flashed," lower the power; if the shadows are still black, raise it.
Step 3: modify and position the light
Direct flash from the hot shoe works, but it improves a lot with small changes:
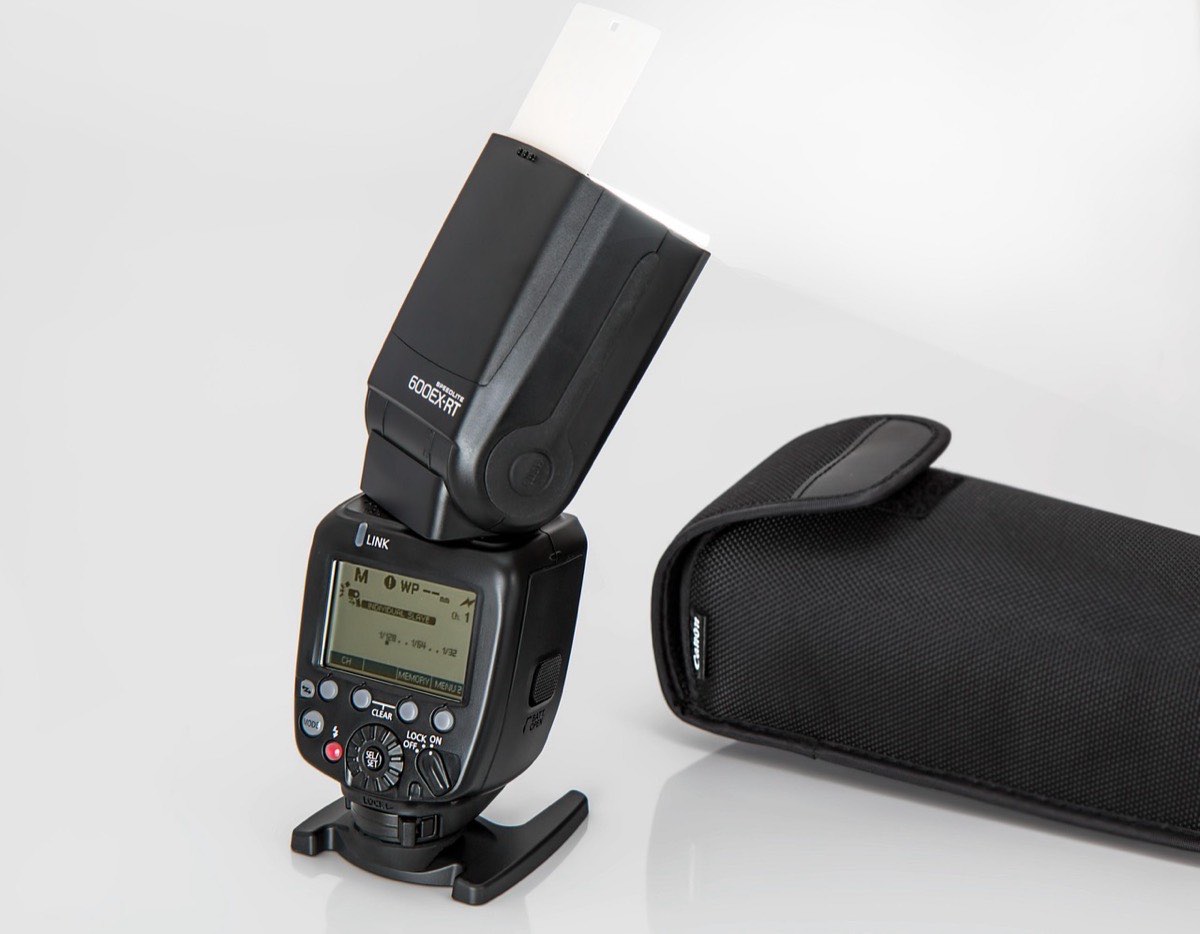
Diffuser or mini softbox: softens the edge of shadows and highlights on the skin.
Off-camera flash (TTL cable or radio trigger): at 45° to the subject, up high, the fill gains direction and volume. It is the difference between "lifting shadows" and "sculpting."
In backlight: place the flash in front or slightly to the side, with the sun acting as a rim light on the hair. It is the most flattering sunset setup.
At full midday, another trick: put the subject with their back to the sun (hard backlight) and fill from the front. You eliminate squinting eyes and raccoon shadows in a single move.
What settings do I use in each scenario?
Scenario: Midday, sun in front; Camera (ISO 100): f/11, 1/200 s; Flash: TTL -1 EV, diffuser; Approximate power: 1/8 at 2 m
Scenario: Sunset backlight; Camera (ISO 100): f/4, 1/200 s; Flash: TTL -0.7 EV; Approximate power: 1/16 at 2 m
Scenario: Open shade; Camera (ISO 100): f/5.6, 1/200 s; Flash: TTL -1.3 EV; Approximate power: 1/16 at 2 m
Scenario: Dramatic sky underexposed -1 EV; Camera (ISO 100): f/8, 1/250 s; Flash: Manual; Approximate power: 1/4 at 2.5 m
Scenario: Wide aperture f/1.8 with HSS; Camera (ISO 100): f/1.8, 1/8000 s; Flash: HSS, TTL -1 EV; Approximate power: Loses ~2 stops of range
The power values are starting points at 2–2.5 m with GN ~36: adjust by one or two thirds depending on the diffuser and skin tone.
Step 4: check and fine-tune with the histogram
Take a test shot and check three things: that the sky keeps information (no blinking blown areas), that the face is at most at the ambient exposure and that there is a subtle catchlight in the eyes. The histogram will tell you more than the screen in the sun; the article on creative histogram reading explains how to interpret it in seconds.
Frequent mistakes: double shadows (flash too strong competing with the sun), specular highlights on the forehead and nose (missing diffuser), and a black background as soon as evening falls (the shutter speed is killing the ambient light: lower it to 1/60–1/125 s and let the ambient breathe). For consistent looks between capture and editing, also see flash lighting without the complications.
Frequently asked questions
Can I do fill flash with the camera's built-in flash?
Yes, for short distances (1.5–2.5 m). Apply flash compensation of -1 EV and, if you can, add a homemade diffuser. Its limited power doesn't compete with the sun beyond 3 meters.
Which is better for fill: TTL or manual?
TTL with negative compensation for fast-changing situations (events, kids). Manual when subject and distance are stable: it is more consistent shot to shot.
Do I need HSS for fill flash?
Only if you want wide apertures (f/1.8 – f/2.8) in full sun, which require shutter speeds above the sync speed. With f/11 – f/16 at 1/200 s you don't need it.
Does fill flash work on cloudy days?
Yes, and it is when it shows the least: a touch at -1.7 EV adds sparkle to the eyes and separates the subject from the gray ambient with no visible trace.
Expose the background, fill the subject
Fill flash comes down to one sentence: expose the background, fill the subject one or two stops below. With that mental order and a reference power table, midday stops being your enemy and backlight becomes your favorite setup.
Practice first in open shade, where the margins for error are wide, and then graduate to hard sun. At Enfogram you will find the 44 photography cards with the exact settings for every situation: print them, carry them with you and shoot with confidence.