Outdoor White Balance: A Practical Guide
How to set white balance outdoors for the time of day and weather, with reference Kelvin values for each type of natural light.
Outdoor white balance is one of those settings most people leave on auto. Modern auto mode works reasonably well, but understanding how to set it manually gives you real creative control over the tone of your photos, something auto can't decide for you.
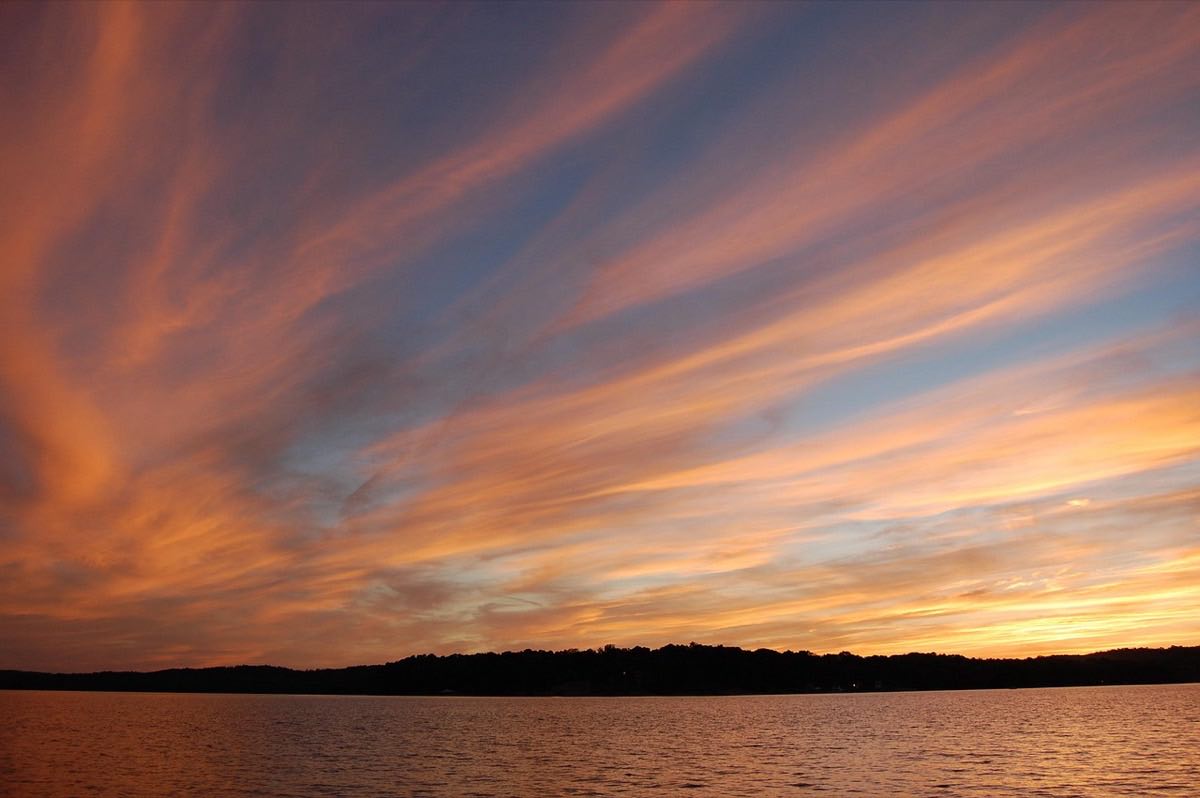
Natural light changes color temperature constantly: sunrise is warm, midday is neutral, shade is bluish, and sunset turns warm again, but in a different way. Your camera measures this in degrees Kelvin, and setting it manually keeps auto from "correcting" a tone you wanted to keep.
How the Kelvin scale works outdoors
The lower the Kelvin number, the warmer (more orange) the light is read to be; the higher the number, the cooler (bluer). Your camera's white balance does the opposite of what you see in order to neutralize it: if you choose a low Kelvin value, the camera adds blue to compensate for the real warm light, and if you choose a high one, it adds warmth to compensate for real cool light.
To master the rest of the exposure variables alongside this, the creative white balance guide goes deeper into using color for storytelling, beyond technical correction.
Which Kelvin value should I use for each light?
Sunrise or sunset (golden hour): 3200-4000K. If you use auto here, many cameras over-"correct" and lose the warmth you were after: it's better to set a daylight value manually (about 5500K), because setting white balance to 3200-4000K would neutralize exactly that warmth.
Midday light: 5200-5600K. This is the "neutral" reference point for most systems.
Overcast sky: 6500-7500K. The diffuse light from clouds tends to be cooler than the eye perceives.
Open shade (under trees, next to buildings): 7500-9000K. Shade receives light reflected from the blue sky, much cooler than direct light.
When to use auto and when to use manual
Modern auto white balance works well in scenes with mixed or fast-changing light, such as street photography where you move between sun and shade constantly. But in sessions with constant light (a full sunset, a portrait session in the same shade), setting the Kelvin value manually gives you consistency across all your photos, something auto doesn't guarantee because it can vary from shot to shot.
If you shoot RAW, white balance is fully adjustable in editing with no loss of quality, which takes the pressure off getting it exactly right in camera. Even so, getting close at the moment of shooting saves editing time and gives you a more faithful preview on the screen, which is worth combining with correctly reading the histogram while you shoot to confirm exposure and color at the same time.
The gray card trick for absolute accuracy
For maximum accuracy (professional portraits, outdoor product photography), photograph a neutral gray card under the same light as your scene and use your camera's custom white balance with that reference. It's more work, but it removes any color drift in sessions where skin or product color has to be exact.
Quick reference table by lighting condition
Condition: Golden hour; Approximate Kelvin value: 3200-4000K; Effect if you use auto: May "correct" and lose warmth
Condition: Sunny midday; Approximate Kelvin value: 5200-5600K; Effect if you use auto: Generally accurate
Condition: Overcast; Approximate Kelvin value: 6500-7500K; Effect if you use auto: May come out slightly cool
Condition: Open shade; Approximate Kelvin value: 7500-9000K; Effect if you use auto: Often too blue if not adjusted
Condition: Indoors by a window (daylight); Approximate Kelvin value: 5500-6500K; Effect if you use auto: Depends on the mix with artificial light
Frequently asked questions
Does white balance affect the exposure of the photo?
No, they are independent systems: white balance adjusts the color tone, while exposure adjusts the amount of light. You can change one without affecting the other.
Should I worry about white balance if I shoot JPEG?
Yes, more than with RAW: JPEG "bakes" the white balance into the final file, leaving less room for later correction without losing quality.
Why do my shade photos always come out bluish?
Because shade receives light reflected from the sky, which is blue. It's normal; fix it by raising the Kelvin value manually (toward 8000K) or by using your camera's "shade" preset.
Is it worth buying a gray card for outdoor shooting?
If you do commercial or product photography where color has to be exact, yes. For general and creative use, adjusting by eye or in editing is enough.
Lock in the Kelvin for one afternoon and compare
On your next outing, shoot the same scene twice: once with auto and once with white balance set by hand: about 5500K at golden hour, to keep its warmth, and the table value in open shade. At golden hour and in open shade the difference is visible without zooming in, and that comparison teaches more than any explanation of the Kelvin scale. At Enfogram you'll find the 44 photography cards with the exact settings for every situation: print them, carry them with you and shoot with confidence.