Rembrandt, Butterfly and Split Lighting: Core Patterns
Master portrait lighting patterns: Rembrandt, butterfly and split light, with light position, contrast ratios and camera settings.
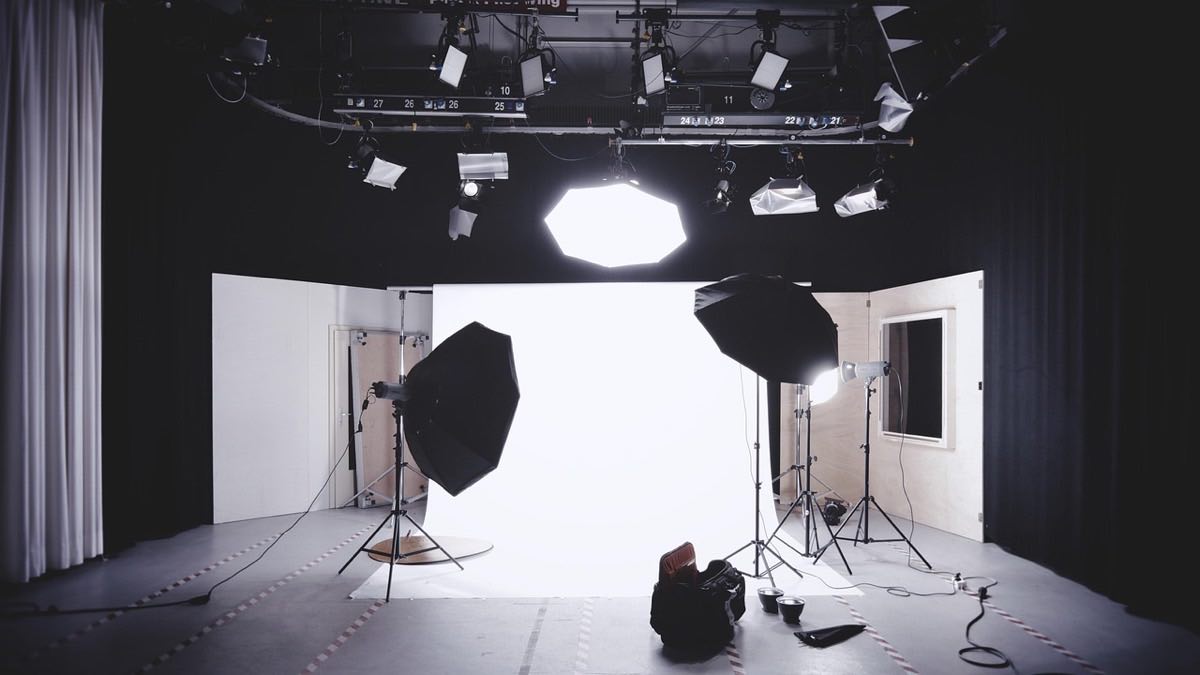
Before buying a second light, a third softbox or a beauty dish, every portrait photographer needs to master three portrait lighting patterns that have defined the genre for more than a century: Rembrandt, butterfly and split. With a single light source and these three patterns you can handle the vast majority of the portraits you will photograph.
Each pattern is defined by a single piece of data: the angle and height of the light relative to the face. Changing those two parameters completely transforms the character of the image, from the mystery of Rembrandt to the frontal elegance of butterfly.
Rembrandt light: the triangle of mystery
Place the light source at 45° to the camera-subject axis and slightly above eye level, pointing down. The recognizable result: a small triangle of light under the eye on the shadow side, surrounded by darkness, while the rest of that side of the face falls into shadow.
It is the most dramatic of the three classics, favors faces with strong bone structure and works spectacularly in black and white. Recommended contrast ratio: 4:1 for a moderate look, up to 8:1 for an intense character portrait.
To achieve it with a single light: place a medium softbox 1.5 meters from the subject, at 45° and with the top tilted down about 15-20°. If the triangle under the eye joins the shadow of the nose, lower the light a few centimeters; if it disappears, raise the height or increase the side angle. The fundamentals of controlling this light are in the guide to studio lighting.
Butterfly light: frontal elegance and symmetry
Place the light directly in front of the subject, slightly above the camera, pointing down at a steep angle (about 45° of elevation). The name comes from the shadow the nose casts on the upper lip, shaped like a butterfly with its wings open.
This pattern is the historic favorite of glamour and beauty photography: it is symmetrical, flattering, and sculpts the cheekbones without excessive drama. It works best with faces with prominent cheekbones; on rounder faces it can flatten the volume if not complemented with a reflector below.
Place a silver or white reflector just below the face, out of frame, to fill the shadow under the chin and neck: without that fill, the butterfly can create unflattering dark circles. Typical contrast ratio: 2:1 to 3:1, much softer than Rembrandt.
Split light: maximum drama
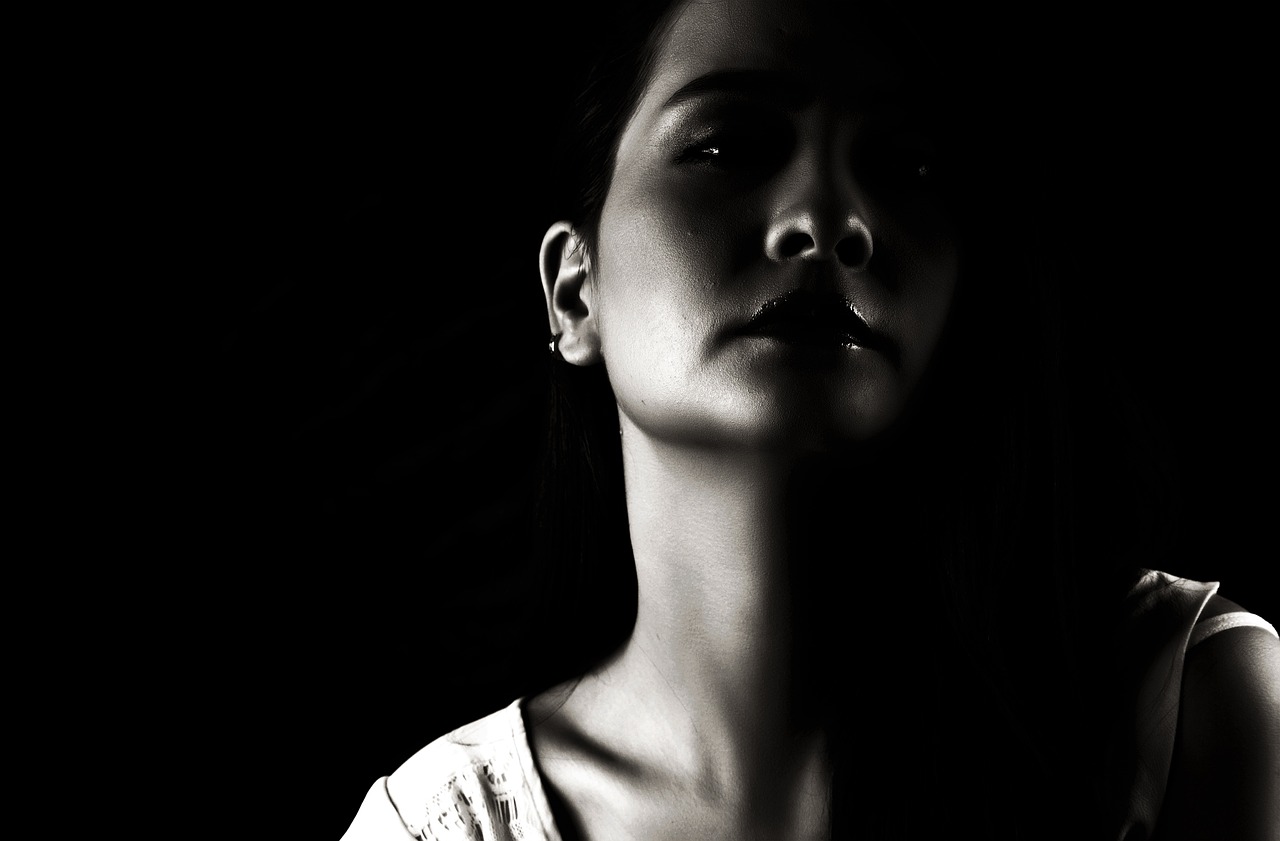
Place the source exactly 90° from the subject, at eye level. The result divides the face exactly in half: one side fully lit, the other fully in shadow, with no soft transition between them.
It is the most extreme of the three, reserved for character portraits, editorials or conceptual projects. Contrast ratio: 8:1 or higher, almost always with no fill at all to maximize the drama. It works especially well in black and white, a topic I develop in the article on black-and-white portraits: when and how.
Soft variant: move the light slightly forward of 90° (toward about 75-80°) so a little light "spills" onto the shadowed side, producing a less extreme split light that is more versatile for commercial portraits with character.
How do the three patterns differ?
Pattern: Rembrandt; Horizontal angle: 45°; Light height: Above the eyes, angled down; Contrast ratio: 4:1 – 8:1; Best for: Faces with structure, character
Pattern: Butterfly; Horizontal angle: 0° (frontal); Light height: High, ~45° downward; Contrast ratio: 2:1 – 3:1; Best for: Beauty, glamour, prominent cheekbones
Pattern: Split; Horizontal angle: 90°; Light height: At eye level; Contrast ratio: 8:1 or more; Best for: Drama, editorial, B&W
Pattern: Soft split; Horizontal angle: 75°; Light height: At eye level; Contrast ratio: 6:1; Best for: Commercial character, toned-down version
What camera settings do I use for each pattern?
The camera changes little between patterns; what varies is the exposure according to the contrast ratio, because the higher the contrast, the easier it is to blow out the lit area if you meter badly:
Rembrandt and butterfly: f/5.6 – f/8, 1/160 s, ISO 100, metering with a flash meter or a direct test on the lit side.
Extreme split: f/8 – f/11 (for greater sharpness in the skin detail that remains exposed), 1/160 s, ISO 100, exposure set for the lit side, letting the shadow fall to black without remorse.
In all cases: flash sync respecting your camera's limit (typically 1/200 – 1/250 s) and a modifier (medium-to-large softbox) to soften the transition edge between light and shadow, unless you're after the hard cutoff of classic split light.
Which pattern suits each face?
There is no universally flattering pattern; it depends on facial structure and the message you're after:
Oval or elongated faces: Rembrandt or butterfly enhance without exaggerating.
Round faces: Rembrandt with a moderate ratio sculpts better than frontal butterfly, which can flatten.
Angular faces with prominent cheekbones: butterfly flatters them especially.
Character or editorial portrait: split, without fear of contrast.
Try all three patterns with the same person in the same session, rotating only the light: it is the fastest learning exercise for internalizing how each angle transforms the same face. These light direction principles also apply, adapted, to working with natural window light, as explained in window light portrait: simple setup.
Frequently asked questions
Do I need several lights to achieve these patterns?
No, all three are single main light patterns. A reflector or second fill light softens the contrast, but the pattern itself is defined entirely by the position of the main source.
Which pattern is best for beginners?
Rembrandt is the most versatile and forgives more positioning errors than butterfly, which demands great precision in the angle to avoid looking flat. Start there.
Do these patterns work with window light?
Yes, exactly the same: the window is your source and its height and angle relative to the subject determine the pattern, just like a studio softbox.
How do I measure the contrast ratio without a light meter?
Approximate it with the histogram: shoot the lit side, then shift the exposure to measure the shadowed side and compare the difference in stops (EV). With practice, a trained eye estimates the ratio quite accurately.
The one-session exercise that locks them in
Rembrandt, butterfly and split are three decisions of angle and height that produce three completely different light personalities from a single source. Master them with one softbox before investing in additional gear.
Devote your next practice session to rotating the light through the three angles with the same model and compare the results side by side. At Enfogram you will find the 44 photography cards with the exact settings for every situation: print them, carry them with you and shoot with confidence.