Black-and-White Portraits: When and How
Black-and-white portraits: when to choose it, how to light for contrast and which settings and conversion to use for skin with texture and soul.
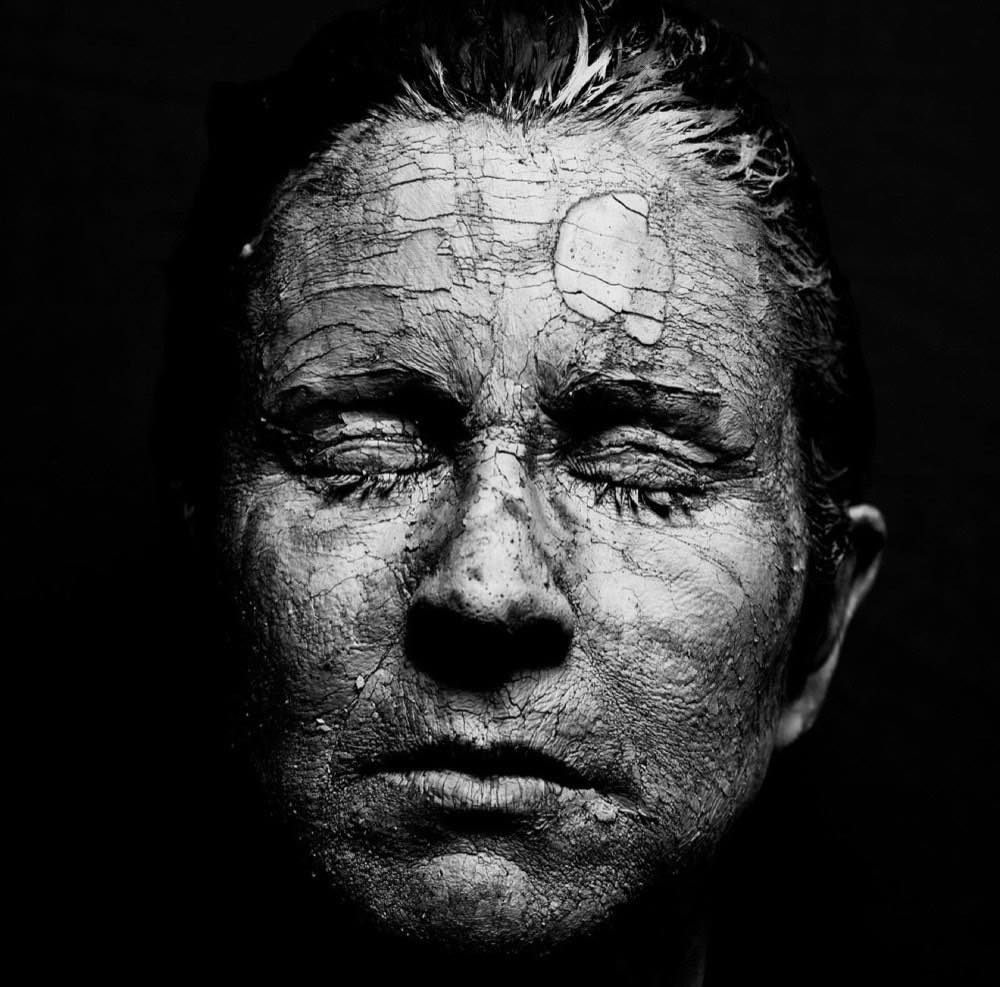
Some faces call for monochrome. The black-and-white portrait removes the distraction of color and leaves only the essentials: geometry, texture, light and gaze. That is why the portraits that haunt us for years (those of Avedon, Penn or Salgado) are almost always in black and white: there is nowhere to hide.
But black and white is not a rescue filter for mediocre photos. It is decided before shooting, because it changes how you light, how you expose and even how you direct the subject: you separate the subject from the background by luminosity and not by hue, and you protect the highlights on the skin. Channel-based conversion comes afterward, and it is what decides whether the skin comes out with texture or as a flat blotch.
When to choose black and white (and when not)?
Choose monochrome when the photo rests on one of these pillars:
Character and texture: wrinkles, beards, scars, hardworking hands. B/W celebrates what color sometimes disguises.
Dramatic light: chiaroscuro, hard side light, backlight. Tonal contrast replaces color contrast.
Raw emotion: the direct gaze, the restrained gesture. Without color, the viewer goes straight to the eyes.
Color that gets in the way: backgrounds with loud tones, clothing that competes, mixtures of temperature impossible to correct.
Avoid it when color IS the story: intense green eyes, golden hour on the skin, carefully coordinated wardrobe. Converting those photos throws away narrative information. The principles of when color adds or subtracts are well developed in the article on color theory and visual storytelling.
Light for grays, not for colors
In B/W, two different tones can turn into the same gray. A red sweater against a green background, highly contrasting in color, can melt together in monochrome. Separation must come from luminosity, not from hue.
Schemes that work especially well:
Hard side light (split light): half the face lit, half in shadow. In color it is harsh; in B/W it is pure character. A small window or a bare flash at 90° is enough.
Pronounced Rembrandt: with a high contrast ratio (4:1 or 8:1), impossible to sell in corporate color, glorious in monochrome.
Backlight with a reflector: bright white outline, face in mid-gray, black background.
Work the backgrounds by luminosity: dark background + lit subject or vice versa. And remember that the monochrome portrait is still a portrait: connection and direction of the subject come first, as explained in the guide to contemporary portrait photography.
What settings do I use for monochrome portraits?
Shoot RAW with monochrome simulation turned on: the viewfinder and screen show you in B/W (you train the tonal eye), but the file keeps all the color for flexible conversion in editing.
Scenario: Side window, indoors; Aperture: f/2.8; Shutter speed: 1/160 s; ISO: 800; Note: High ratio, no reflector
Scenario: Studio, hard light at 90°; Aperture: f/8; Shutter speed: 1/200 s; ISO: 100; Note: Black background at 2+ m
Scenario: Overcast outdoors; Aperture: f/2; Shutter speed: 1/320 s; ISO: 200; Note: Sky as a softbox
Scenario: Character portrait, high ISO; Aperture: f/1.8; Shutter speed: 1/125 s; ISO: 3200–6400; Note: Grain adds texture
Scenario: Dramatic backlight; Aperture: f/4; Shutter speed: 1/250 s; ISO: 100; Note: Expose for the face, -1 EV background
A note on ISO: monochrome forgives (and even welcomes) noise. An ISO 6400 that looks dirty in color looks like film grain in B/W. Don't sacrifice shutter speed out of fear of noise.
Expose to protect the highlights on the skin: a blown forehead in B/W is a white patch with no remedy. Underexposing by -0.3 EV is cheap insurance.
How do I convert from color to black and white?
The secret of a good conversion is in the B/W channel mixer of your editor (Lightroom, Capture One, etc.): every color in the scene has its own luminosity slider.
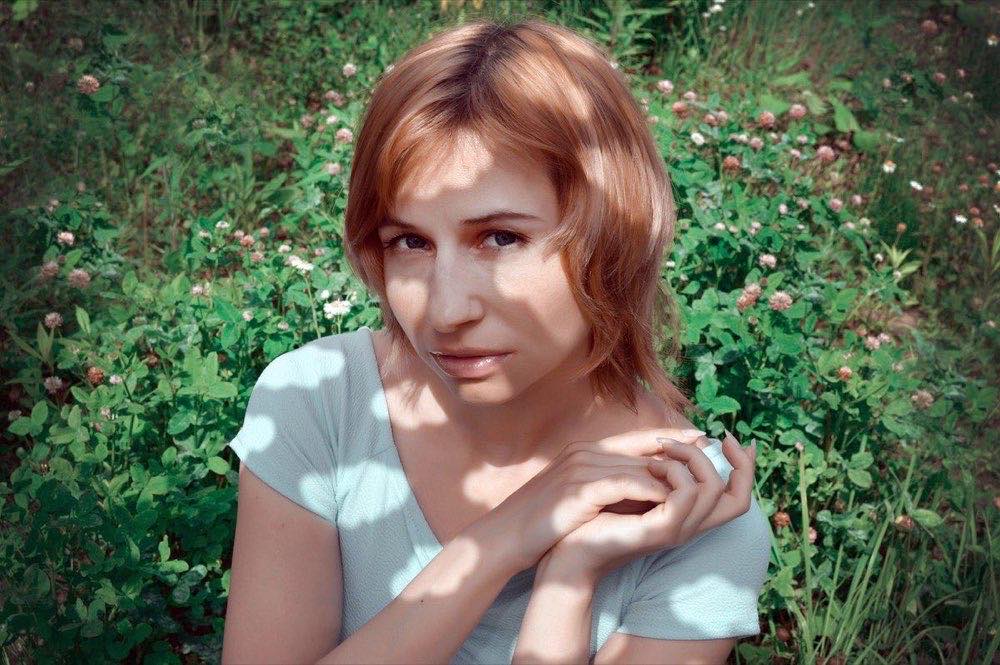
Recommended workflow:
Convert to B/W and adjust exposure and overall contrast.
Orange/red channel: controls the skin. Raising it lightens and smooths; lowering it darkens and brings out texture (ideal for a male character portrait).
Blue channel: darkens skies and light eyes. Lower it with moderation: it introduces noise.
A gentle S tone curve for contrast; lift the black point slightly if you want a matte look.
Local dodge & burn: lighten eyes and forehead, darken the edges of the frame to close in the gaze.
Finish with a subtle vignette (-10 to -20) and, if you want a film aesthetic, fine grain added in editing. The complete process of natural-looking editing is developed in photo editing from RAW to the final look.
What mistakes ruin a monochrome portrait?
Converting by default: if the photo doesn't work in color, B/W rarely saves it. Monochrome demands more structure, not less.
Flat grays: lack of true blacks and clean whites. Check the histogram: it should touch (without piling up at) both ends.
Plastic skin: excess negative clarity or smoothing. Texture is the language of B/W; don't erase it.
Hidden HDR: shadows lifted to the maximum and highlights fully recovered produce that uniform gray with no drama. Let shadows be shadows.
Frequently asked questions
Do I shoot directly in monochrome JPEG or convert afterward?
Shoot RAW with a monochrome display profile. A direct B/W JPEG fixes the channel mix forever; RAW lets you decide in editing how each color translates to gray.
What light is best for black-and-white portraits?
The kind that builds tonal structure: lateral, hard or with a high contrast ratio. Soft, flat frontal light, flattering in color, tends to produce monotonous grays in B/W.
How do I get deep blacks without losing detail?
Adjust the black point with the clipping preview on (Alt/Option in Lightroom): lower blacks until they barely start to clip areas with no relevant information, and back off a little.
Does black and white flatter everyone?
It flatters people with strong features and expression; it hides color distractions but accentuates skin texture. For smoothed beauty portraits, color usually works better.
The three steps that make the portrait
Light that builds separated grays, exposure that protects the skin and a channel-based conversion that translates color with intention. When those three align, monochrome does what it does best: remove everything that is superfluous.
To practice, all you need is a face with a story and a side window: move the subject relative to the window and watch how the contrast ratio changes before touching anything on the camera.
The 44 Enfogram cards have these settings printed by scenario, so you can choose aperture and ISO without taking your eyes off the subject.