Wildlife Photography: Ethics and Technique
Wildlife photography with ethics and technique: telephoto lenses, continuous autofocus, safe distance and habits that respect animals.
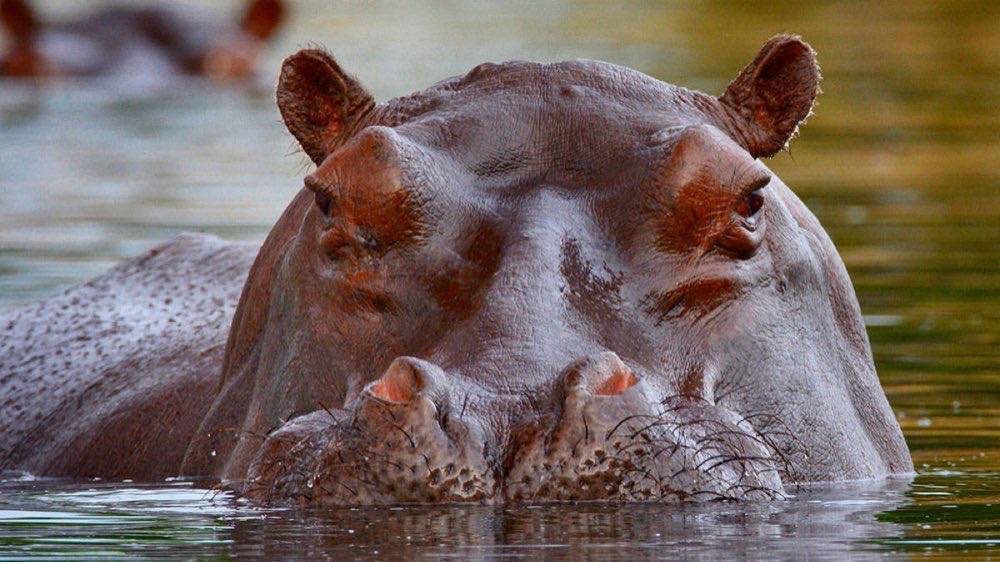
Wildlife photography is much more than chasing animals with a camera. It is an exercise in endless patience, respect for the environment and deep knowledge of animal behavior. Here, technique matters as much as ethics: the priority will always be the animal's welfare, even above getting the dream image.
The nature photographer becomes a silent observer, someone who waits for hours, even days, to capture an authentic moment. Every shot must tell a real story of coexistence, of the relationship between species and habitat, and must never force situations that alter natural behavior.
Key shooting scenarios
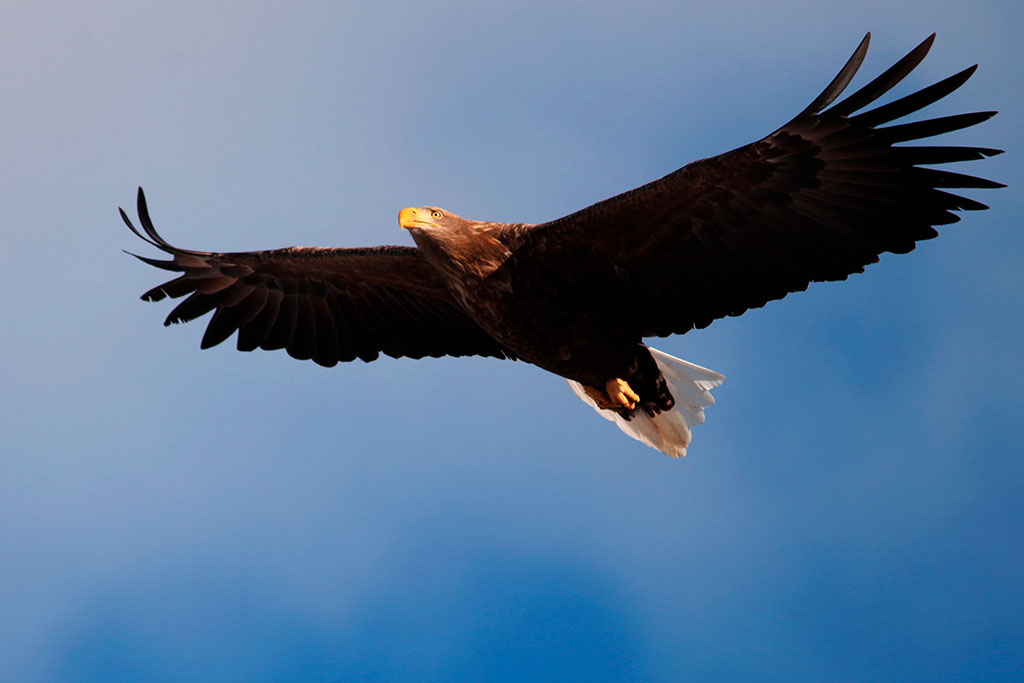
In birds in flight photography, speed is decisive. Setting the camera to 1/1000s or faster, with continuous focus and precise tracking, lets you freeze wing movement without losing detail. The subject-detection modes available in modern cameras, such as bird recognition in the latest mirrorless cameras, have radically transformed the technical possibilities in this scenario.
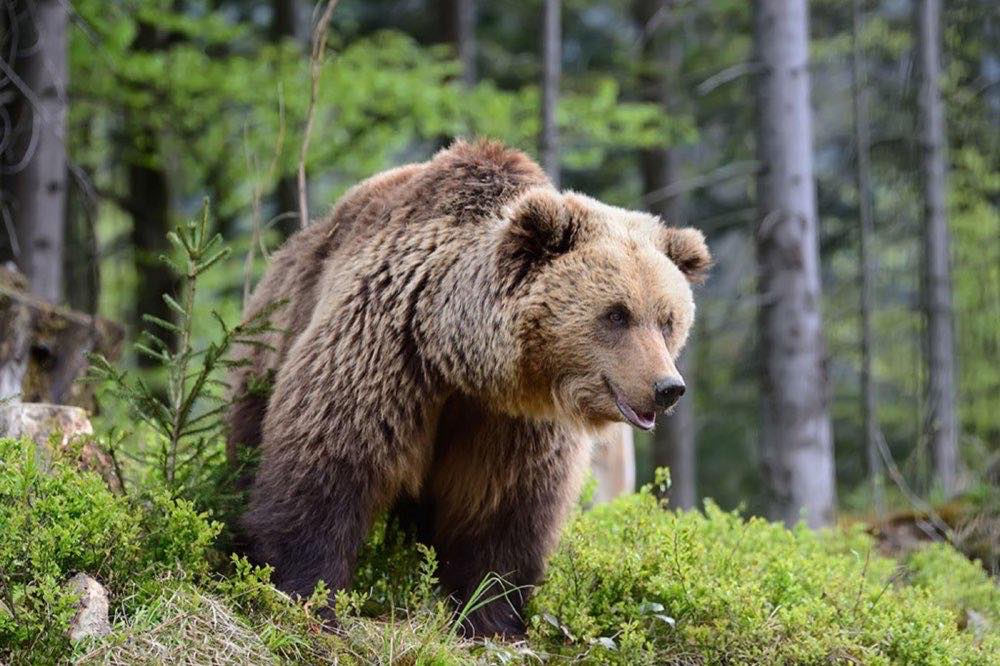
With large mammals, the key is a long telephoto lens, between 400 and 600 mm, combined with blinds or camouflage that let you observe without invading their living space. Distance is not just a matter of personal safety: it is the minimum condition for the animal's behavior to be natural and therefore honestly photographable.
Insect macro photography requires discipline as well: shutter speeds must be high to counter almost imperceptible micro-movements. Here sharpness depends more on a steady hand and patience than on burst shooting. Working first thing in the morning, when insects are still sluggish from the night's cold, makes the job much easier.
Finally, landscapes with integrated wildlife demand a wide-angle lens, time and a willingness to wait for the interaction between animal and environment to happen naturally. They are less spectacular images at first glance, but of enormous narrative and documentary value.
What settings do I use in each scene?
The star piece of equipment is a stabilized telephoto lens of 300–600 mm. Optical stabilization compensates for small tremors caused by your hands or the wind, although it does not replace good support technique. Pairing the telephoto with a monopod offers the ideal balance between mobility and stability.
Continuous autofocus in dynamic or tracking mode is ideal for erratic subjects, especially birds and small mammals on the move. Setting a wide detection zone at the start and refining it once the subject is in the frame helps keep the focus system from getting "distracted" by the background.
As for ISO, it is better to accept noise than to lose sharpness: a photo with grain texture can work narratively, but a blurry one is technically unusable. In low light at dawn or dusk, when wildlife tends to be most active, raising the ISO to 3200 or 6400 with fast shutter speeds is the right decision.
The camera's silent mode reduces the impact on wildlife, especially on sound-sensitive species. Even the mechanical click of a shutter can alert certain birds and make them leave before the shot.
What to prepare beforehand? Prior study, the invisible key
Before heading into the field, researching the behavior of the target species is as important as setting up the camera. Knowing its activity hours, usual routes, warning signals and reactions to human presence multiplies your chances of success and minimizes your impact.
Resources such as species-specific field guides, local nature forums and sighting platforms like eBird or iNaturalist let you identify areas with confirmed presence of the species and learn seasonal patterns. The intelligence work done before going into the field is, for many professional photographers, half of the job.
What mistakes should you avoid?
The most serious is getting too close to the subject, causing stress and altered behavior. The minimum distance varies by species: what a gull doesn't care about can be threatening to a raptor during nesting season.
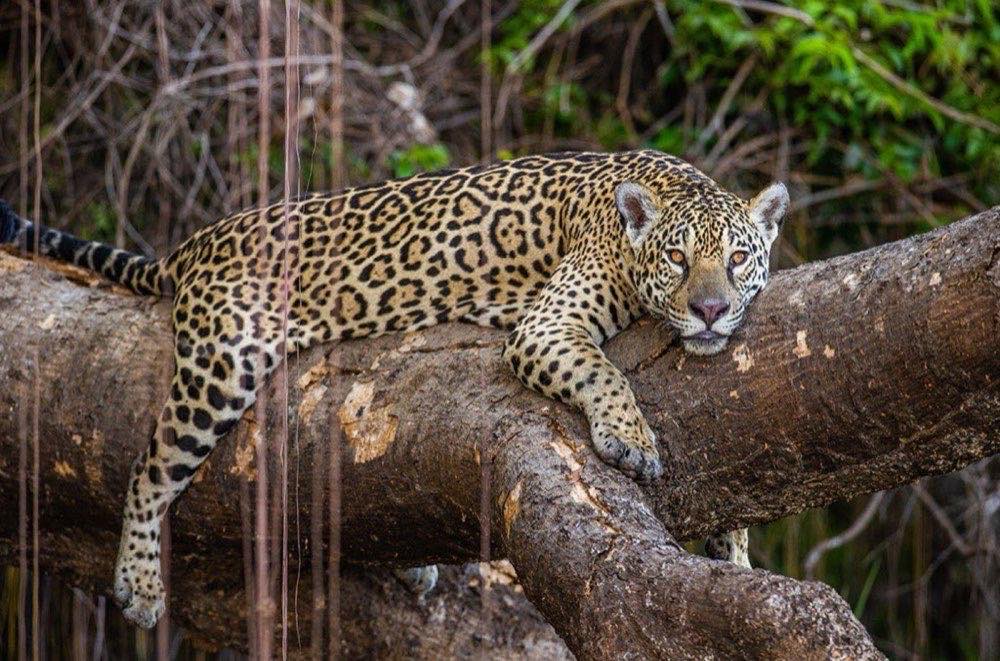
Equally harmful is using flash on nocturnal wildlife, which can affect the animals' vision and orientation. For nighttime wildlife photography, fast lenses (f/2.8 or wider) with high ISO are the right alternative.
Another common mistake is not researching the species' behavior before going out. Without that prior knowledge, timing is lost and photos are reduced to failed attempts from the wrong angles. It is also a serious mistake to feed wildlife to attract it: a practice that alters natural routines, creates dependence and can be dangerous for the ecological balance of the area.
Pro tips and habits of photographic ethics
A simple but forceful golden rule: if the animal changes its behavior because of your presence, you are too close and must back away.
The waiting technique is much more effective than chasing: arrive early, settle into a blind and let the animals get used to your presence. The first 20–30 minutes after arriving at a location are usually the least productive; normal activity resumes when the surroundings return to their usual rhythm.
Studying birds' flight patterns before trying to photograph them increases your chances of success and reduces frustration. In wildlife photography, anticipating is always more effective than reacting.
The anticipation and environment-reading techniques developed in street photography are surprisingly transferable: both on the street and in nature, the ability to predict the next movement before it happens defines the quality of the result.
Frequently asked questions
What is the best lens to start with? A telephoto lens between 300 and 400 mm is enough for most scenarios. As you progress, a 500 or 600 mm offers more reach without compromising the ethical, safe distance from the animals.
Is it advisable to use a tripod for wildlife? Yes, especially for long waits or with heavy lenses. However, a monopod is usually more practical for quick mobility in the field, especially when you are following birds or need to reposition quickly.
How can I avoid disturbing the animals? Always keep your distance, use silent mode and avoid sudden movements. Never chase them or try to manipulate the environment to get a photo. If the animal shows warning signs (ruffles its feathers, adopts a defensive posture, stops and stares), back away immediately.
Can flash be used in wildlife photography? It is not recommended, especially for nocturnal wildlife. Flash can disorient and damage the animals' vision. For night photography, work with high ISO and wide apertures instead of artificial light.
What should I research before going out to photograph? The species' behavior, feeding habits, activity hours and signs of stress. That preparation increases your chances of success and reduces risks for the wildlife and for you. Checking local sighting records also points you to areas with more activity.
The commitment that comes before the photo
Wildlife photography is not just a technical challenge: it is an ethical commitment to nature. The best images are not born from pressure or invasion, but from respectful coexistence and patience. Every shot should be a tribute to the animal and the environment, not a testament to our intervention.
At Enfogram we believe that learning to balance technique, ethics and storytelling is what turns a photographer into a true storyteller of nature. Our educational cards offer settings, practices and ethics reminders that help you grow both as a professional and as a conscious observer.
Do you want to refine your wildlife photography with a respectful and technical eye? Discover the resources at Enfogram and turn every outing into an experience of authentic connection with nature.